1. Introduction
Easter is a season of renewal, bright pastels, and the undeniable urge to gather in the kitchen. For many of us, the holiday is a whirlwind of egg hunts, family brunches, and religious observances. Amidst the joyful chaos, the last thing anyone wants is a recipe that requires a twenty-item grocery list and three hours of chilling time.
These Festive Easter Cookies are born from the philosophy that “less is more.” Inspired by the classic shortbread traditions of Western Europe but adapted for the modern, busy household, these cookies focus on high-quality fats and simple sugars. The result is a biscuit that feels sophisticated enough for a formal tea but is simple enough for a toddler to help decorate.
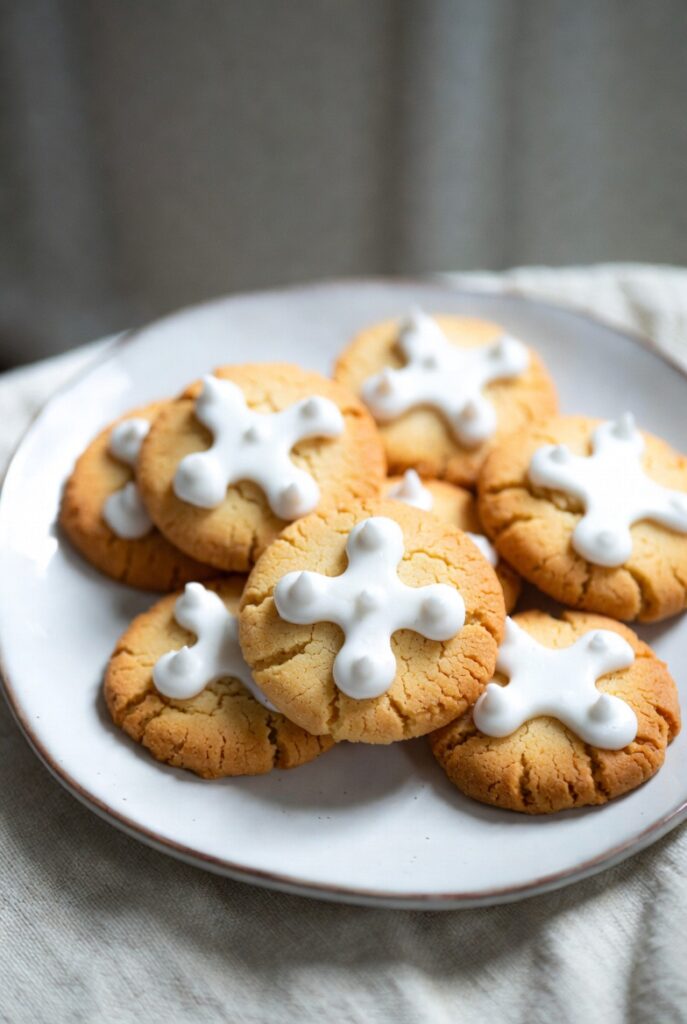
What makes these cookies truly special isn’t just their buttery crumb; it’s the canvas they provide. Whether you shape them into bunnies, chicks, or eggs, they represent the simplicity of home-baked love. In a world of over-complicated desserts, these three-ingredient wonders remind us that the best memories are often made with the basics.
2. Recipe Overview
- Cuisine Type: American / European Fusion
- Difficulty Level: Beginner
- Total Time: 40 minutes (10 mins prep, 20 mins chilling, 10 mins baking)
- Dietary Classifications: Vegetarian, Nut-Free, Egg-Free, Soy-Free. (Can be made Gluten-Free with a 1:1 flour substitute).
3. Equipment and Tools
To ensure your cookies have that professional, “bakery-style” finish, gather the following:
- Mixing Bowl: Large stainless steel or glass bowl (approx. 4-5 quart volume).
- Electric Hand Mixer: Or a stand mixer with the paddle attachment.
- Baking Sheets: Two 13×18 inch (half-sheet) rimmed baking pans.
- Parchment Paper: Or silicone baking mats to prevent sticking.
- Rolling Pin: To achieve an even thickness of $0.5$ cm.
- Easter Cookie Cutters: Bunnies, eggs, carrots, or flower shapes.
- Cooling Rack: Wire mesh rack for optimal airflow.
4. Serving Suggestions
These cookies are versatile performers. For a morning brunch, serve them alongside a Lemon-Thyme Spritz or a light Earl Grey tea.
Garnish Ideas:
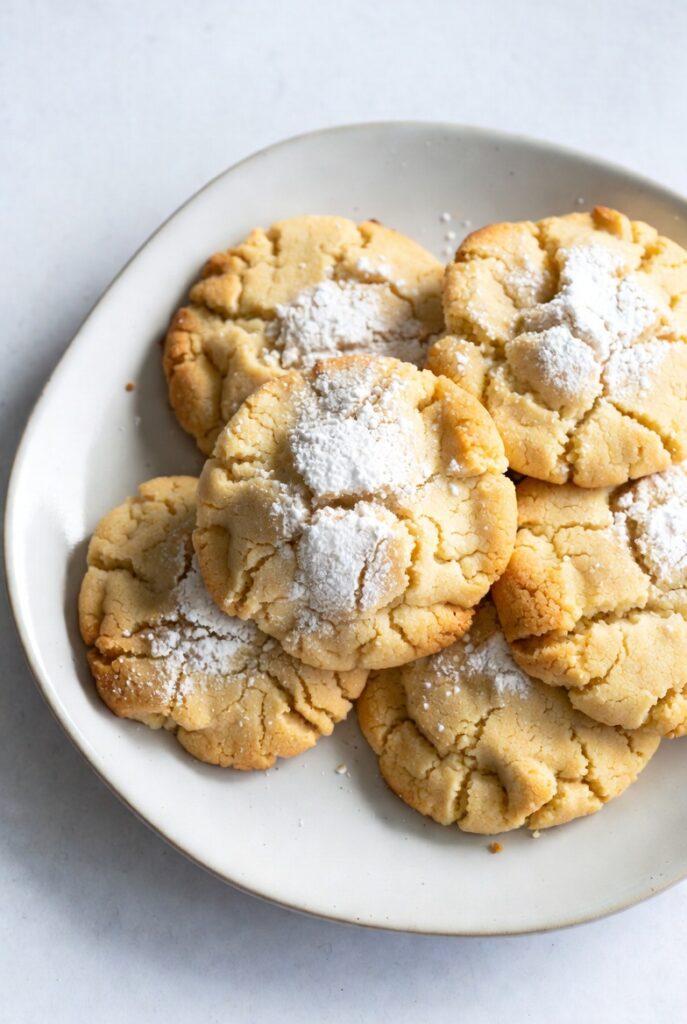
- A light dusting of powdered sugar (mimicking spring frost).
- A dollop of lemon curd in the center of “egg” shaped cookies.
- Edible flower petals pressed into the dough before baking.
Wine Pairing:
If serving at an adult Easter dinner, pair these buttery treats with a chilled Moscato d’Asti or a demi-sec Champagne. The bubbles cut through the richness of the butter perfectly.
5. Nutritional Information
Per serving (1 cookie, based on 24 servings):
| Nutrient | Amount |
| Calories | 115 kcal |
| Total Fat | 7g |
| Saturated Fat | 4.5g |
| Carbohydrates | 12g |
| Sugars | 4g |
| Protein | 1g |
Health Note: While these are a treat, the absence of preservatives and artificial dyes makes them a cleaner alternative to store-bought holiday biscuits.
6. Storage and Reheating
- Room Temperature: Store in an airtight container for up to 5 days.
- Refrigeration: Not recommended as it can make the cookies soft, but the raw dough can stay in the fridge for 3 days.
- Freezing: These cookies freeze beautifully! Freeze baked cookies in a single layer before transferring to a freezer bag (up to 3 months).
- Reheating: If you prefer a “just out of the oven” feel, pop a cookie in the microwave for 8 seconds or a toaster oven at 150°C for 2 minutes.
7. Expert Tips and Variations
- The Butter Temperature: Use “cool room temperature” butter. It should yield to pressure but not be greasy. If the butter is too soft, the cookies will spread.
- Avoid Overworking: Mix until the flour just disappears. Over-mixing develops gluten, which leads to a tough, bready cookie rather than a short, snappy one.
- Variations:
- Zesty Easter: Add the zest of one lemon and a teaspoon of poppyseeds.
- Lavender Honey: Replace 10% of the sugar with honey and add a pinch of dried culinary lavender.
- Chocolate Dipped: Melt high-quality dark chocolate and dip half of each cooled cookie.
8. Ingredients Section
The beauty of this recipe lies in its brevity.
| Ingredient | Imperial | Metric | Notes |
| Unsalted Butter | 1 Cup (2 sticks) | 227g | High-fat European style preferred |
| Granulated Sugar | 1/2 Cup | 100g | Sifted to remove lumps |
| All-Purpose Flour | 2 1/4 Cups | 280g | Measured by “spoon and level” method |
| Salt (Optional) | 1/4 tsp | 1.5g | Enhances flavor |
| Vanilla Extract | 1 tsp | 5ml | Optional for depth |
9. Step-by-Step Instructions
- Cream the Base: In your large bowl, beat the butter and sugar together. If you are using salt or vanilla, add them now. Beat for approximately 3 minutes until the mixture looks pale and fluffy. This aeration is the only “leavening” the cookie gets!
- Incorporate Flour: Turn your mixer to the lowest setting. Gradually add the flour. Stop mixing as soon as the dough starts to clump together.
- The Chill Factor: Gather the dough into a ball, wrap it in plastic, and flatten it into a disk. Chill in the refrigerator for 20 minutes. This prevents the cookies from losing their “bunny” or “egg” shape in the oven.
- Preheat and Prep: Preheat your oven to 175°C (350°F). Line your baking sheets.
- Roll and Cut: On a lightly floured surface, roll the dough to a thickness of $0.5$ cm (about $1/4$ inch). Use your Easter cutters to stamp out shapes.
- Bake: Place cookies 1 inch apart on the tray. Bake for 10-12 minutes.
- Visual Cue: The edges should be just barely golden. The tops should remain pale.
- Cooling: Let them rest on the pan for 5 minutes to firm up, then transfer to a wire rack.

10. Frequently Asked Questions (FAQ)
Q: Can I use salted butter?
A: Absolutely. If you use salted butter, simply omit the extra pinch of salt mentioned in the ingredients.
Q: Why did my cookies spread into blobs?
A: This usually happens if the butter was too warm or if the dough wasn’t chilled long enough. Make sure your oven is fully preheated before putting the trays in.
Q: Can I use this dough for “thumbprint” cookies?
A: Yes! Roll the dough into small balls, press your thumb in the center, and fill with apricot or raspberry jam before baking.
Q: How do I make these gluten-free?
A: Use a high-quality “Measure for Measure” gluten-free flour blend that contains Xanthan gum. The texture will be slightly crispier but still delicious.
Q: Is it okay to use powdered sugar instead of granulated?
A: Using powdered sugar will result in a “meltaway” texture that is softer and less crunchy. Use 3/4 cup of powdered sugar if you choose this route.
