
1. Introduction
There is a certain magic in reclaiming the word “donut.” Traditionally associated with deep fryers, heavy doughs, and sugar-induced lethargy, the donut has long been the poster child for “sometimes foods.” But what if we looked at the concept through a different lens? What if the “donut” wasn’t a nutritional compromise, but a celebratory, crisp, and vibrant celebration of nature’s candy?
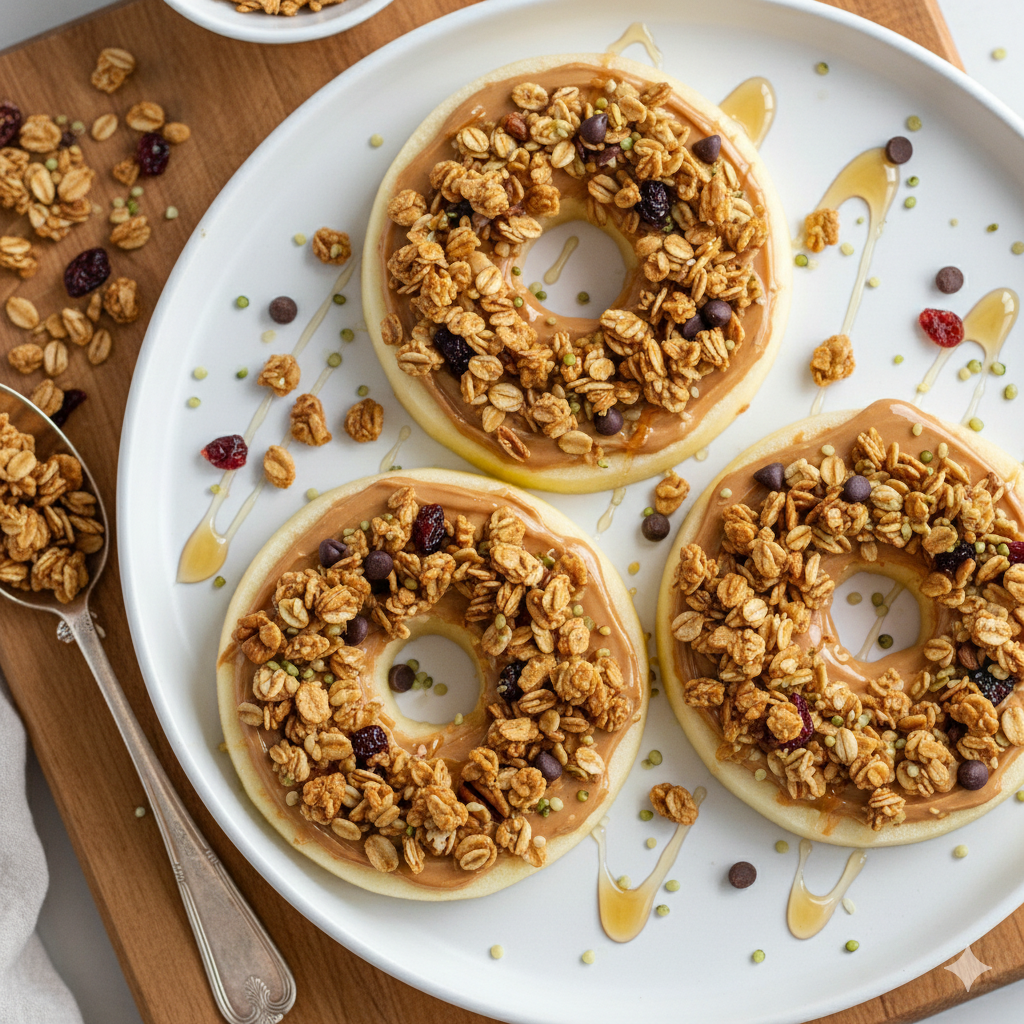
Enter the Healthy Apple “Donut.”
This recipe isn’t just a snack; it’s a lifestyle hack for the modern, busy individual who refuses to choose between health and indulgence. The “donut” shape is achieved by slicing crisp apples into thick rounds and removing the core, creating a perfect canvas for creamy nut butters, artisanal granolas, and superfood toppings.
The origin of this dish lies in the “raw food” movement and the rise of “apple cookies” in wellness circles during the mid-2010s. It was born out of a desire for a kid-friendly snack that felt like a dessert but packed the fiber and vitamins of a whole fruit. Whether you are a parent looking to win over a picky eater, an athlete needing a pre-workout fuel boost, or simply someone with a sweet tooth and a health goal, these apple donuts are your new best friend.
2. Recipe Overview
- Cuisine Type: Modern Wellness / American Snack
- Difficulty Level: Very Easy (Kid-Friendly)
- Total Prep Time: 10 minutes
- Cooking Time: 0 minutes (No-bake)
- Dietary Classifications: Vegetarian, Gluten-Free (use GF granola), Vegan-option (use maple syrup/dairy-free chocolate), Raw.
3. Equipment and Tools
To achieve the perfect “donut” aesthetic and ensure safety, you will need the following tools:
- Apple Corer: A stainless steel handheld corer is ideal for removing the center cleanly. If you don’t have one, a small circular biscuit cutter or a paring knife works (though it requires more precision).
- Mandoline Slicer or Sharp Chef’s Knife: A mandoline ensures perfectly even $1/2$ inch (1.25 cm) slices, but a sharp knife is safer for beginners.
- Small Offset Spatula: Perfect for spreading nut butter smoothly across the apple surface.
- Cutting Board: A large wooden or plastic board with a “juice groove” to catch any excess apple juice.
- Paper Towels: Essential for patting the apple slices dry so the toppings adhere properly.
4. Serving Suggestions
Plating Recommendations:
Arrange the apple donuts on a slate board or a white ceramic platter. If serving at a party, place them on a tiered cupcake stand to play into the “donut” theme.
Garnish Ideas:
- A dusting of Ceylon cinnamon.
- Zest of a lemon or orange for a citrusy pop.
- A sprig of fresh mint.
Complementary Side Dishes:
While these are a standalone snack, they pair beautifully with a side of Greek yogurt for dipping or a handful of fresh berries.
Beverage Pairings:
- Hot: A steaming cup of Earl Grey tea or a spiced Chai latte.
- Cold: A glass of unsweetened almond milk or a crisp sparkling water with a twist of lime.
5. Nutritional Information
Per Serving (2 Apple Slices with toppings):
| Nutrient | Amount |
| Calories | 185 kcal |
| Total Fat | 9g |
| Saturated Fat | 1.5g |
| Carbohydrates | 24g |
| Fiber | 5g |
| Sugars | 16g (mostly natural fructose) |
| Protein | 4g |
Health Benefits:
Apples are rich in pectin, a prebiotic fiber that supports gut health. The addition of nut butter provides monounsaturated fats and protein, which lowers the glycemic index of the snack, preventing the “sugar crash” associated with traditional donuts.
6. Storage and Reheating
Storage:
Apple donuts are best consumed immediately. However, if you must store them:
- Lemon Juice Bath: Toss the apple slices in a mixture of 1 cup water and 1 tablespoon lemon juice to prevent browning.
- Refrigeration: Store in an airtight container for up to 12 hours. Note that the granola may lose its crunch over time.
Freezing:
We do not recommend freezing this recipe, as the cellular structure of the apple breaks down when thawed, resulting in a mushy texture.
7. Expert Tips and Variations
Professional Tips
- The “Pat Dry” Rule: The number one mistake is applying nut butter to a wet apple. The natural juices act as a lubricant, causing the toppings to slide off. Always pat your slices bone-dry with a paper towel first.
- Warm the Butter: If your almond or peanut butter is too stiff, microwave it for 10 seconds. This makes it “drizzle-able” and easier to spread.
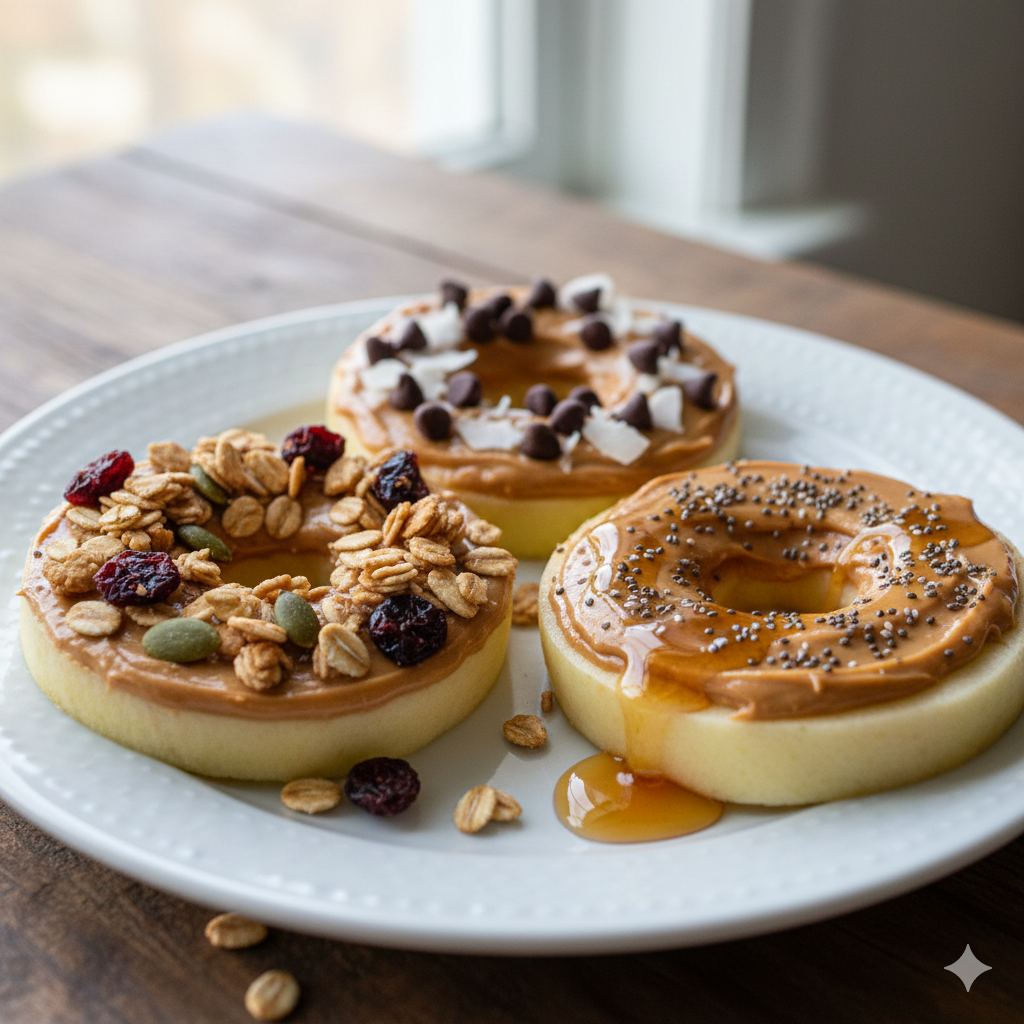
Creative Variations
- The “Savory-Sweet”: Use Granny Smith apples, goat cheese spread, honey, and crushed walnuts.
- The “Choco-Loco”: Use chocolate hazelnut spread, sliced strawberries, and hemp hearts.
- The “Autumn Harvest”: Use pumpkin butter, toasted pecans, and a pinch of pumpkin spice.
8. Ingredients Section
The Foundation
- Apples: 3 Large Honeycrisp, Fuji, or Granny Smith (firm varieties are best).
- Lemon: 1 tablespoon juice (to prevent oxidation).
The “Frosting”
- Nut Butter: $1/2$ cup (120g) of creamy Peanut, Almond, or Cashew butter.
- Substitution: For nut-free, use Sunflower Seed Butter or Tahini.
The Toppings
- Granola: $1/2$ cup (50g) of your favorite low-sugar granola.
- Seeds: 1 tablespoon Chia seeds or Hemp hearts.
- Sweetener: 1 tablespoon Maple syrup or Honey (optional drizzle).
- Dark Chocolate: 2 tablespoons mini dark chocolate chips (optional).
9. Step-by-Step Instructions
- Prepare the Apples: Wash and thoroughly dry your apples. Use your apple corer to remove the center of each apple while it is still whole.
- Slice: Place the apple on its side and slice into rounds approximately $1/2$ inch thick. You should get 4–5 rounds per apple.
- Anti-Browning Treatment: Briefly dip the slices in a bowl of water mixed with lemon juice.
- Dry: This is the most important step. Lay the slices on a clean towel and pat them until they are completely dry to the touch.
- Spread: Using your offset spatula, spread about 1 tablespoon of nut butter onto the top surface of each apple ring.
- Top: Sprinkle the granola over the nut butter, pressing down slightly so it sticks.
- Garnish: Add your seeds, chocolate chips, and a final drizzle of honey or maple syrup.
- Serve: Enjoy immediately while the apples are crisp and the granola is crunchy!
10. Frequently Asked Questions (FAQ)
Q: How do I keep the apples from turning brown?
A: The lemon juice bath mentioned in step 3 is the most effective way. Alternatively, you can use a saltwater soak (1/2 tsp salt per cup of water) for 5 minutes, then rinse and dry.
Q: Which apple variety is best?
A: Honeycrisp is the gold standard for its crunch and sweetness. Granny Smith is excellent if you prefer a tart contrast to the creamy nut butter.
Q: Can I make these for a school lunch?
A: Yes, but use a seed butter (like SunButter) to remain nut-free. Pack the granola in a separate small container and have the child sprinkle it on at lunch to keep it crunchy.
Q: Are these actually healthy?
A: Absolutely! They are high in fiber, healthy fats, and contain no refined flours. They are a “whole food” alternative to processed snacks.
