1. Introduction: The Sweet Evolution of a Classic Mashup
There is a specific kind of kitchen magic that happens when two legendary desserts collide. We all know the comfort of a warm loaf of banana bread—the kind that fills the house with a nostalgic, caramelized aroma. We also know the decadent, toothsome pull of a perfectly baked chocolate brownie. But what happens when you refuse to choose between them?
The Banana Bread Brownie is not just a compromise; it is a revelation. Often referred to as “Bruinis” or “Banana Blondies,” this recipe elevates the humble overripe banana from a simple breakfast staple to a sophisticated dessert component.
Historically, banana bread gained popularity in the United States during the Great Depression as a way to avoid wasting expensive fruit. Brownies, meanwhile, have been a centerpiece of American baking since the late 19th century. By combining the moisture-retaining properties of mashed bananas with the structural richness of a cocoa-based batter, we create a dessert that stays fresh for days and offers a complex flavor profile: earthy, sweet, and intensely chocolatey.
2. Recipe Overview
- Cuisine Type: American Fusion
- Difficulty Level: Intermediate (Requires careful folding and temperature monitoring)
- Total Time: 55 minutes
- Prep Time: 15 minutes
- Cook Time: 35–40 minutes
- Dietary Classifications: Vegetarian. Can be modified for Gluten-Free (see variations).
3. Equipment and Tools
To achieve the perfect “crackly top” and fudgy center, the right tools are essential.
- Baking Pan: 9×9-inch square metal baking pan.
- Note: Glass pans retain heat differently; if using glass, lower the oven temperature by 25°F.
- Mixing Bowls: One large bowl for dry ingredients, one medium bowl for wet ingredients.
- Whisk & Silicone Spatula: A whisk for aeration and a spatula for gentle folding.
- Potato Masher or Fork: For processing the bananas into a smooth purée.
- Parchment Paper: Essential for “sling” style lining to easily lift the brownies out.
- Digital Kitchen Scale: For precision (highly recommended over volume cups).
- Cooling Rack: To prevent the bottom from becoming soggy post-bake.
4. Serving Suggestions
These brownies are rich enough to stand alone, but a little styling goes a long way.
- The “À La Mode”: Serve warm with a scoop of salted caramel or vanilla bean gelato.
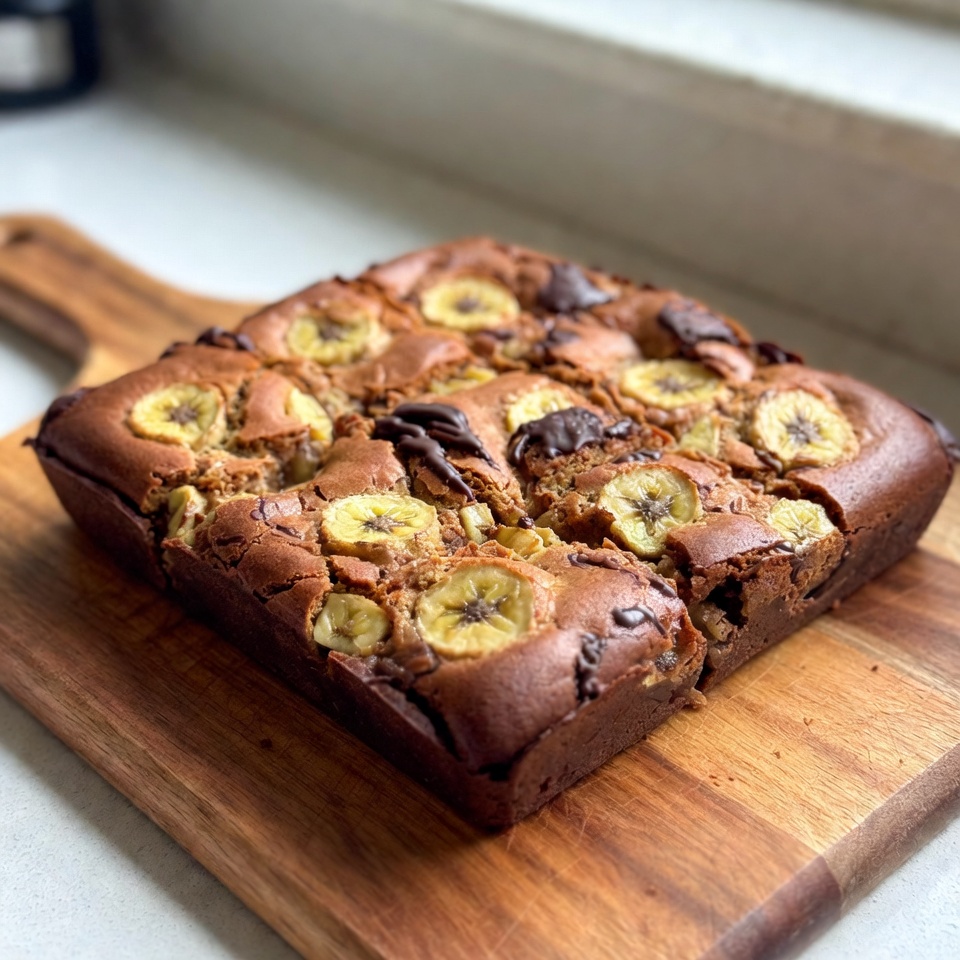
- The Garnish: A light dusting of espresso powder or a drizzle of peanut butter ganache.
- Beverage Pairings: * Coffee: A dark roast French press balances the sweetness.
- Wine: A Tawny Port or a robust Stout beer complements the cocoa notes.
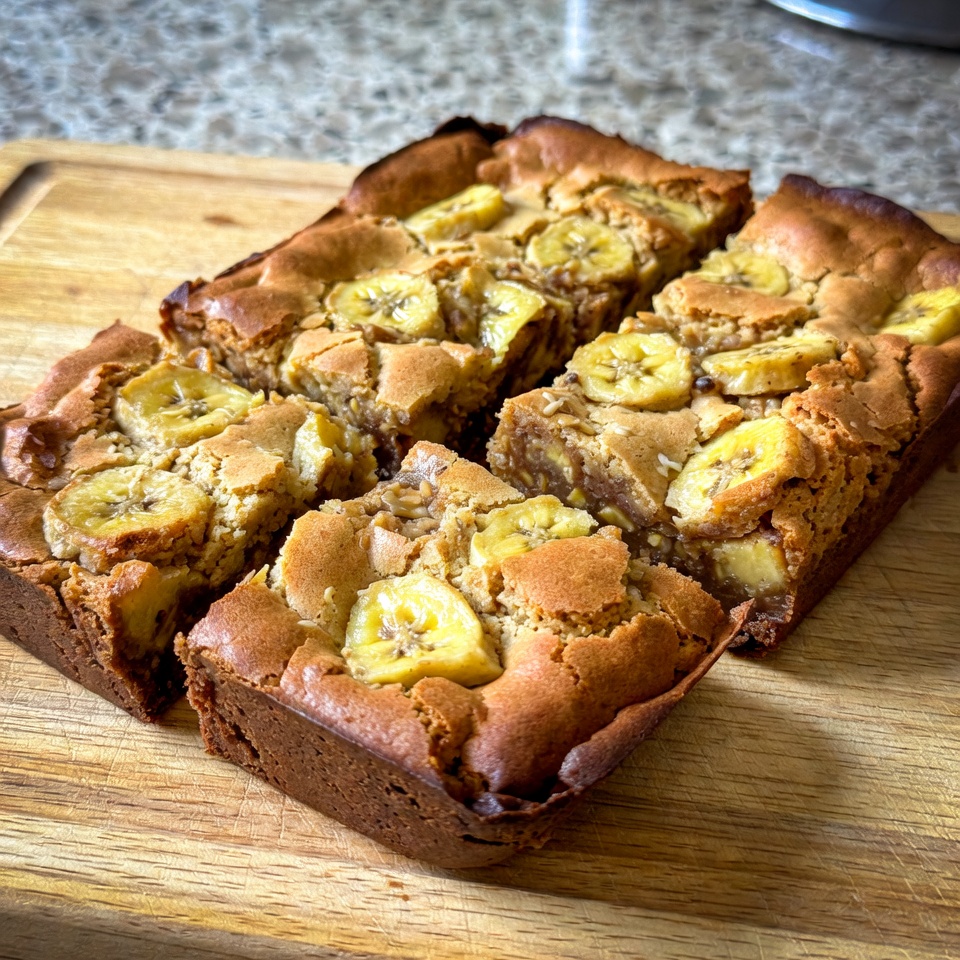
- Plating: Cut into small 2-inch squares. The density of these brownies means a little goes a long way.
5. Nutritional Information (Per Serving)
Serving size: 1 brownie (yields 16)
| Nutrient | Amount |
| Calories | 245 kcal |
| Total Fat | 12g |
| Saturated Fat | 7g |
| Carbohydrates | 34g |
| Fiber | 3g |
| Protein | 3g |
| Sugar | 22g |
Health Note: Bananas provide a natural source of potassium and Vitamin B6. Using dark cocoa powder (70%+) increases the antioxidant count of the dessert.
6. Storage and Reheating
- Room Temperature: Store in an airtight container for up to 3 days.
- Refrigeration: These actually taste incredible cold! Store for up to 7 days.
- Freezing: Wrap individual squares in plastic wrap and then foil. They freeze beautifully for up to 3 months.
- Reheating: Microwave for 15 seconds to restore that “melt-in-your-mouth” texture, or pop in a 300°F oven for 5 minutes.
7. Expert Tips and Variations
Professional Chef Tips
- The “Sugar Smash”: Whisk your eggs and sugar together for at least 3 minutes until pale and frothy. This creates that coveted thin, crinkly brownie top.
- Banana Maturity: Use bananas that are almost black. The higher the starch-to-sugar conversion, the better the moisture.
- Don’t Overmix: Once the flour hits the wet ingredients, fold only until no white streaks remain. Over-mixing develops gluten, which turns fudgy brownies into “cakey” ones.
Variations
- The Nutty Professor: Add 1/2 cup of toasted walnuts or pecans for texture.
- PB & B: Swirl 1/4 cup of creamy peanut butter into the top of the batter before baking.
- Gluten-Free: Substitute the All-Purpose flour with a 1:1 ratio of almond flour and oat flour.
8. Ingredients Section
Wet Ingredients
- Bananas: 3 medium, overripe (approx. 300g mashed)
- Butter: 1/2 cup (115g) unsalted butter, melted and slightly cooled
- Sugar: 1 cup (200g) granulated white sugar
- Brown Sugar: 1/2 cup (100g) packed light brown sugar (adds chewiness)
- Egg: 1 large, room temperature
- Vanilla Extract: 2 tsp high-quality pure extract
Dry Ingredients
- All-Purpose Flour: 1 cup (125g)
- Cocoa Powder: 3/4 cup (65g) unsweetened Dutch-process cocoa
- Salt: 1/2 tsp sea salt
- Chocolate Chips: 1/2 cup (90g) semi-sweet or dark chocolate chunks
9. Step-by-Step Instructions
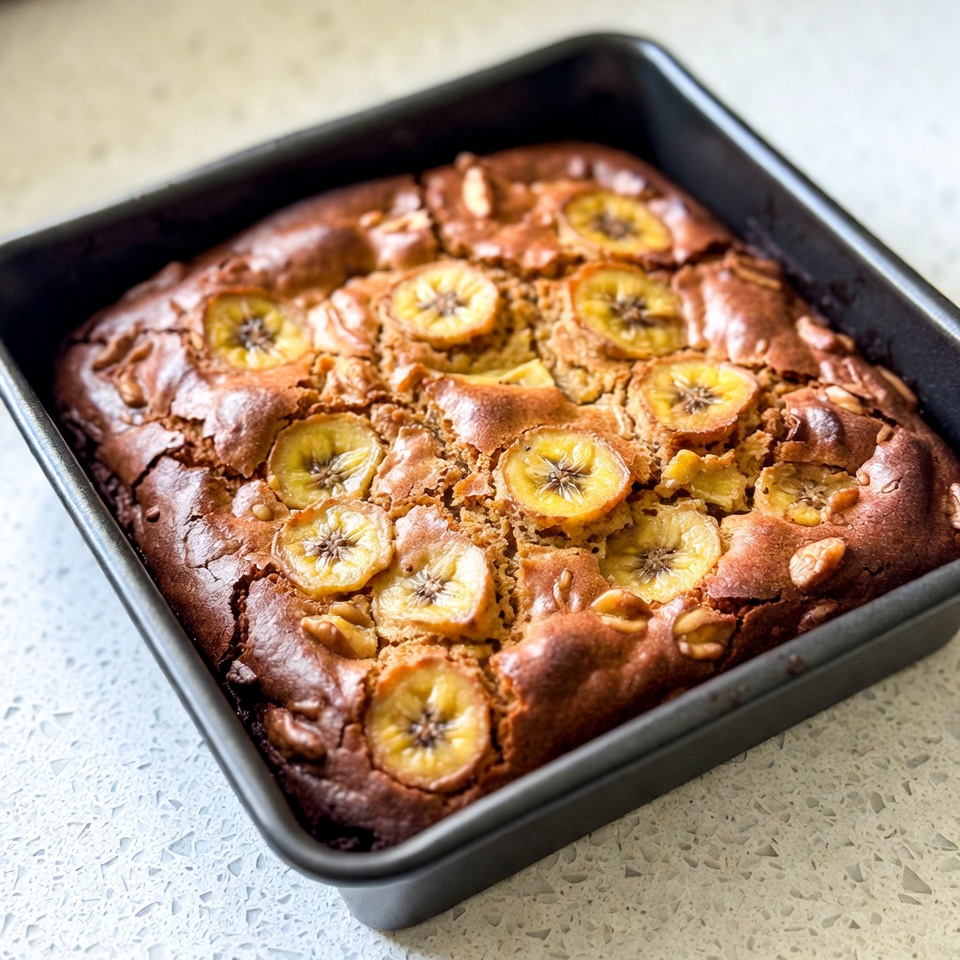
- Preheat and Prep: Set your oven to 350°F (175°C). Line your 9×9 pan with parchment paper, leaving an overhang on two sides.
- The Banana Purée: In a bowl, mash the bananas until completely smooth. A few tiny lumps are okay, but a smooth purée ensures even distribution.
- Creaming the Fats: In a separate large bowl, whisk the melted butter, white sugar, and brown sugar vigorously.
- Emulsify: Add the egg and vanilla. Whisk until the mixture looks glossy and slightly thickened. Stir in the mashed bananas.
- Sift the Dry Goods: Sift the flour, cocoa powder, and salt directly into the wet mixture. Sifting is crucial to avoid cocoa “clumps” in the dense batter.
- The Fold: Using a spatula, gently fold the dry into the wet. Before the flour is fully incorporated, toss in the chocolate chips.
- The Pour: Spread the batter into the prepared pan. It will be thick. Smooth the top with your spatula.
- The Bake: Bake for 35–40 minutes.
- Visual Cue: The edges should be set, but the center should still have a very slight jiggle.
- The Toothpick Test: A toothpick inserted should come out with a few moist crumbs—not wet batter, and not completely clean.
- The Wait: This is the hardest part. Let the brownies cool in the pan for at least 45 minutes before lifting them out. This allows the fudgy structure to set.
10. Frequently Asked Questions (FAQ)
Q: Can I use frozen bananas?
A: Yes! Thaw them completely and drain any excess liquid before mashing, otherwise, the batter will be too runny.
Q: My brownies came out too cakey. What happened?
A: You likely over-measured the flour or over-beated the batter after adding the flour. Try using a scale next time for accuracy.
Q: Can I make these vegan?
A: Yes. Replace the egg with a “flax egg” (1 tbsp ground flax + 3 tbsp water) and use melted coconut oil or vegan butter.
Q: Why do I need Dutch-process cocoa?
A: Dutch-process cocoa is treated with alkali, making it less acidic and darker. It provides a deeper chocolate flavor that pairs perfectly with the sweetness of the bananas.
Q: Can I skip the sugar and just use the bananas for sweetness?
A: While bananas are sweet, the sugar provides the structure and the “chew” of the brownie. Reducing it significantly will result in a texture more like a moist cake.
