1. Introduction
There is a specific kind of morning magic that exists within a cold, ceramic bowl filled with thick, tangy yogurt. For years, the “Greek” style of yogurt—famed for its strained, velvety texture and high protein content—was a luxury reserved for those who consumed dairy. But the culinary landscape has shifted. Today, the Vegan Greek Yogurt Bowl isn’t just a “substitute”; it is a nutritional powerhouse and a canvas for culinary creativity that stands entirely on its own.
The history of Greek yogurt, or straggisto, is rooted in the Mediterranean tradition of removing excess whey to create a denser product. In this plant-based evolution, we utilize fermented nut milks, coconut creams, or soy bases to achieve that same signature “tug” on the spoon. This recipe is designed for the modern wellness enthusiast, the busy professional, and the flavor seeker alike. Whether you are plant-based for the planet, your health, or your palate, this bowl represents the intersection of ancient fermentation traditions and modern plant-based innovation.
2. Recipe Overview
- Cuisine Type: Mediterranean-Inspired / Modern Fusion
- Difficulty Level: Easy
- Total Time: 10 minutes (Preparation)
- Dietary Classifications: Vegan, Plant-Based, Gluten-Free (ensure granola is certified GF), Dairy-Free, Refined Sugar-Free Option.
3. Equipment and Tools
To craft the perfect bowl, the right tools ensure the textures remain distinct rather than a muddy mess.
- Chilled Mixing Bowl: A medium-sized ceramic or glass bowl (approx. 500ml volume). Pro tip: Chill the bowl in the freezer for 5 minutes before assembly to keep the yogurt thick.
- Silicone Spatula: For folding in sweeteners or powders without deflating the yogurt’s aeration.
- Precision Kitchen Scale: To accurately measure high-density toppings like nuts and seeds.
- Small Sauté Pan: Required only if you choose to toast your nuts or seeds fresh (recommended for maximum aroma).
- Fine-Mesh Sieve: Useful if you are using frozen berries and wish to drain excess juice to prevent bleeding into the white yogurt.
4. Serving Suggestions
Plating Recommendations
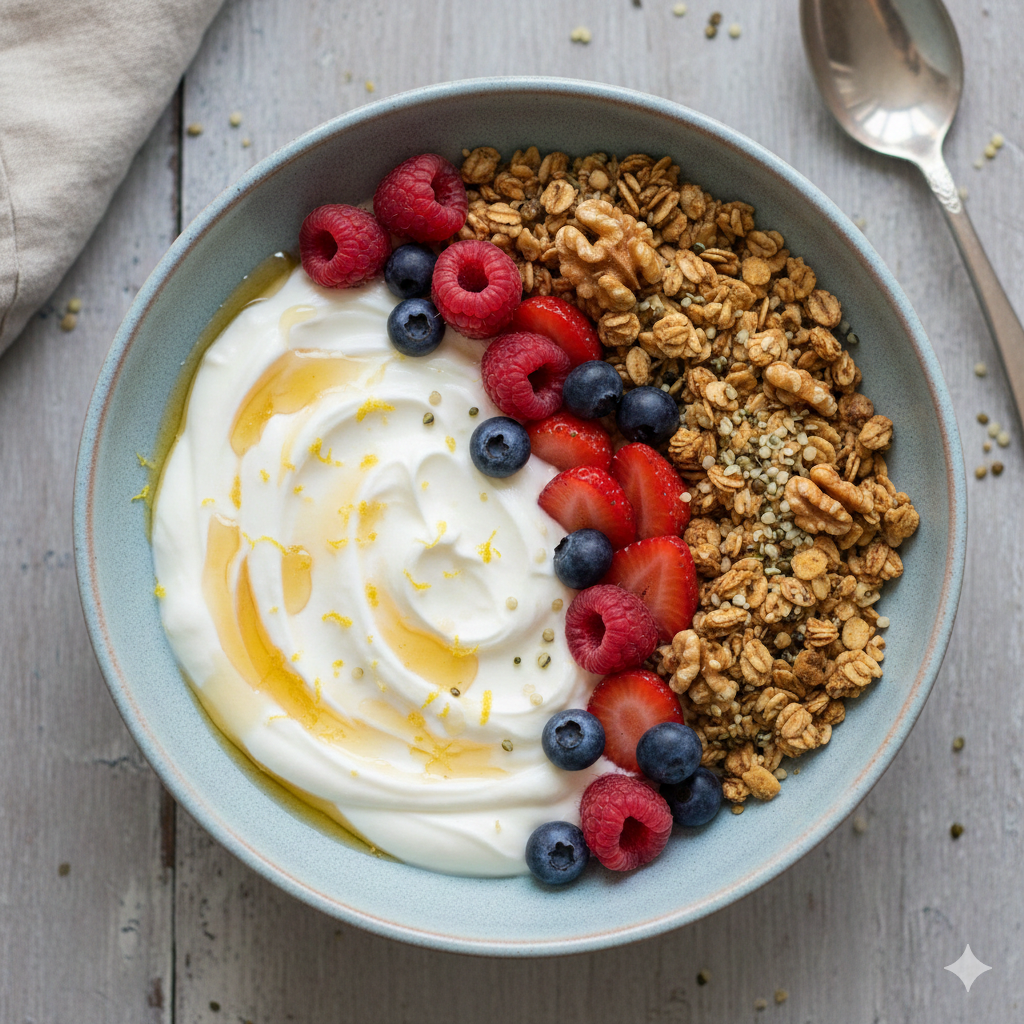
The “Swoosh” technique is king here. Use the back of a spoon to create a deep well in the center of the yogurt. Place your heavier items (granola/nuts) in the center and “fan” your fruit slices around the edge in a semi-circle.
Garnish Ideas
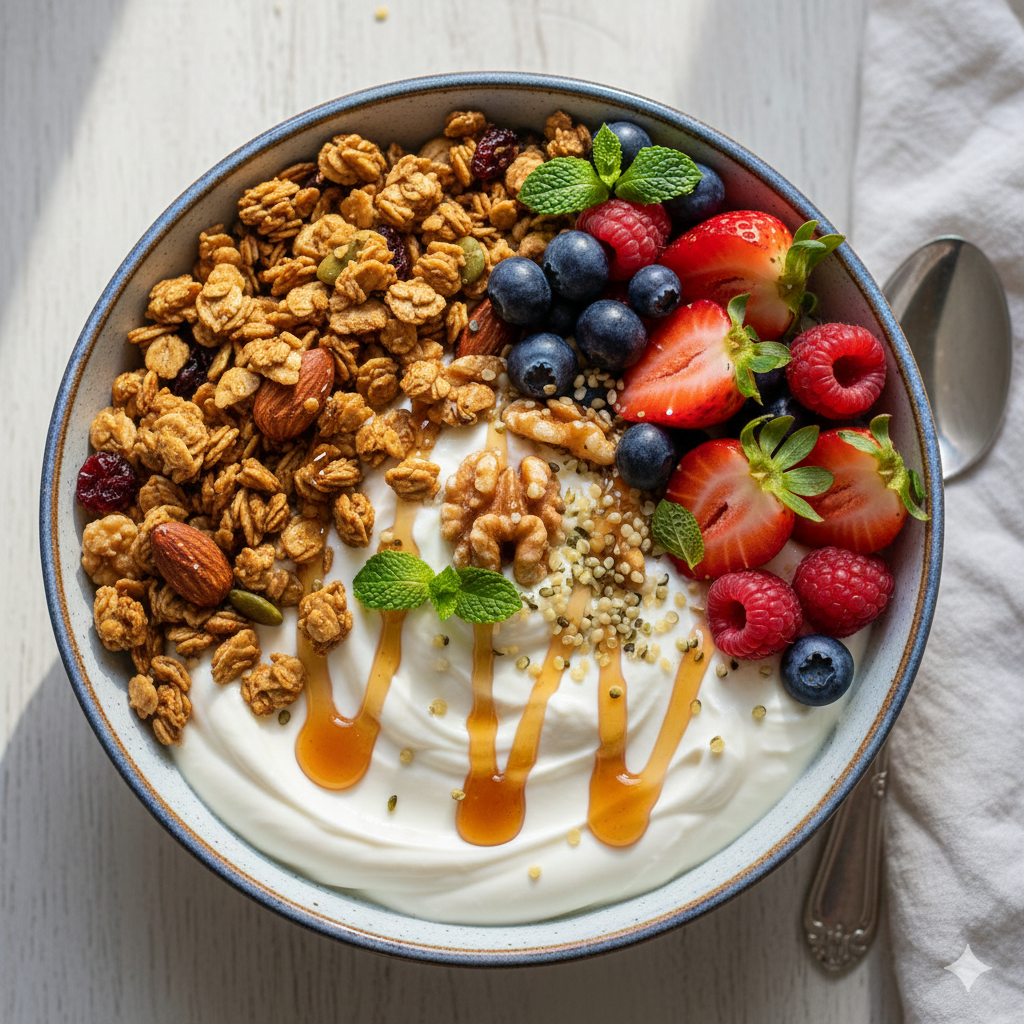
- Fresh Mint Leaves: Adds a cooling contrast to the tangy yogurt.
- Edible Flowers: Pansies or marigolds for a “cafe-style” aesthetic.
- Zest: A microplane grating of lemon or lime zest adds essential oils that brighten the entire dish.
Beverage Pairings
- Matcha Latte: The earthiness of stone-ground green tea complements the acidity of the yogurt.
- Cold Brew Coffee: The chocolatey notes of a low-acid cold brew pair perfectly with nut-based yogurts.
5. Nutritional Information
(Per standard serving: 1 cup yogurt + 1/2 cup fruit + 2 tbsp nuts/seeds)
| Nutrient | Amount |
| Calories | 320 kcal |
| Protein | 12g – 18g (Depending on base) |
| Total Fat | 14g |
| Carbohydrates | 35g |
| Fiber | 8g |
| Sugars | 12g (Natural) |
Health Benefits:
- Probiotics: Essential for gut microbiome health and immune function.
- Healthy Fats: Medium-chain triglycerides (MCTs) if using a coconut base, or heart-healthy monounsaturated fats from nuts.
- Antioxidants: High concentrations from fresh berry toppings.
6. Storage and Reheating
- Refrigeration: While the bowl is best enjoyed fresh, you can “meal prep” the base. Keep the yogurt and toppings in separate airtight containers. Once assembled, the yogurt will begin to soften the granola within 30 minutes.
- Freezing: Do not freeze the assembled bowl. However, you can freeze “yogurt bark” by spreading the mixture on a sheet pan if you have leftovers.
- Shelf Life: Assembled bowls last 24 hours in the fridge; separate components last 5-7 days.
7. Expert Tips and Variations
Professional Chef Tips
- The “Salt Trick”: Add a tiny pinch of sea salt to your plant-based yogurt. It cuts the “beaniness” of soy or the “earthiness” of pea protein and makes the fruit flavors pop.
- Texture Contrast: Aim for the “Rule of Three”: something creamy (yogurt), something crunchy (nuts/granola), and something juicy (fruit).
Common Mistakes
- Using “Runny” Yogurt: If your vegan yogurt is too thin, strain it through a cheesecloth for 2 hours before using.
- Over-sweetening: Many vegan yogurts are already sweetened. Taste before adding maple syrup or agave.
Creative Variations
- The Tropical Bowl: Coconut yogurt base, fresh mango, macadamia nuts, and toasted coconut flakes.
- The PB&J Bowl: Soy yogurt base, a swirl of natural peanut butter, and smashed raspberries.
- The Savory Bowl: Plain unsweetened almond yogurt, topped with cucumber, olive oil, za’atar, and hemp seeds.
8. Ingredients Section
The Base
- 1 ½ cups (340g) Vegan Greek-style Yogurt (Soy or Almond-based usually offers the highest protein).
- ½ tsp Pure Vanilla Extract (Optional).
The “Crunch” (The Texture)
- ¼ cup (30g) Grain-free Granola or Toasted Rolled Oats.
- 1 tbsp (10g) Toasted Sliced Almonds or Walnuts.
- 1 tsp Hemp Hearts or Chia Seeds.
The “Fresh” (The Flavor)
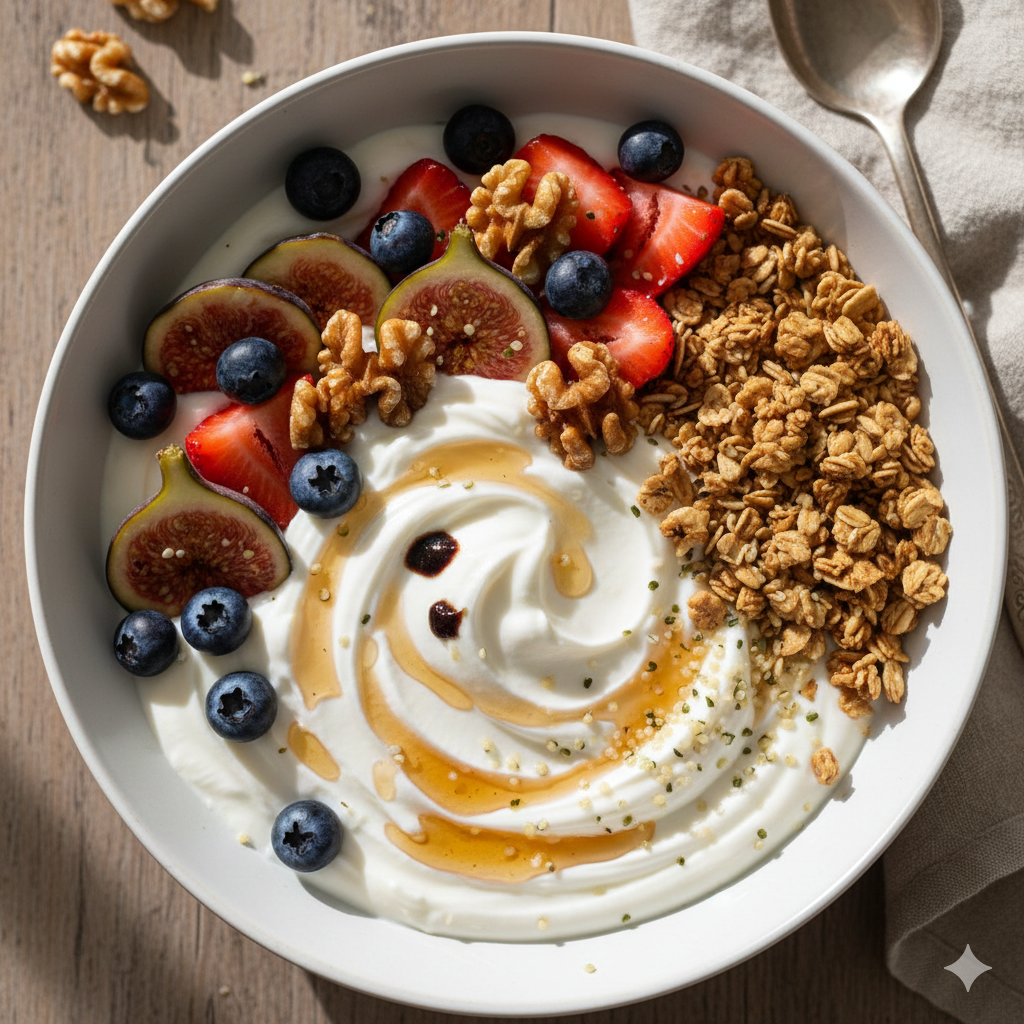
- ½ cup (75g) Fresh Berries (Blueberries, Raspberries, or halved Strawberries).
- ½ Sliced Banana or 2 Fresh Figs.
The “Drizzle” (The Finish)
- 1 tsp 100% Pure Maple Syrup or Date Syrup.
- 1 tbsp Almond Butter or Tahini.
9. Step-by-Step Instructions
Step 1: Prep the Base
In your chilled bowl, add the vegan yogurt. If the yogurt has separated (common with natural brands), whisk it vigorously for 30 seconds until it regains a glossy, smooth sheen. Fold in the vanilla extract or a pinch of cinnamon if desired.
Step 2: Create the Foundation
Spread the yogurt evenly, then use your spoon to create a “well” in the center. This prevents the liquid from the fruit or the syrup from running down the sides of the bowl immediately.
Step 3: Layer the Toppings
Place the granola in a neat pile on one side of the bowl. Place the fresh fruit on the opposite side. This “deconstructed” look is visually appealing and allows you to control the ratio of each bite.
Step 4: The Nut and Seed Dusting
Sprinkle the hemp hearts and toasted almonds over the center where the fruit and granola meet. This acts as a “bridge” between the textures.
Step 5: The Final Drizzle
Warm your almond butter or maple syrup for 10 seconds in the microwave so it becomes “pourable.” Using a spoon, drizzle in a zig-zag motion across the entire bowl.
Step 6: Serve Immediately
Vegan yogurt tends to react to room temperature faster than dairy. Serve while the bowl is still cool to the touch.
10. Frequently Asked Questions (FAQ)
Q: Which vegan yogurt brand is the “thickest”?
A: Brands like Kite Hill (Greek Style), Siggi’s Plant-Based, and Forager Project (Greek Style) are specifically engineered to have less water content and more protein.
Q: How can I increase the protein content of my bowl?
A: Stir in one tablespoon of a neutral-flavored vegan protein powder (like soy or pea isolate) into the yogurt before adding toppings. This can add an extra 10g of protein.
Q: Can I use frozen fruit?
A: Yes, but let them thaw slightly in a separate bowl first. If you put frozen fruit directly on the yogurt, it may create icy patches and release too much water as it thaws.
Q: Is this recipe keto-friendly?
A: To make it keto, use a high-fat coconut yogurt base, omit the maple syrup, and use keto-certified granola or strictly seeds and nuts.
Q: Why does my vegan yogurt taste “chalky”?
A: This is usually due to the stabilizers or the specific protein source. Adding a squeeze of lemon juice or a dollop of almond butter can help mask that texture by adding acidity or fat.
