1. Introduction
There is a specific magic that happens when the air turns crisp and the scent of ground ginger and dark molasses begins to waft through the kitchen. For many, the holiday season is defined by the snap of a ginger cookie, but for those who crave something a bit more indulgent, the Gingerbread Whoopie Pie is the undisputed champion of the dessert table.
Originating from the Amish communities of Pennsylvania and deeply rooted in New England culinary tradition, the “Whoopie Pie” is neither a cookie nor a cake—it is the perfect hybrid. Legend has it that farmers would find these “hucklebucks” in their lunchboxes and shout “Whoopie!” in delight.
This particular recipe takes that nostalgic structure and infuses it with the deep, earthy warmth of traditional gingerbread. By balancing the spicy bite of ginger, the sweetness of cinnamon, and the robust profile of unsulphured molasses, these handheld treats offer a sophisticated flavor profile that appeals to adults and children alike. Whether you are prepping for a holiday cookie swap or simply looking for a cozy Sunday afternoon project, these gingerbread whoopie pies are a celebration of seasonal comfort.
2. Recipe Overview
- Cuisine Type: American (Amish/New England)
- Difficulty Level: Intermediate (requires precision in baking and piping)
- Total Time: 45 minutes (15 mins prep, 12 mins bake, 18 mins cooling/assembly)
- Dietary Classifications: Vegetarian, Nut-Free.
3. Equipment and Tools
To ensure your whoopie pies are uniform in size and perfectly textured, gather the following:
- Mixing Bowls: One large bowl for wet ingredients and one medium bowl for sifting dry ingredients.
- Electric Hand Mixer or Stand Mixer: Essential for aerating the butter and sugar.
- Baking Sheets: Two large, rimmed baking sheets (approx. 18×13 inches).
- Silicone Baking Mats or Parchment Paper: To prevent sticking and ensure even browning.
- Medium Cookie Scoop: Specifically a 1.5-tablespoon (approx. 4cm diameter) scoop for uniform halves.
- Piping Bag and Round Tip: For a professional, clean application of the filling.
- Wire Cooling Rack: To prevent the bottoms of the cakes from becoming soggy.
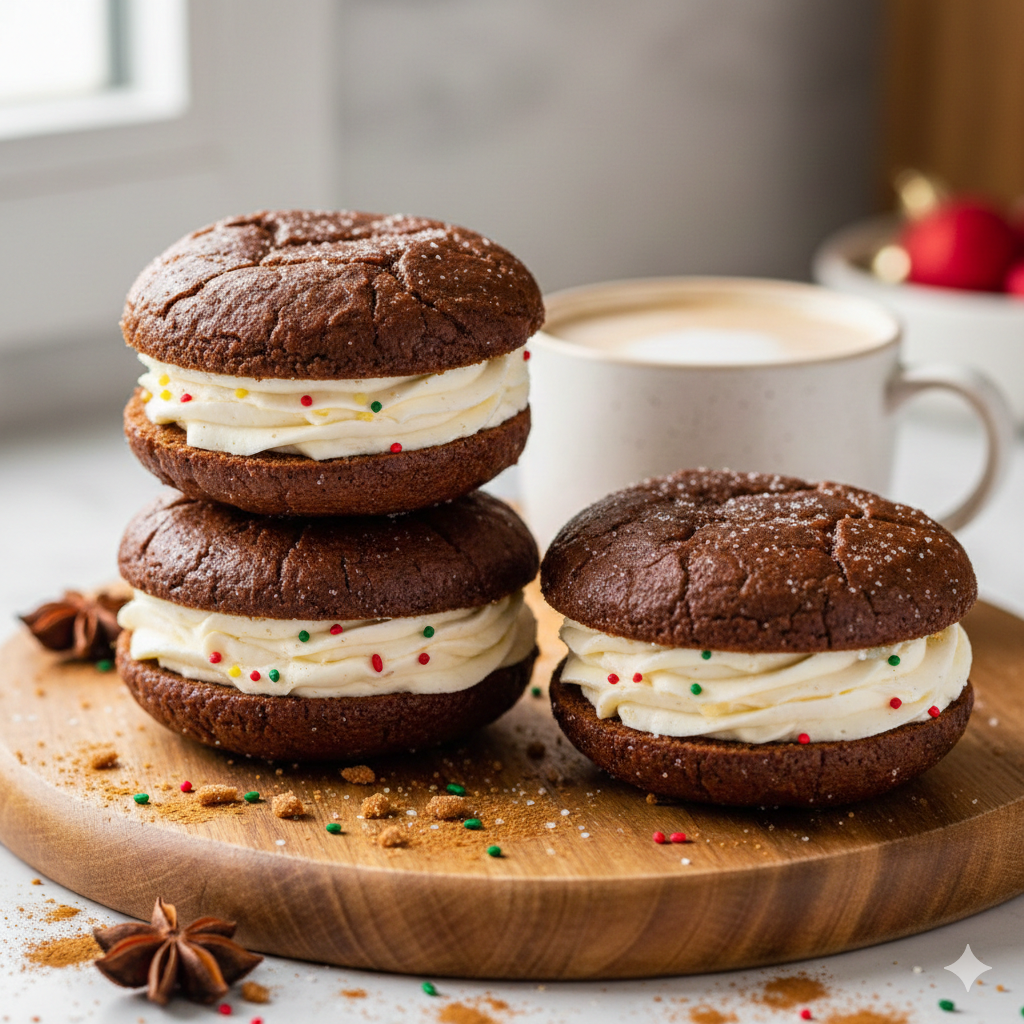
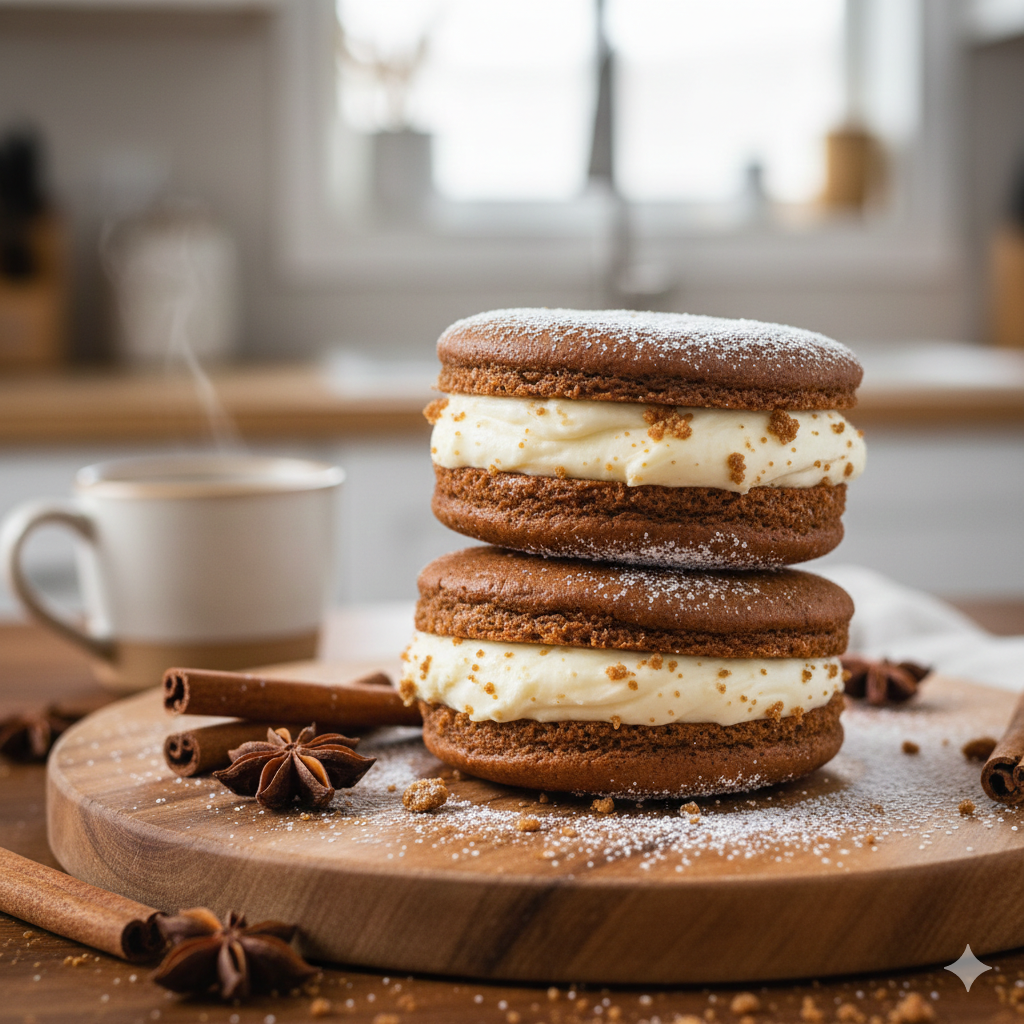
4. Serving Suggestions
These treats are visually stunning and can be dressed up for any occasion:
- Plating: Arrange in a circular pattern on a wooden board or a white ceramic cake stand.
- Garnish: Dust the tops with a light snow of powdered sugar or roll the edges of the filling in crushed gingerbread crumbs or festive sprinkles.
- Beverage Pairings:
- Hot: A dark roast coffee or a spicy Chai latte.
- Cold: A tall glass of cold whole milk.
- Adult: A glass of Tawny Port or a creamy Eggnog liqueur.
5. Nutritional Information
(Per serving based on 1 filled Whoopie Pie)
| Nutrient | Amount |
| Calories | 310 kcal |
| Total Fat | 14g |
| Saturated Fat | 8g |
| Cholesterol | 45mg |
| Sodium | 190mg |
| Total Carbohydrates | 44g |
| Dietary Fiber | 1g |
| Sugars | 28g |
| Protein | 3g |
6. Storage and Reheating
Because of the cream cheese filling, these pies require specific care:
- Refrigeration: Store in an airtight container for up to 5 days. Place parchment paper between layers to prevent sticking.
- Freezing: You can freeze the assembled pies for up to 2 months. Thaw in the refrigerator overnight before serving.
- Serving Temperature: For the best flavor, let them sit at room temperature for 15 minutes before eating so the cake softens.
7. Expert Tips and Variations
- The “Molasses” Rule: Always use unsulphured molasses (like Grandma’s brand). Avoid Blackstrap molasses, as it is too bitter and will overpower the spices.
- Room Temperature Ingredients: Ensure your butter and eggs are at room temperature. Cold ingredients will cause the batter to “break” or curdle, leading to a dense cake.
- Variation – The Lemon Twist: Gingerbread loves citrus. Add 1 teaspoon of fresh lemon zest to the cream cheese filling to cut through the richness.
- Variation – Gluten-Free: Replace the all-purpose flour with a high-quality 1:1 gluten-free baking blend that contains xanthan gum.
8. Ingredients Section
For the Gingerbread Cakes
- All-Purpose Flour: 3 cups (375g)
- Ground Ginger: 1.5 tsp
- Ground Cinnamon: 1 tsp
- Ground Cloves: 1/2 tsp
- Salt: 1/2 tsp
- Baking Soda: 1/2 tsp
- Baking Powder: 1/2 tsp
- Unsalted Butter (Softened): 1/2 cup (115g)
- Brown Sugar (Packed): 1/2 cup (100g)
- Molasses (Unsulphured): 1/2 cup (120ml)
- Large Egg: 1
- Hot Water: 1/2 cup (120ml)
For the Cream Cheese Filling
- Cream Cheese (Brick style, softened): 8 oz (225g)
- Unsalted Butter (Softened): 1/2 cup (115g)
- Powdered Sugar (Sifted): 3 cups (360g)
- Vanilla Extract: 1 tsp

9. Step-by-Step Instructions
Step 1: Prep the Oven and Pans
Preheat your oven to 350°F (175°C). Line your baking sheets with parchment paper or silicone mats.
Step 2: Sift Dry Ingredients
In a medium bowl, whisk together the flour, ginger, cinnamon, cloves, salt, baking powder, and baking soda. Sifting ensures no clumps of baking soda end up in your bite.
Step 3: Cream Butter and Sugar
In your stand mixer, beat the softened butter and brown sugar on medium-high speed for about 3 minutes until light and fluffy. This aeration is key to the “cakey” texture.
Step 4: Add Wet Ingredients
Add the egg and molasses. Beat until well combined. Scrape down the sides of the bowl to ensure even mixing.
Step 5: Alternating Additions
Lower the mixer speed. Add half of the dry ingredients, followed by the hot water. Finish with the remaining dry ingredients. Mix just until the white streaks of flour disappear. Do not overmix, or the pies will be tough.
Step 6: Scoop and Bake
Using your cookie scoop, drop rounded tablespoons of batter onto the sheets, spaced 2 inches apart. Bake for 10–12 minutes. The tops should spring back when lightly touched.
Step 7: Cool Completely
Transfer the cakes to a wire rack. They must be completely cold before filling, or the cream cheese will melt.
Step 8: Make the Filling
Beat the cream cheese and butter until smooth. Gradually add powdered sugar and vanilla. Whip until the frosting is stiff enough to hold its shape.
Step 9: Assembly
Pipe or spoon a generous dollop of filling onto the flat side of one cake. Top with another cake and press gently until the filling reaches the edges.
10. Frequently Asked Questions (FAQ)
Q: Why are my whoopie pies flat?
A: This usually happens if the butter was too melted or if the batter was over-mixed. Ensure your butter is “cool-room temperature”—it should indent when pressed but not be greasy.
Q: Can I use ginger paste instead of ground ginger?
A: Ground ginger is preferred for baking as it distributes more evenly and provides a specific “dry” heat. Paste can add too much moisture.
Q: Why is my filling runny?
A: You likely used “spreadable” cream cheese from a tub. Always use the brick-style cream cheese for frosting, as it has a lower moisture content.
Q: Can I make the batter in advance?
A: It is best to bake the cakes immediately. The baking soda reacts with the molasses (acid) the moment they touch; if the batter sits too long, the pies won’t rise.
Q: How do I get that “shiny” top?
A: The molasses naturally creates a slight sheen, but for extra shine, ensure your oven is fully preheated before the pans go in.
