1. Introduction: The Magic of the Holidays in a Jar
There is a specific moment every year—usually right as the first frost clings to the windowpane—when the air begins to smell of nutmeg, cinnamon, and nostalgia. For many, nothing signals the arrival of the festive season quite like eggnog. While the traditional beverage is a polarizing classic, transforming those rich, custard-like flavors into a No-Bake Eggnog Cheesecake Jar is a guaranteed crowd-pleaser.
This recipe wasn’t born in a high-end bistro; it was born from the chaotic beauty of holiday hosting. We’ve all been there: the oven is occupied by a massive turkey or a tray of roasting root vegetables, and the “dessert stress” starts to set in. By removing the oven from the equation and utilizing the charm of individual glass jars, we create a dessert that is not only visually stunning but also incredibly practical.
The significance of this dish lies in its balance. Traditional cheesecake can be heavy and labor-intensive, often requiring water baths and prayers to the “no-crack” gods. These jars, however, offer a light, mousse-like texture that highlights the botanical complexity of eggnog without being overwhelming. It’s a modern tribute to a centuries-old holiday staple, served in a way that feels fresh, elegant, and effortlessly cool.
2. Recipe Overview
- Cuisine Type: American / Holiday Fusion
- Difficulty Level: Easy (Beginner-Friendly)
- Prep Time: 25 minutes
- Chilling Time: 4 hours (Minimum)
- Total Time: 4 hours 25 minutes
- Dietary Classifications: Vegetarian. (Can be easily adapted to be Gluten-Free by using GF graham crackers).
3. Equipment and Tools
To achieve the perfect silky consistency and professional presentation, ensure you have the following:
- Mixing Bowls: One large bowl for the cheesecake base and one medium bowl for whipping the cream.
- Electric Hand Mixer or Stand Mixer: Essential for aerating the heavy cream and ensuring the cream cheese is lump-free.
- Individual Jars: 6 to 8 glass canning jars (4 oz or 6 oz size). Wide-mouth jars are easier to fill and eat from.
- Rolling Pin and Ziploc Bag: For crushing the graham crackers into a fine, sandy rubble.
- Rubber Spatula: For folding ingredients gently to maintain airiness.
- Measuring Cups and Spoons: For precision in spices and liquids.
- Piping Bag (Optional): To neatly transfer the cheesecake mixture into the jars without smudging the sides.
4. Serving Suggestions
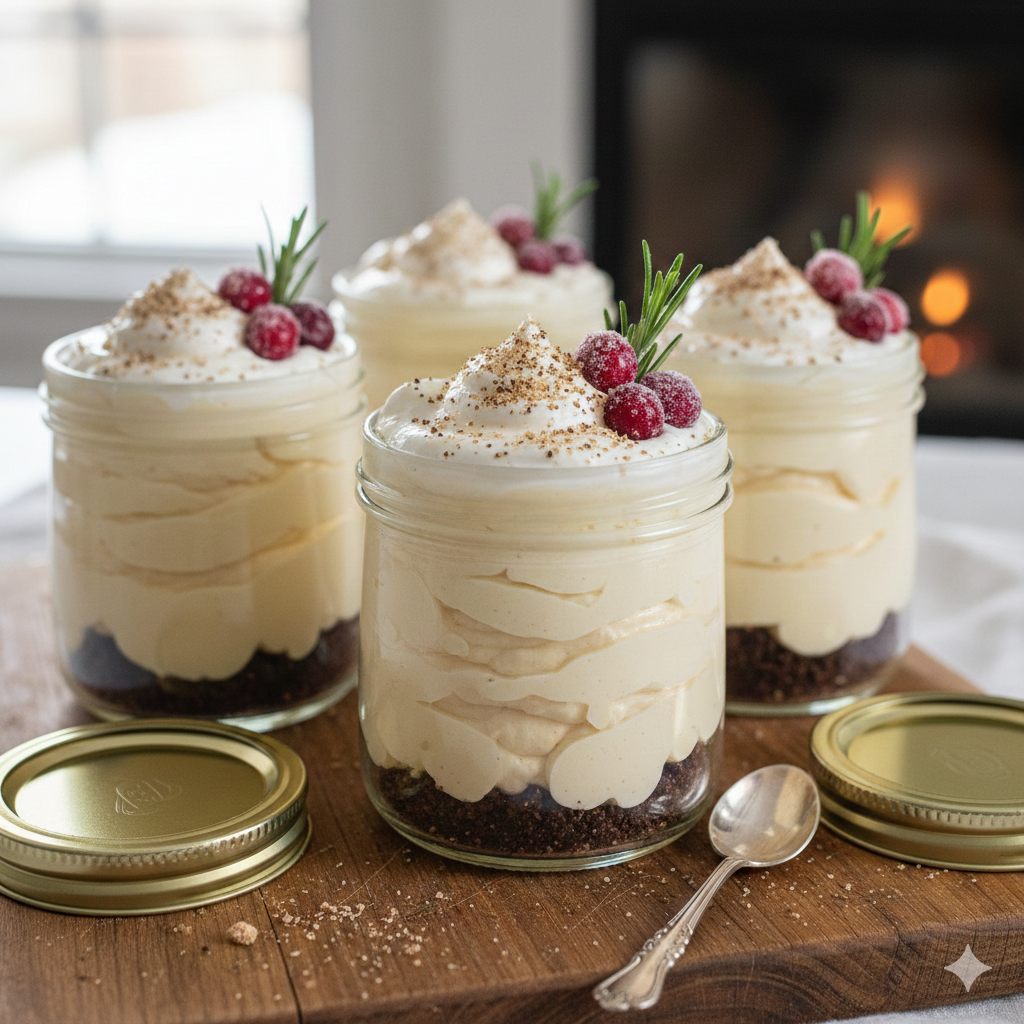
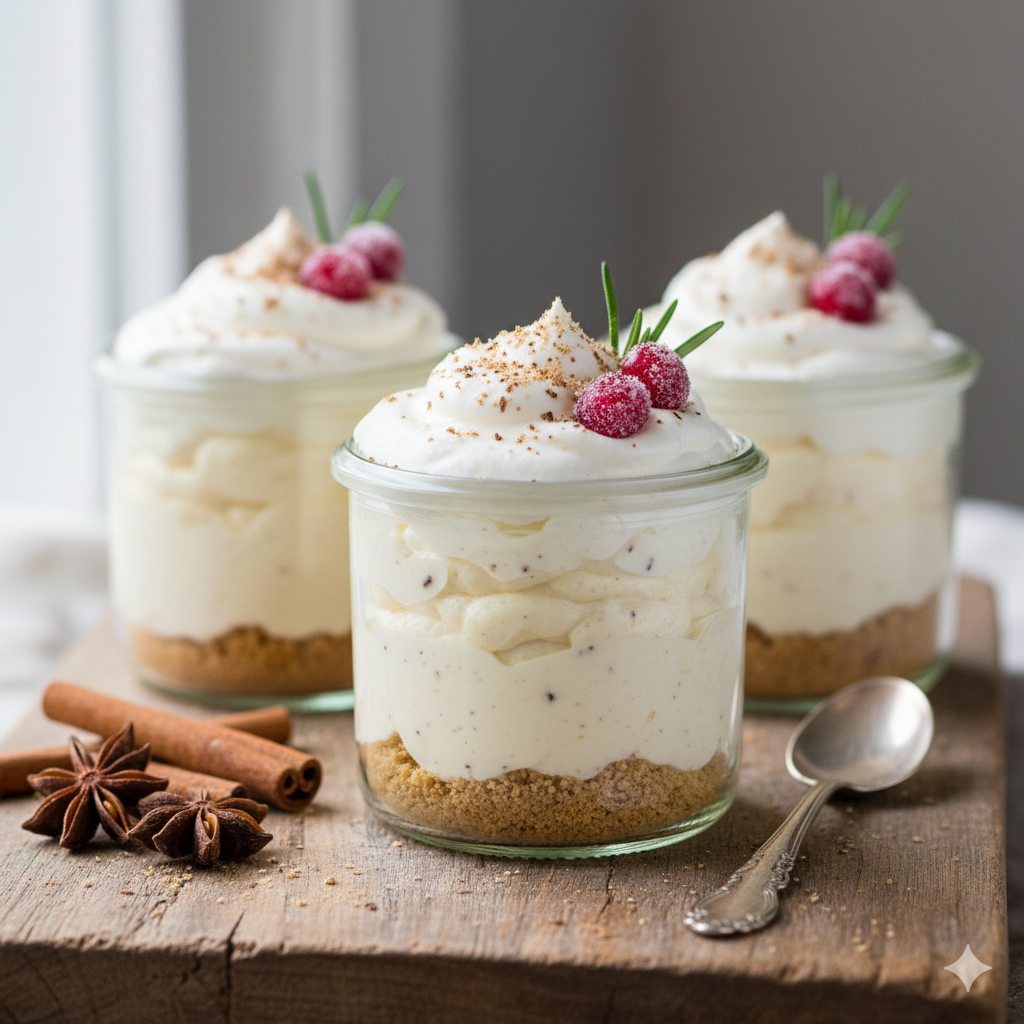
Plating & Presentation: Set these jars on a rustic wooden board or a silver tiered stand. The contrast between the glass and the creamy filling is beautiful on its own, but a sprig of fresh mint or a small rosemary branch can add a “Christmas forest” aesthetic.
Garnish Ideas:
- A light dusting of freshly grated nutmeg (fresh is vastly superior to pre-ground).
- A dollop of extra whipped cream.
- A single gingersnap cookie tucked into the side.
- Sugared cranberries for a pop of tartness and color.
Beverage Pairings:
- Coffee: A dark roast or an espresso balances the sweetness.
- Wine: A late-harvest Riesling or a sweet Sherry complements the nutmeg notes.
- Spirits: A small glass of aged dark rum or bourbon on the side mimics the traditional “spiked” eggnog experience.

5. Nutritional Information (Per Serving)
- Calories: 340 kcal
- Total Fat: 24g
- Saturated Fat: 14g
- Cholesterol: 75mg
- Sodium: 210mg
- Total Carbohydrates: 28g
- Sugars: 18g
- Protein: 4g
Note: Nutritional values are estimates based on standard ingredients. The use of full-fat vs. low-fat dairy will significantly alter these numbers.
6. Storage and Reheating
- Refrigeration: These jars are best kept in the refrigerator. They will stay fresh and hold their structure for up to 3 days. Keep them tightly sealed with lids or plastic wrap to prevent the cheesecake from absorbing other “fridge odors.”
- Freezing: You can freeze these, though the texture may become slightly denser. Freeze for up to 1 month. Thaw in the refrigerator for 4 hours before serving.
- Reheating: Do not reheat. This is a cold-set dessert. Heat will melt the structure and turn your cheesecake back into a liquid custard.
7. Expert Tips and Variations
Professional Chef Tips
- Room Temperature is Key: Ensure your cream cheese is completely soft before mixing. If it’s even slightly cold, you will end up with tiny white lumps that are impossible to smooth out later.
- The “Soft Peak” Fold: When folding the whipped cream into the cheesecake base, use a “figure-eight” motion. This preserves the air bubbles and gives you that mousse-like mouthfeel.
Creative Variations
- The Boozy Kick: Add 1 tablespoon of dark rum or brandy to the filling for a more “adult” version of the treat.
- Gingersnap Crust: Swap the graham crackers for crushed gingersnap cookies to add a spicy, ginger-forward crunch that pairs beautifully with eggnog.
- Chocolate Layer: Add a layer of chocolate ganache at the bottom before adding the crust for a decadent “Black Forest” holiday twist.
8. Ingredients Section
The Crust
- Graham Cracker Crumbs: 1.5 cups (approx. 180g)
- Unsalted Butter (Melted): 4 tbsp (60g)
- Granulated Sugar: 1 tbsp (12g)
- Salt: A pinch
The Filling
- Cream Cheese: 16 oz (450g) — 2 standard blocks, softened.
- Powdered Sugar: 3/4 cup (90g) — Sifted to avoid lumps.
- Eggnog (Full Fat): 1/2 cup (120ml) — Use a high-quality, thick brand.
- Vanilla Extract: 1 tsp
- Ground Nutmeg: 1/2 tsp (plus extra for garnish)
- Ground Cinnamon: 1/4 tsp
- Heavy Whipping Cream: 1 cup (240ml), chilled.
9. Step-by-Step Instructions
Step 1: Prepare the Crust
In a medium bowl, combine the crushed graham cracker crumbs, melted butter, sugar, and salt. Stir until the mixture resembles wet sand. Distribute the mixture evenly among 6-8 jars. Use a small spoon or a cocktail muddler to press the crumbs firmly into the bottom of each jar. Set aside in the fridge while you make the filling.
Step 2: Beat the Cream Cheese
In a large mixing bowl, beat the softened cream cheese and powdered sugar together until completely smooth and aerated. This should take about 3 minutes on medium-high speed.
Step 3: Add the Flavors
Gradually pour in the eggnog, vanilla extract, nutmeg, and cinnamon. Beat on low speed until just combined. Scrape down the sides of the bowl with a spatula to ensure every bit of cream cheese is incorporated.
Step 4: Whip the Cream
In a separate chilled bowl, whip the heavy cream until stiff peaks form. Tip: You’ll know you have stiff peaks when you lift the whisk and the cream stands straight up without drooping.
Step 5: The Fold
Gently fold the whipped cream into the eggnog mixture using a rubber spatula. Do this slowly; if you stir too vigorously, you will lose the fluffiness.
Step 6: Fill the Jars
Transfer the mixture into a piping bag (or a large Ziploc bag with the corner snipped off). Pipe the cheesecake filling into the jars, leaving about half an inch of space at the top for garnishes.
Step 7: Chill and Set
Wipe any smudges off the glass. Place the jars in the refrigerator for at least 4 hours, though overnight is ideal for the flavors to meld.
Step 8: Final Touches
Just before serving, garnish with a fresh dusting of nutmeg and a dollop of whipped cream.
10. Frequently Asked Questions (FAQ)
Q: Can I use store-bought eggnog? A: Absolutely! In fact, store-bought eggnog is preferred for this recipe because it is pasteurized and has a consistent thickness that helps the cheesecake set.
Q: Why is my cheesecake filling too runny? A: This usually happens if the eggnog was added too quickly or if the whipped cream wasn’t beaten to stiff peaks. Ensure you chill the jars for the full 4 hours to allow the fats in the cream cheese to firm up.
Q: Can I make this in a standard springform pan instead of jars? A: Because this is a no-bake recipe without gelatin, it is quite soft. While it works beautifully in jars, it may not hold its shape perfectly as a slice of cake. If you want a standalone cake, consider adding 1 tsp of bloomed gelatin to the eggnog.
Q: Is there a non-dairy version? A: Yes! You can use vegan cream cheese, coconut whipping cream, and a plant-based eggnog (like almond or oat-based). Note that the setting time may take longer.
Q: Can I use low-fat cream cheese? A: You can, but the texture will be less “velvety” and may be slightly more watery. For the best holiday indulgence, stick to full-fat!
