1. Introduction: A Hug in Cookie Form
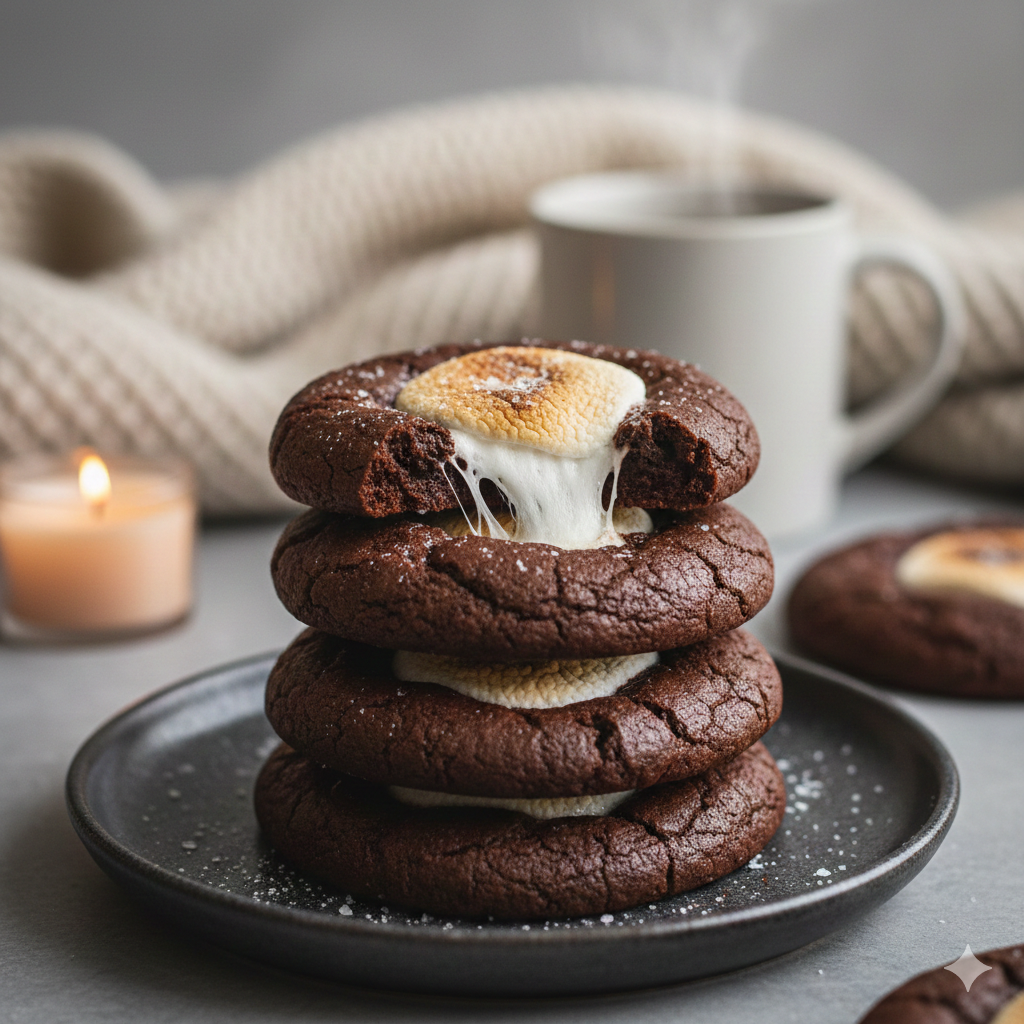
There is a specific kind of magic that happens when the temperature drops and the scent of cocoa begins to waft through the kitchen. While a mug of hot chocolate is the universal symbol of winter comfort, there is something even more decadent about capturing that entire experience—the rich chocolate, the velvety warmth, and the toasted marshmallows—inside a single, soft-baked cookie.
These Gooey Hot Cocoa Cookies aren’t just your standard chocolate biscuit. They are a culinary tribute to the après-ski lifestyle and cozy fireside chats. The recipe originated from the desire to create a “liquid-to-solid” transformation, where the essence of a premium hot cocoa mix is infused into a buttery dough. The result is a cookie with a crackly, brownie-like exterior and a center so soft it practically melts on the tongue.
Whether you’re baking these for a holiday cookie swap or simply as a Tuesday night pick-me-up, they represent the ultimate fusion of nostalgia and gourmet baking.
2. Recipe Overview
- Cuisine Type: American / Dessert
- Difficulty Level: Intermediate (requires precise chilling)
- Total Time: 2 hours 15 minutes
- Prep Time: 20 minutes
- Chill Time: 1 hour 45 minutes
- Cook Time: 10 minutes
- Dietary Classifications: Vegetarian, Nut-Free (can be made Gluten-Free with substitutions)
3. Equipment and Tools
To achieve the perfect professional finish, ensure you have the following tools ready:
- Mixing Bowls: One large (4-quart) for wet ingredients, one medium (2-quart) for dry.
- Electric Mixer: Stand mixer or handheld mixer with whisk/paddle attachments.
- Baking Sheets: Two heavy-duty, light-colored aluminum rimmed baking sheets ($18 \times 13$ inches).
- Silicone Mats or Parchment Paper: To prevent sticking and ensure even browning.
- Cooling Rack: Wire rack for airflow to prevent soggy bottoms.
- Cookie Scoop: A #40 scoop (approx. 1.5 tablespoons) for uniform sizing.
- Kitchen Scale: For precise metric measurements (highly recommended for baking).
4. Serving Suggestions
These cookies are a showstopper on their own, but you can elevate the experience:
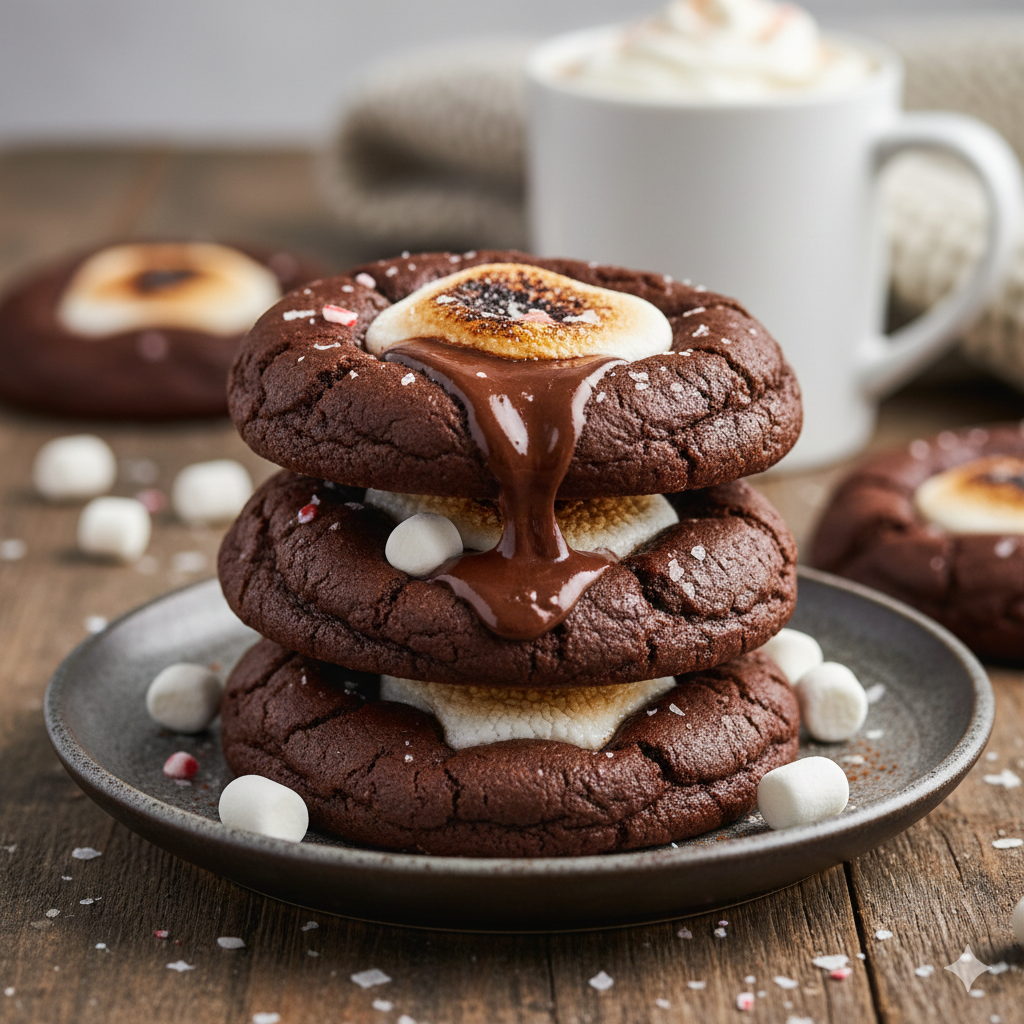
- Plating: Serve warm on a dark ceramic platter to make the white marshmallow centers pop.
- Garnish: A light dusting of premium cocoa powder or a sprinkle of flaky sea salt (Maldon) to balance the sweetness.
- Beverage Pairings: * Classic: A cold glass of whole milk.
- Indulgent: An actual cup of hot cocoa for the “double cocoa” experience.
- Adult Pairing: A glass of Ruby Port or a Stout beer with chocolate notes.
5. Nutritional Information (Per Cookie)
- Calories: 185 kcal
- Total Fat: 9g (Saturated Fat: 5g)
- Carbohydrates: 26g
- Fiber: 1.5g
- Sugars: 18g
- Protein: 2g
Health Note: While these are an indulgence, using dark chocolate (70% cocoa) provides antioxidants and flavonoids. Enjoy in moderation as part of a balanced lifestyle.
6. Storage and Reheating
- Room Temperature: Store in an airtight container for up to 4 days. Place a piece of white bread in the container to keep them soft.
- Freezing: You can freeze the baked cookies for up to 2 months.
- Reheating: To regain that “hot cocoa” gooeyness, microwave a single cookie for 8–10 seconds. Do not overcook, or the marshmallow will become rubbery.
7. Expert Tips and Variations
Professional Chef Tips
- The “Scoot” Technique: Immediately after taking the cookies out of the oven, use a circular glass or cookie cutter to “scoot” the warm cookies into perfect circles.
- Room Temp Ingredients: Ensure your eggs and butter are at room temperature to create a seamless emulsion.
Creative Variations
- Mexican Hot Cocoa: Add 1 tsp of cinnamon and a pinch of cayenne pepper to the dry ingredients.
- Peppermint Crunch: Fold in crushed candy canes during the last minute of mixing.
- Mocha Fusion: Add 1 tbsp of espresso powder to intensify the chocolate flavor.

8. Ingredients Section
| Ingredient | Imperial | Metric | Notes |
| Unsalted Butter | 1/2 Cup | 115g | Softened, high-fat (European style) |
| Semi-Sweet Chocolate | 12 oz | 340g | Chopped bars melt better than chips |
| All-Purpose Flour | 1.5 Cups | 190g | Sifted |
| Unsweetened Cocoa | 1/4 Cup | 25g | Dutch-processed preferred |
| Brown Sugar | 3/4 Cup | 150g | Packed light brown sugar |
| Large Eggs | 2 | 100g | Room temperature |
| Baking Powder | 1.5 tsp | 6g | Ensure it is fresh |
| Vanilla Extract | 1 tsp | 5ml | Pure Madagascar Bourbon |
| Large Marshmallows | 12 | – | Cut in half horizontally |
9. Step-by-Step Instructions
Step 1: Melt the Chocolate Base
In a microwave-safe bowl or double boiler, melt the butter and 8 oz of the chopped chocolate together. Stir until glossy and smooth. Let it cool for 5–10 minutes.
Step 2: Cream the Sugars and Eggs
In your stand mixer, beat the eggs, brown sugar, and vanilla on medium-high for about 3 minutes. The mixture should become pale and slightly frothy.
Step 3: Combine
Slowly pour the cooled chocolate mixture into the egg mixture while the mixer is on low. Mix until just combined.
Step 4: Dry Ingredients
Whisk together the flour, cocoa powder, salt, and baking powder. Gradually add this to the wet ingredients. Fold in the remaining 4 oz of chocolate chunks.
Step 5: The Chill (Crucial!)
Cover the dough and refrigerate for at least 1 hour. The dough will be very sticky; chilling makes it scoopable.
Step 6: Scoop and Bake
Preheat oven to 325°F (165°C). Scoop 1.5-tbsp mounds onto the baking sheet. Bake for 10 minutes.
Step 7: The Marshmallow Topping
Remove the tray. Gently press a marshmallow half (cut side down) into the center of each cookie. Return to the oven for 2 more minutes until the marshmallow is puffed but not melted away.
10. Frequently Asked Questions (FAQ)
Q: Can I use hot cocoa mix instead of cocoa powder?
A: We don’t recommend a straight swap. Cocoa mix contains powdered milk and sugar which can throw off the chemistry of the dough. Stick to Dutch-processed cocoa powder for the best results.
Q: Why did my cookies spread too much?
A: This usually happens if the butter was too hot when added to the eggs, or if the dough wasn’t chilled long enough. Ensure the dough is firm to the touch before baking.
Q: How do I get the toasted marshmallow look?
A: After the final 2 minutes of baking, you can briefly (30 seconds) turn on the broiler. Watch them like a hawk—marshmallows burn in an instant!
Q: Can I make this gluten-free?
A: Yes! Substitute the all-purpose flour for a 1:1 gluten-free baking flour blend that contains xanthan gum.
