1. Introduction: The Magic of the Apple Crumble Bar
There is a specific kind of alchemy that happens when butter, sugar, and flour meet the humble apple. While a traditional apple pie is often seen as the “crown jewel” of autumnal desserts, it carries with it the baggage of high-maintenance pastry dough, chilling times, and the inevitable fear of a “soggy bottom.” Enter the Apple Crumble Bar: the relaxed, effortless cousin that delivers all the flavor with none of the fuss.
These bars are the ultimate “cross-over” dessert. They bridge the gap between a portable cookie and a decadent fruit crisp. My first encounter with this recipe wasn’t in a high-end bakery, but in a cluttered family kitchen on a Sunday afternoon. We had a surplus of orchard-picked Galas and no patience for rolling out dough. The solution was a “press-in” crust that doubles as the crumble topping.
The beauty of this dish lies in its accessibility. It is a recipe that welcomes the novice baker with open arms while providing the seasoned pro with a reliable, crowd-pleasing staple. It’s about the contrast of textures—the snap of the buttery base, the jammy softness of the spiced apples, and the pebbly crunch of the streusel top. Whether you are serving these at a backyard BBQ or as a sophisticated end to a dinner party, they evoke a sense of home-cooked comfort that is hard to replicate.
2. Recipe Overview
- Cuisine Type: American / Contemporary Bakery
- Difficulty Level: Easy (Beginner-friendly)
- Total Time: 1 hour 15 minutes
- Prep time: 20 minutes
- Bake time: 45-55 minutes
- Dietary Classifications: Vegetarian (Can be adapted for Vegan and Gluten-Free diets)
3. Equipment and Tools
To ensure your bars have the perfect structural integrity, using the right tools is essential.
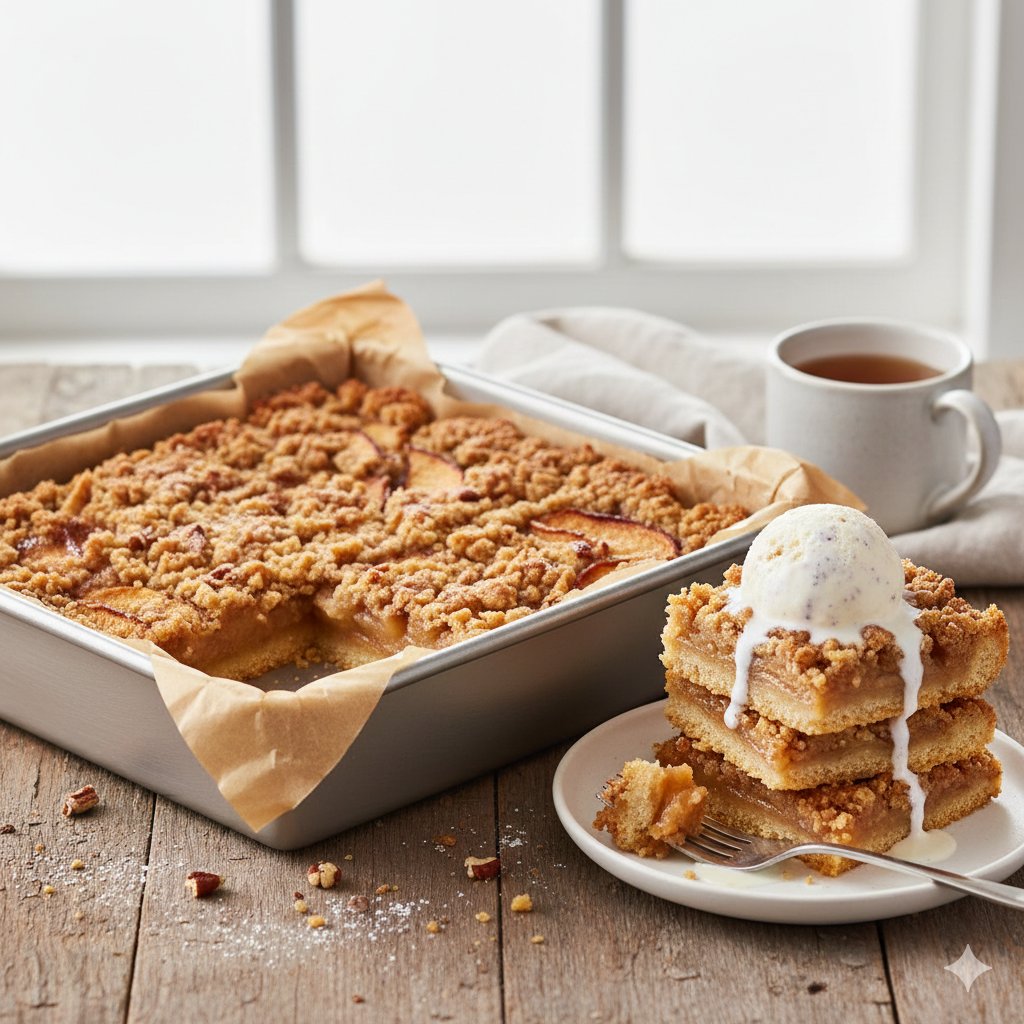
- Baking Pan: 8×8 inch (20×20 cm) square metal or glass baking pan. Metal is preferred for sharper edges and better heat conduction.
- Parchment Paper: Essential for “sling” construction to lift the bars out cleanly.
- Large Mixing Bowls: Two bowls (one for the crust/crumble, one for the apple filling).
- Pastry Cutter or Fork: To cut the butter into the dry ingredients.
- Box Grater or Sharp Chef’s Knife: For preparing the apples.
- Measuring Cups and Spoons: For both dry and liquid ingredients.
- Wire Cooling Rack: To prevent the bottom from becoming soggy while cooling.
4. Serving Suggestions
These bars are versatile enough for any setting.
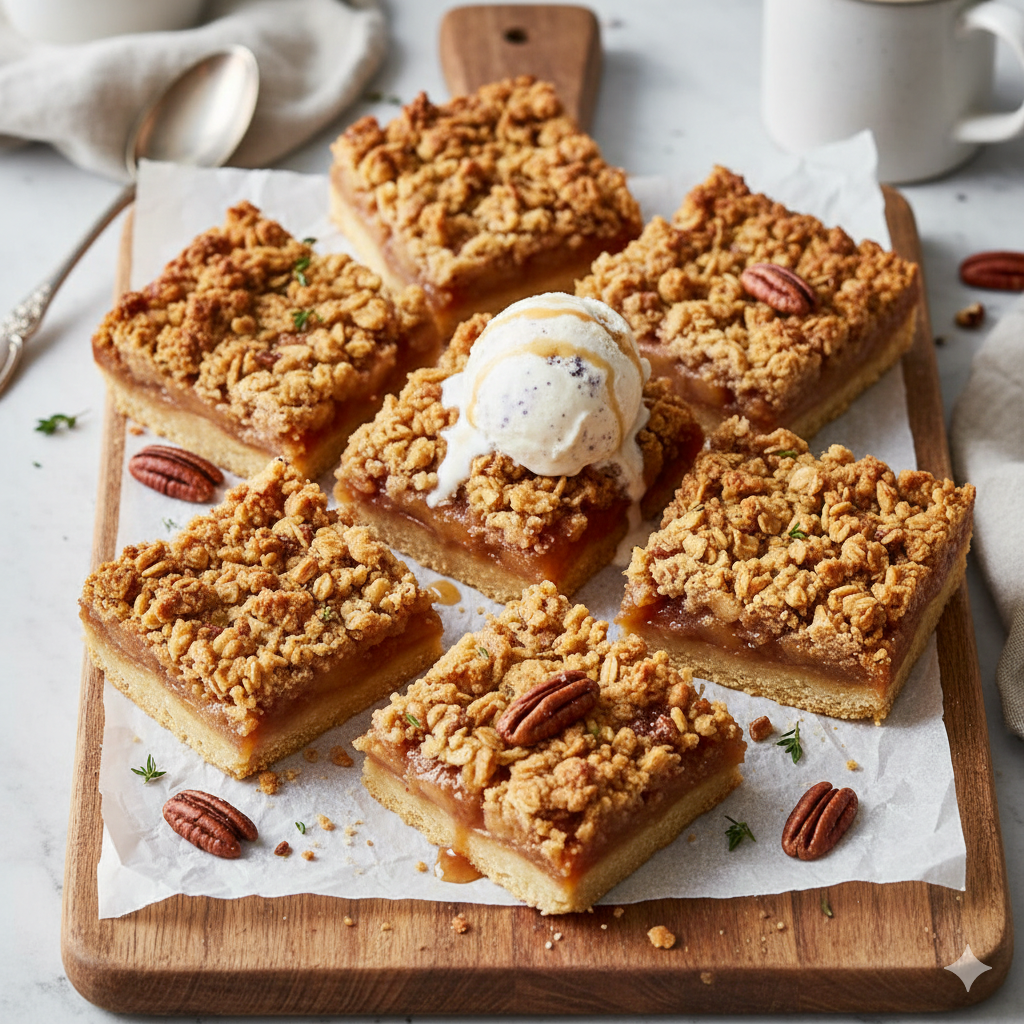
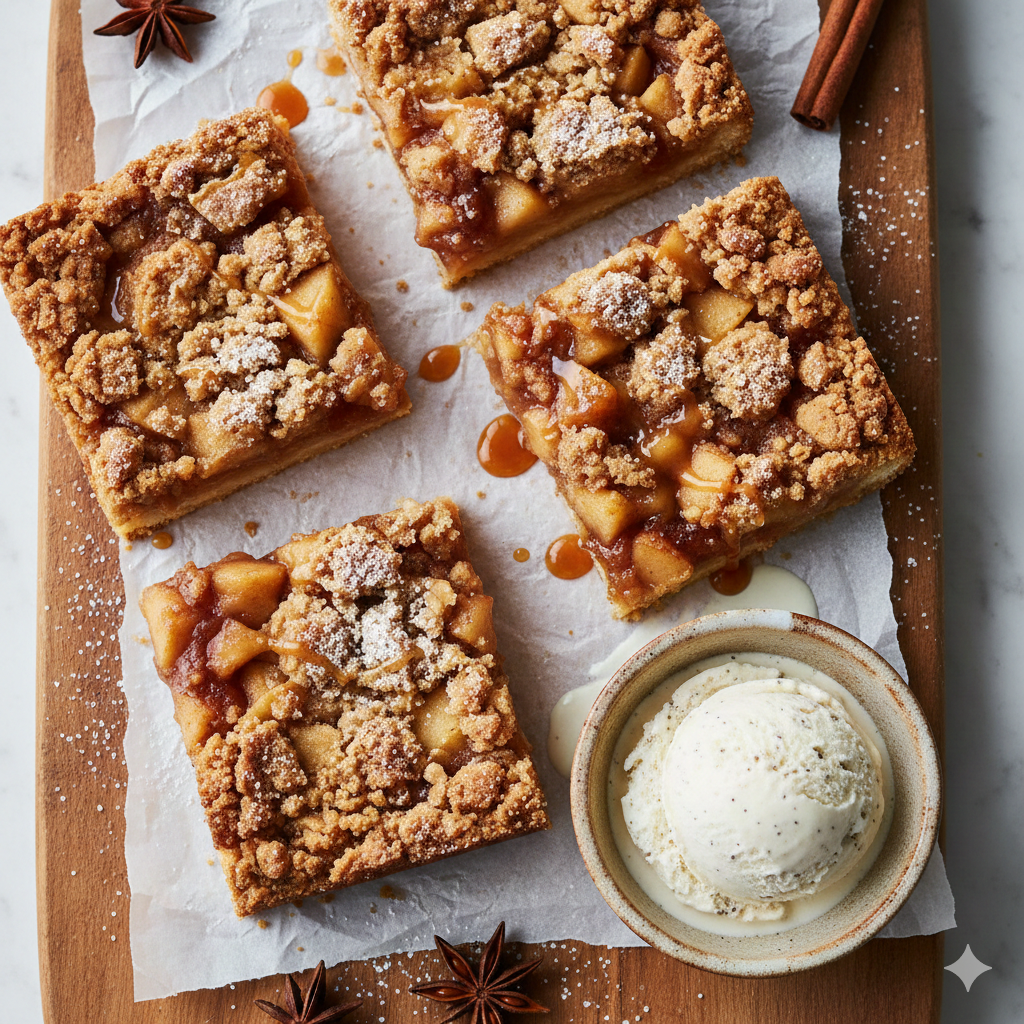
- The Classic Ala Mode: Serve warm with a generous scoop of high-quality Madagascar vanilla bean ice cream. The cold cream melting into the warm cinnamon apples is a sensory delight.
- The Afternoon Tea: Serve at room temperature with a dollop of lightly sweetened whipped cream and a dusting of nutmeg.
- Garnish: A drizzle of salted caramel sauce or a handful of toasted slivered almonds adds a professional touch.
- Beverage Pairings: * Non-Alcoholic: Warm spiced cider or a robust Earl Grey tea.
- Alcoholic: A crisp Dessert Riesling or a chilled glass of Hard Apple Cider.
5. Nutritional Information (Per Serving)
Serving size: 1 bar (based on 16 bars per pan)
| Nutrient | Amount |
| Calories | 245 kcal |
| Total Fat | 12g |
| Saturated Fat | 7g |
| Carbohydrates | 34g |
| Fiber | 2g |
| Sugar | 18g |
| Protein | 2g |
Note: These bars are a source of Vitamin C and dietary fiber from the fresh apples. For a healthier profile, sugar can be substituted with coconut sugar or a monk fruit sweetener.
6. Storage and Reheating
- Room Temperature: Store in an airtight container for up to 2 days.
- Refrigeration: Best kept in the fridge for up to 5 days. This actually helps the bars set further, making them easier to slice.
- Freezing: Wrap individual bars in plastic wrap and store in a freezer bag for up to 3 months. Thaw in the fridge overnight.
- Reheating: To regain the “crisp” in the crumble, reheat in an oven or toaster oven at 350°F (175°C) for 5-8 minutes. Avoid microwaving if you want to keep the topping crunchy.
7. Expert Tips and Variations
Professional Tips
- The “Cold Butter” Rule: Always use cold, cubed butter for the crust. As the butter melts in the oven, it creates steam, which results in a flakier, lighter shortbread.
- The Apple Mix: Use a combination of a tart apple (Granny Smith) and a sweet apple (Honeycrisp) for a complex flavor profile.
- Parchment Overhang: Leave an extra inch of parchment paper hanging over the sides of the pan. This “handle” allows you to lift the entire block of bars out at once.
Creative Variations
- Salted Caramel: Drizzle homemade caramel over the apple layer before adding the crumble top.
- Berry Twist: Replace one cup of apples with fresh blackberries or cranberries for a tart pop of color.
- Nutty Topping: Add ½ cup of chopped pecans or walnuts to the crumble mixture for extra texture.
8. Ingredients Section
For the Crust and Crumble
- Unsalted Butter: 1 cup (225g), cold and cubed.
- All-Purpose Flour: 2 cups (250g).
- Granulated Sugar: ½ cup (100g).
- Baking Powder: 1 tsp.
- Salt: ¼ tsp (Fine sea salt).
- Egg: 1 large (helps bind the crust).
For the Apple Filling
- Fresh Apples: 4 cups (approx. 4-5 medium apples), peeled and thinly sliced or diced.
- Lemon Juice: 1 tbsp (prevents browning and adds acidity).
- Light Brown Sugar: ¼ cup (50g) packed.
- Ground Cinnamon: 1.5 tsp.
- Ground Ginger: ½ tsp (optional, for warmth).
- Cornstarch: 2 tsp (to thicken the juices).
9. Step-by-Step Instructions
- Preparation: Preheat your oven to 375°F (190°C). Grease an 8×8 inch baking pan and line it with parchment paper.
- Create the Dough: In a large bowl, whisk together the flour, granulated sugar, baking powder, and salt.
- Cut in the Butter: Add the cold, cubed butter. Use a pastry cutter or two knives until the mixture resembles coarse crumbs (pea-sized pieces).
- Add the Binder: Stir in the lightly beaten egg. The dough will be dry and crumbly—this is correct!
- Form the Base: Press two-thirds of this mixture firmly into the bottom of your prepared pan. Use the bottom of a flat glass to ensure even distribution.
- Prepare the Apples: In a separate bowl, toss the sliced apples with lemon juice, brown sugar, cinnamon, ginger, and cornstarch. Ensure every slice is coated.
- Layering: Spread the apple mixture evenly over the unbaked crust.
- The Topping: Take the remaining one-third of the dough and sprinkle it over the apples. Squeeze small handfuls of the dough together to create larger “clumps” for better texture.
- Bake: Place in the center of the oven and bake for 45 to 55 minutes. The top should be golden brown, and the apple juices should be bubbling.
- Cooling: This is the hardest part! Allow the bars to cool completely in the pan for at least 1 hour. This sets the base so they don’t crumble when cut.
10. Frequently Asked Questions (FAQ)
Q: Can I use Gluten-Free flour?
A: Yes! A 1:1 gluten-free baking blend works beautifully. Ensure your blend contains xanthan gum for the best structure.
Q: Do I have to peel the apples?
A: While you can leave the skins on for extra fiber, peeling them provides a much softer, more “melt-in-your-mouth” texture that defines a classic crumble bar.
Q: Why are my bars falling apart?
A: This usually happens if they are sliced while still warm. The butter in the crust needs to firm up at room temperature to hold the weight of the apples.
Q: Can I use different fruit?
A: Absolutely. Peaches, pears, or even a cherry filling work well with this exact crust-to-crumble ratio.
Q: My crumble is too sandy, what did I do wrong?
A: Make sure you include the egg! The egg acts as a binder. If you omit it, the crust will be much more fragile and “sandy.”
