1. Introduction
As the leaves begin their rhythmic descent and the air takes on that unmistakable crispness, our culinary cravings undergo a fundamental shift. We move away from the light, citrusy notes of summer toward the warm, grounding spices of autumn. Enter the No-Bake Pumpkin Lush Dessert—a masterpiece of layered textures that has become a cornerstone of holiday gatherings and cozy Sunday dinners alike.
Often referred to as “Pumpkin Lasagna” or “Pumpkin Sex in a Pan” (depending on how cheeky your family recipe book is), this dessert is a triumph of convenience and elegance. Its origins are rooted in the mid-century American “potluck” culture, where “lush” desserts—characterized by their creamy layers and chilled service—became the gold standard for effortless hosting.
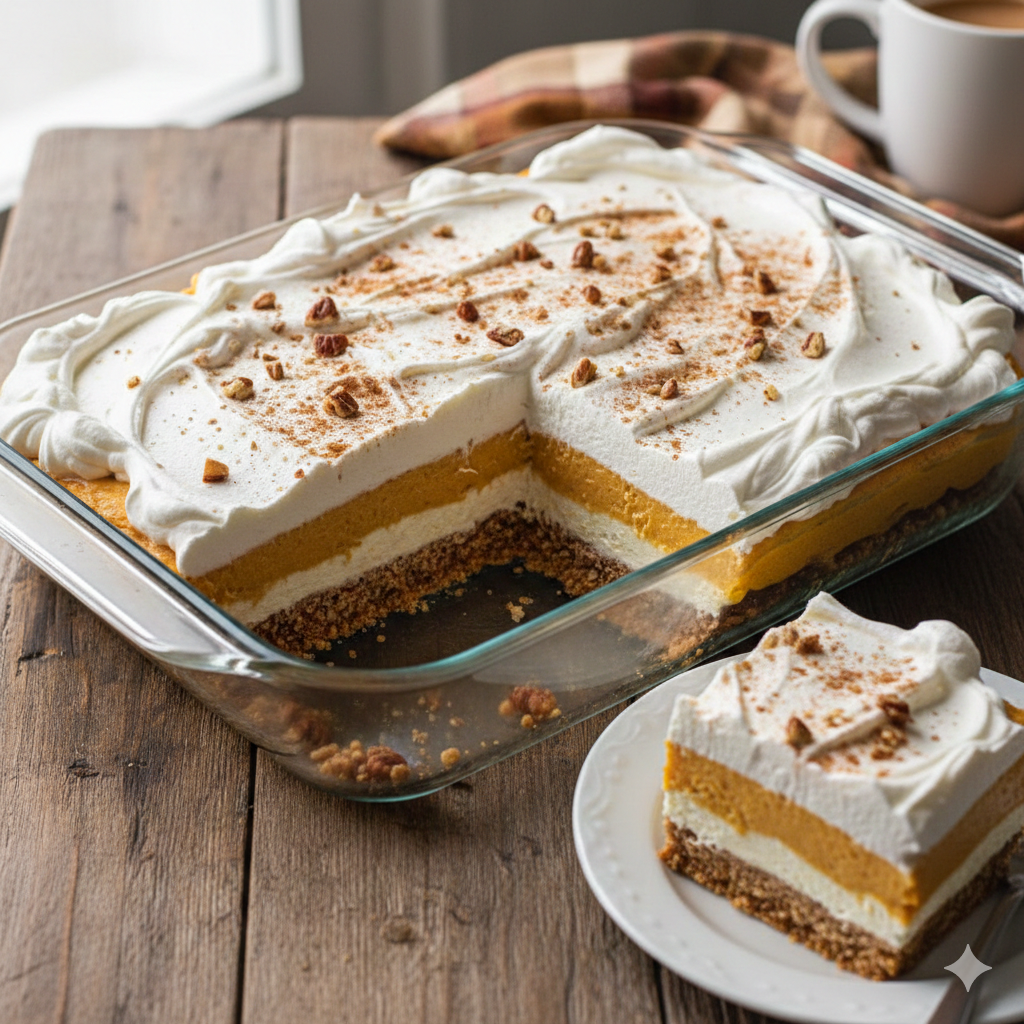
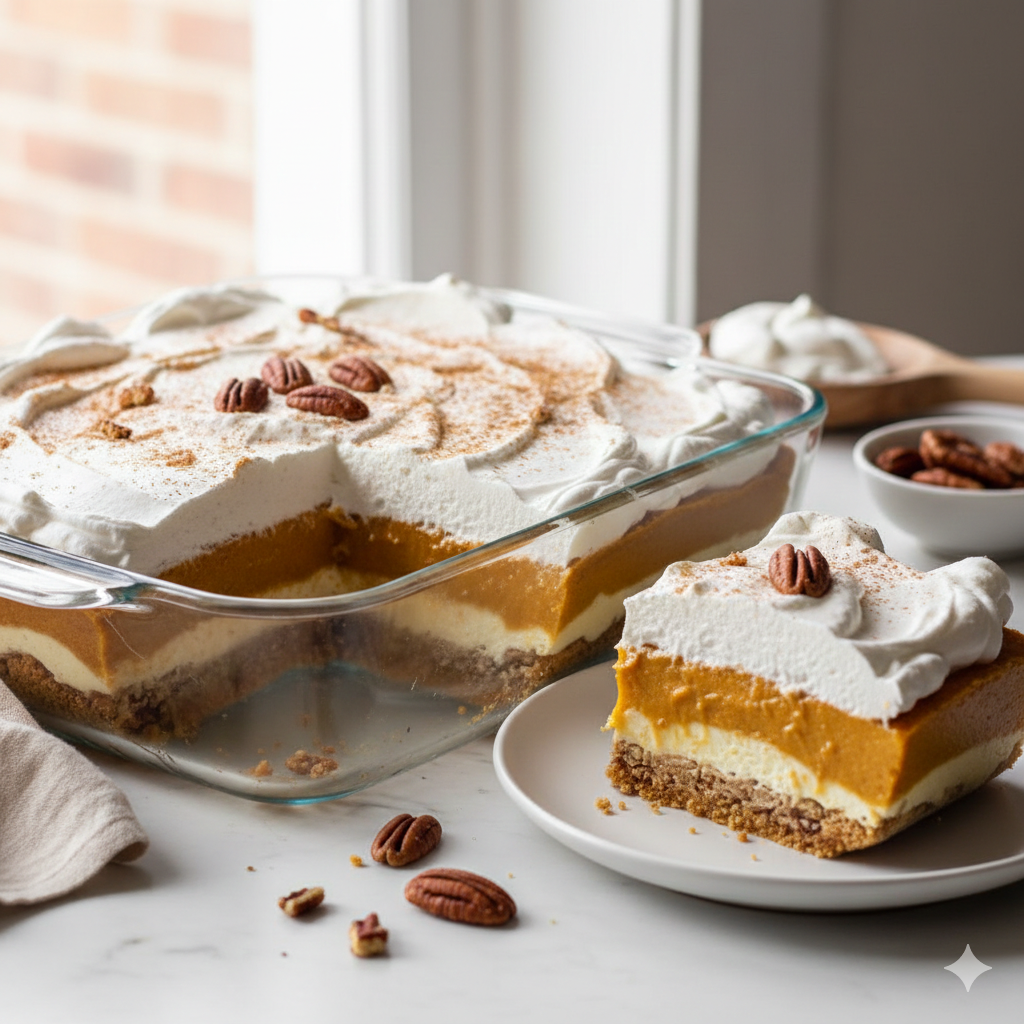
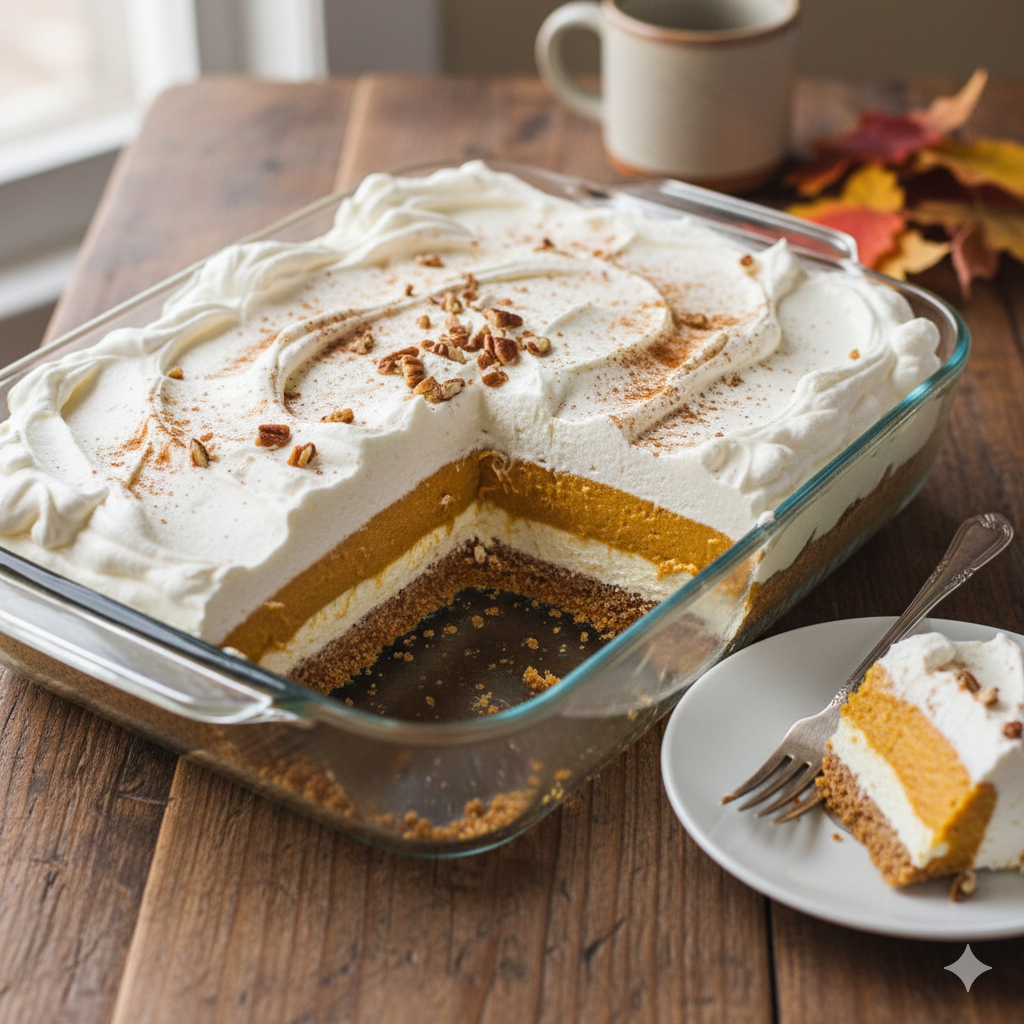
The magic of this specific recipe lies in the contrast: the salty crunch of a pecan-graham base, the tang of whipped cream cheese, the earthy richness of real pumpkin puree, and the ethereal lightness of whipped topping. It is more than just a sweet treat; it’s a nostalgic journey through the best flavors of the season without ever having to preheat your oven.
2. Recipe Overview
- Cuisine Type: American / Contemporary Fall Classic
- Difficulty Level: Easy (Beginner-friendly)
- Prep Time: 30 minutes
- Chilling Time: 4 hours (Minimum)
- Total Time: 4 hours 30 minutes
- Dietary Classifications: Vegetarian. (Can be modified for Gluten-Free diets).
3. Equipment and Tools
To achieve the perfect, clean layers that define a “Lush” dessert, having the right tools is essential.
- Baking Dish: A 9×13 inch (approx. 23×33 cm) glass or ceramic dish.
- Specifications: Minimum depth of 2 inches (5 cm) to accommodate all four layers.
- Mixing Bowls: Three varying sizes (Small for crust, Medium for cream cheese layer, Large for pumpkin layer).
- Electric Hand Mixer: Essential for aerating the cream cheese and ensuring a smooth pudding consistency.
- Rubber Spatula: For gentle folding and achieving a level surface on each layer.
- Offset Spatula: Highly recommended for spreading layers edge-to-edge without disturbing the layer beneath.
- Food Processor: Optional, but ideal for finely pulsing the graham crackers and pecans into a uniform crumb.
4. Serving Suggestions
Plating Recommendations:
For the best visual impact, slice the dessert while it is very cold. Use a sharp knife dipped in warm water and wiped clean between each cut to ensure the layers remain distinct and “un-smudged.”
Garnish Ideas:
- Toasted Pecans: A sprinkle of finely chopped pecans adds a rustic touch.
- Caramel Drizzle: A light zig-zag of salted caramel sauce elevates the “gourmet” feel.
- Cinnamon Dust: Use a fine-mesh sieve to lightly dust the top with Ceylon cinnamon.
Beverage Pairings:
- Hot: A dark roast coffee or a spicy Chai tea balances the sweetness of the pudding.
- Cold: A glass of cold milk or even a dry sparkling cider provides a refreshing counterpoint to the creamy texture.
5. Nutritional Information
(Note: Based on 15 servings per 9×13 dish)
| Nutrient | Amount Per Serving |
| Calories | 340 kcal |
| Total Fat | 18g |
| Saturated Fat | 10g |
| Cholesterol | 45mg |
| Sodium | 290mg |
| Total Carbohydrates | 42g |
| Dietary Fiber | 2g |
| Sugars | 28g |
| Protein | 4g |
Health Insight: While this is a decadent dessert, pumpkin is a powerhouse of Vitamin A and Beta-carotene. By using a high-quality pumpkin puree, you are incorporating a boost of antioxidants into your holiday indulgence.
6. Storage and Reheating
Refrigeration:
This dessert must be kept refrigerated. Cover the dish tightly with plastic wrap or a fitted lid. It will stay fresh and hold its structure for up to 4 days.
Freezing:
The No-Bake Pumpkin Lush freezes surprisingly well!
- Wrap the dish in a double layer of plastic wrap and then aluminum foil.
- It can be frozen for up to 1 month.
- To Serve: Thaw in the refrigerator for 12 hours before slicing. Note: Do not thaw at room temperature, as the cream layers may weep.
Reheating:
This dish is designed to be served chilled. Reheating is not recommended, as the whipped layers and pudding will melt into a liquid state.
7. Expert Tips and Variations
Professional Tips:
- The “Crust Set”: After pressing your crust into the dish, pop it in the freezer for 10 minutes while you prep the second layer. This “flash-sets” the butter and prevents the crumbs from mixing into the cream cheese.
- Room Temp Ingredients: Ensure your cream cheese is completely at room temperature. Cold cream cheese results in tiny lumps that are impossible to smooth out once the whipped topping is added.
Creative Variations:
- Gingersnap Base: Replace the graham crackers with crushed gingersnap cookies for a spicier, more intense ginger profile.
- Gluten-Free: Use certified gluten-free graham crackers and ensure your instant pudding mix is GF-compliant.
- White Chocolate Pumpkin: Shave white chocolate curls over the top layer for an elegant, snowy appearance.
8. Ingredients Section
Layer 1: The Crust
- Graham Cracker Crumbs: 2 cups (approx. 300g)
- Finely Chopped Pecans: ½ cup (approx. 60g)
- Unsalted Butter (Melted): ¾ cup (170g)
- Granulated Sugar: 2 tbsp (30g)
Layer 2: The Cream Cheese Base
- Cream Cheese (Softened): 8 oz (225g)
- Powdered Sugar: 1 cup (120g)
- Whipped Topping (e.g., Cool Whip): 1 cup (from an 8oz tub)
Layer 3: The Pumpkin Pudding
- Pumpkin Puree (Not Pie Filling): 1 can (15 oz / 425g)
- Instant Vanilla Pudding Mix: 2 packages (3.4 oz each / approx. 190g total)
- Cold Whole Milk: 1 ½ cups (355ml)
- Pumpkin Pie Spice: 1 ½ tsp (approx. 4g)
Layer 4: The Topping
- Remaining Whipped Topping: (The rest of the 8oz tub)
- Optional: Extra pecans for garnish.
9. Step-by-Step Instructions
Step 1: Construct the Foundation
In a medium bowl, combine the graham cracker crumbs, finely chopped pecans, granulated sugar, and melted butter. Stir until the mixture resembles wet sand. Press the mixture firmly and evenly into the bottom of your 9×13 dish.
Technique Tip: Use the flat bottom of a measuring cup to press the crumbs down; this ensures a sturdy crust that won’t crumble when served.
Step 2: The Creamy Transition
In a separate bowl, beat the softened cream cheese and powdered sugar until smooth and fluffy ($3-4$ minutes). Gently fold in 1 cup of the whipped topping using a spatula. Spread this mixture over the chilled crust, taking care to reach all the corners.
Step 3: The Star Ingredient
In a large bowl, whisk together the cold milk, two boxes of instant vanilla pudding mix, and the pumpkin pie spice. Whisk for about 2 minutes until it begins to thicken. Stir in the pumpkin puree until the color is uniform. Spread this thick pumpkin layer over the cream cheese layer.
Step 4: The Cloud Topping
Spread the remaining whipped topping over the pumpkin layer. Use your spatula to create decorative “swirls” or peaks for a professional finish.
Step 5: The Essential Chill
Cover and refrigerate for at least 4 hours.
Troubleshooting: If the dessert feels “soft” when you try to slice it, it needs more time to set. For the cleanest slices, an overnight chill is best.
10. Frequently Asked Questions (FAQ)
Q: Can I use homemade whipped cream instead of whipped topping?
A: Yes, but be cautious. Homemade whipped cream is less stable. If using it, ensure you whip it to very stiff peaks and be aware that the dessert may begin to soften faster at room temperature than the “stabilized” store-bought versions.
Q: Is there a difference between Pumpkin Puree and Pumpkin Pie Filling?
A: Yes! A massive one. Pumpkin puree is 100% pumpkin. Pumpkin pie filling contains added sugars and spices. This recipe requires Pumpkin Puree because we add our own sweeteners and spices.
Q: My pudding layer isn’t thickening—what happened?
A: Usually, this happens if you use “Cook and Serve” pudding instead of “Instant” pudding. Ensure the box specifically says “Instant.” Also, using less milk than the box calls for (as we do here) is intentional to keep the layer firm.
Q: How do I make this “lighter”?
A: You can use low-fat cream cheese (Neufchâtel) and sugar-free pudding/whipped topping. However, avoid fat-free cream cheese as it lacks the structural integrity needed for the layers.
Q: Can I make this in a round springform pan?
A: Absolutely! It makes for a beautiful presentation. Just ensure your crust goes slightly up the sides to hold the weight of the layers.
