1. Introduction: A Love Affair with Chocolate
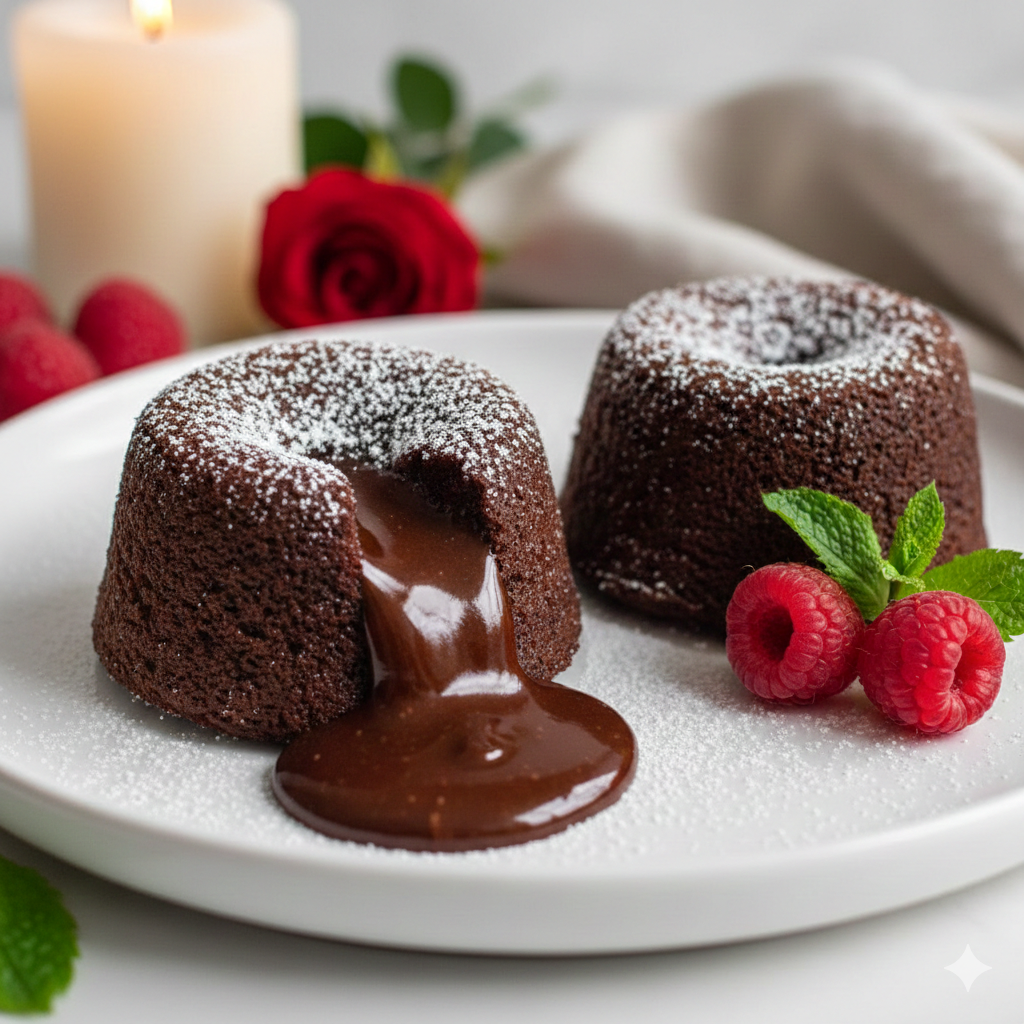
There is perhaps no dessert more synonymous with romance than the Molten Chocolate Lava Cake. Known in French culinary circles as moelleux au chocolat, this dessert is the personification of elegance and indulgence. It is a dish that plays with the senses: the structural integrity of a delicate, sponge-like exterior giving way to a rich, flowing river of warm ganache-style chocolate.
The history of the lava cake is a tale of culinary serendipity. While several chefs claim its invention, the most famous story attributes the “accident” to Chef Jean-Georges Vongerichten in New York City in 1987. He reportedly pulled a chocolate sponge cake out of the oven too early, only to find that the undercooked center was not a mistake, but a masterpiece.
For home cooks, the lava cake carries a reputation for being “fussy,” but it is actually one of the most reliable recipes in a baker’s repertoire once you understand the science of the bake. This recipe is specifically scaled for two, making it the quintessential finale for a Valentine’s Day dinner or a cozy anniversary at home. It’s not just a cake; it’s an experience—a moment of shared indulgence that feels far more sophisticated than the minimal effort required.
2. Recipe Overview
- Cuisine Type: French-American Fusion
- Difficulty Level: Intermediate (Requires precision in timing)
- Prep Time: 10 minutes
- Cook Time: 12–14 minutes
- Total Time: 25 minutes
- Dietary Classifications: Vegetarian (Contains eggs and dairy). Can be made Gluten-Free with a simple flour swap.
3. Equipment and Tools
To achieve that iconic “lava” flow, using the correct vessels is non-negotiable.
- Two 6-ounce Ramekins: Ceramic or porcelain is preferred for even heat distribution.
- Specifications: Approximately 3.5 inches in diameter and 2 inches deep.
- Small Microwave-Safe Bowl: For melting chocolate and butter.
- Whisk or Silicone Spatula: For gentle folding to maintain aeration.
- Baking Sheet: To place ramekins on for easy transport in and out of the oven.
- Fine-Mesh Sieve: For dusting powdered sugar and sifting flour.
- Hand Mixer (Optional): While a whisk works, a hand mixer helps achieve a loftier egg texture.
4. Serving Suggestions
The presentation is half the magic of a lava cake. Since the cake itself is deep and dark, look for contrast in color and texture.
- Plating: Invert the cake onto a small white dessert plate. The contrast makes the chocolate “pop.”
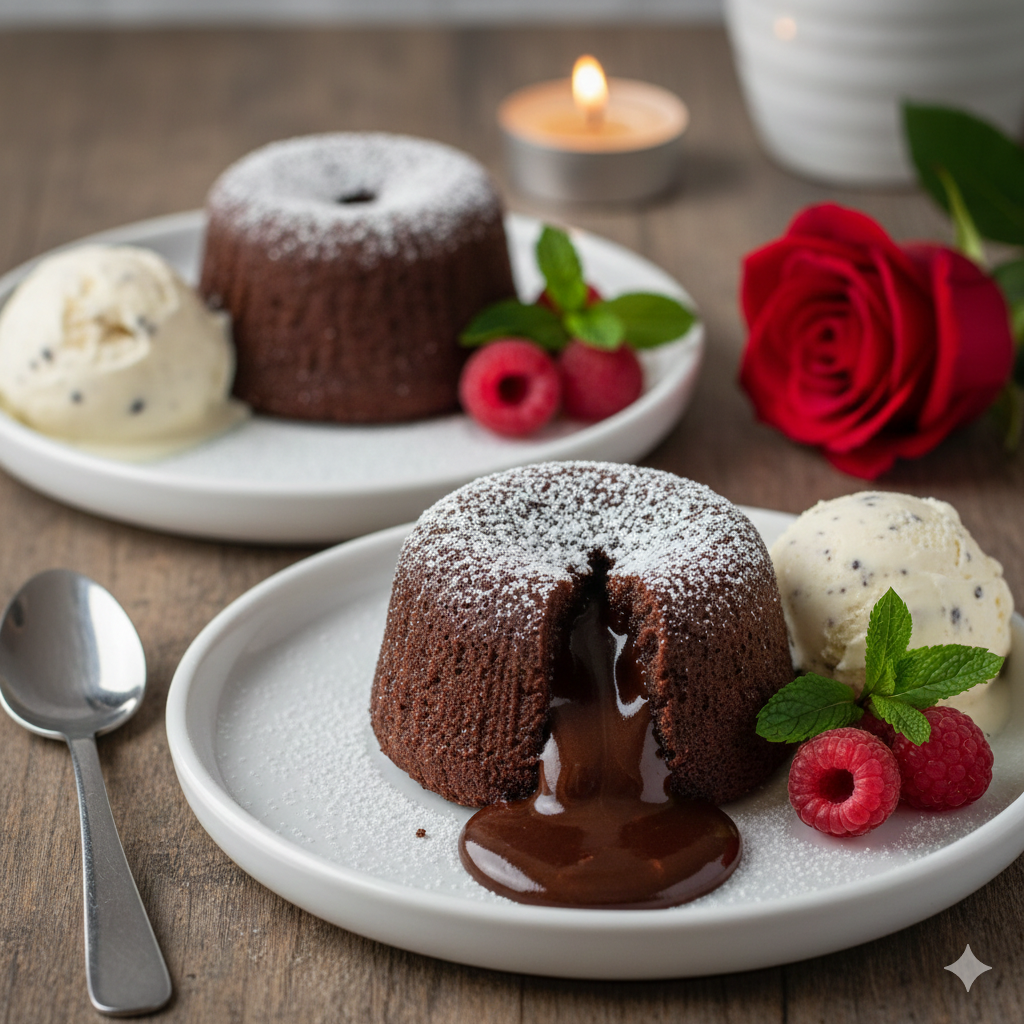
- Garnish: A heavy dusting of powdered sugar mimics fallen snow, while a sprig of fresh mint adds a burst of color.
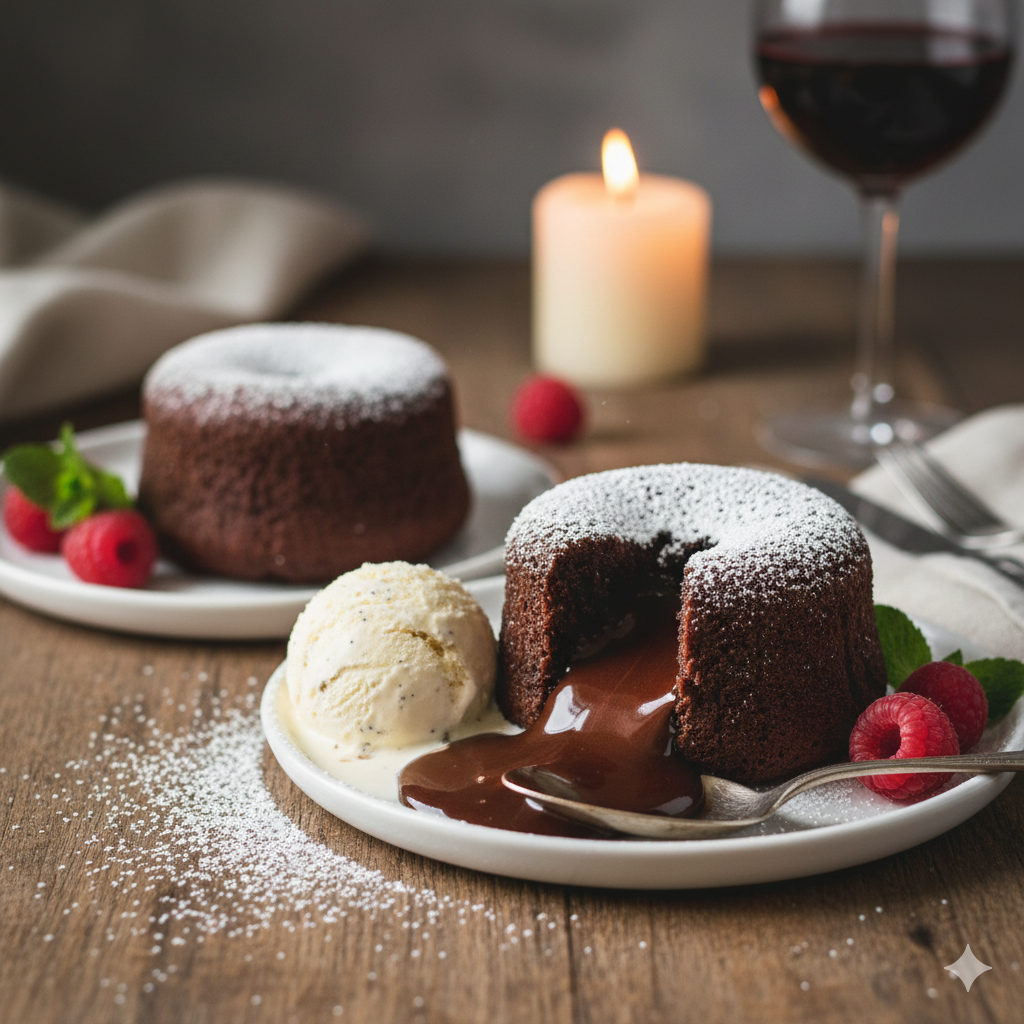
- Sides: A scoop of high-quality vanilla bean ice cream is the gold standard. The cold cream melting into the hot chocolate creates a “black and white” flavor profile that is unbeatable. Alternatively, use tart raspberry coulis to cut through the richness.
- Beverage Pairings: Pair with a Ruby Port or a late-harvest Zinfandel. If you prefer coffee, an Espresso or a dark roast provides the necessary bitterness to balance the sugar.
5. Nutritional Information (Per Serving)
Note: These values are estimates based on standard ingredients.
- Calories: 420 kcal
- Total Fat: 28g
- Saturated Fat: 16g
- Cholesterol: 145mg
- Carbohydrates: 38g
- Protein: 6g
- Sugar: 26g
- Health Benefits: High-quality dark chocolate (70% cocoa or higher) is rich in flavonoids and antioxidants, known to support heart health and improve mood.
6. Storage and Reheating
While lava cakes are best enjoyed immediately, life happens. Here is how to handle leftovers:
- Refrigeration: Store in an airtight container for up to 2 days.
- Freezing: You can freeze the unbaked batter in the ramekins for up to 2 weeks. Wrap tightly in plastic wrap and foil.
- Reheating (Cooked): To keep the center molten, microwave for only 15–20 seconds. Any longer and the center will solidify.
- Baking from Frozen: Bake directly from the freezer, adding 3–5 minutes to the total baking time.
7. Expert Tips and Variations
Professional Tips
- The “Release” Secret: Generously butter your ramekins, then coat them with cocoa powder instead of flour. This ensures the cake slides out easily and doesn’t leave white flour streaks on your dark chocolate cake.
- Temperature Matters: Use room temperature eggs. This ensures they emulsify properly with the melted chocolate, preventing the batter from breaking.
Creative Variations
- Salted Caramel Core: Push a frozen cube of salted caramel into the center of the batter before baking.
- Espresso Infusion: Add $1/2$ teaspoon of espresso powder to the batter to intensify the chocolate flavor.
- The Nutella Swap: Place a teaspoon of Nutella in the center for a hazelnut twist.
8. Ingredients Section
The Component List
- Dark Chocolate (60–70% Cacao): 2 oz (60g). Use a high-quality baking bar (like Ghirardelli or Guittard), not chocolate chips, which contain stabilizers that prevent a smooth melt.
- Unsalted Butter: 3 tbsp (42g), plus extra for greasing.
- Powdered Sugar: $1/4$ cup (30g).
- Large Egg: 1 whole egg + 1 egg yolk (The extra yolk provides the richness and stability for the molten center).
- Pure Vanilla Extract: $1/2$ tsp.
- All-Purpose Flour: 2 tbsp (16g).
- Pinch of Salt: To balance the sweetness.
Substitutions
- Gluten-Free: Replace all-purpose flour with a 1:1 GF baking flour blend.
- Dairy-Free: Use vegan butter sticks and a dairy-free dark chocolate.
9. Step-by-Step Instructions
- Prep the Environment: Preheat your oven to 425°F (218°C). This high temperature is crucial; it cooks the outside quickly while leaving the inside raw.
- Prepare the Ramekins: Butter two 6-oz ramekins thoroughly. Dust with cocoa powder, tapping out the excess.
- Melt the Base: In a small bowl, combine the chopped chocolate and butter. Microwave in 30-second increments, stirring in between, until completely smooth. Set aside to cool slightly.
- Whisk the Eggs: In a separate medium bowl, whisk the whole egg, egg yolk, powdered sugar, vanilla, and salt. Whisk vigorously for about 2 minutes until the mixture is thick and pale yellow.
- Combine: Gently fold the melted chocolate mixture into the egg mixture using a spatula.
- Sift and Fold: Sift the flour over the batter and fold gently until just combined. Do not overmix, or the cake will become tough.
- Divide and Bake: Pour the batter evenly into the two ramekins. Place them on a baking sheet and bake for 12 to 14 minutes.
- Visual Cue: The sides should be firm and set, but the center should still have a slight “jiggle” when the tray is nudged.
- The Rest: Let the cakes sit in the ramekins for exactly 1 minute. This allows the structure to firm up just enough to be inverted.
- The Flip: Place a dessert plate over the top of the ramekin. Using an oven mitt, quickly flip both over. Let it sit for 10 seconds, then gently lift the ramekin.
10. Frequently Asked Questions (FAQ)
Q: Why did my lava cake come out solid?
A: You likely overbaked it by just a minute or two. Every oven is different. Next time, pull them out when the centers still look slightly soft and underdone.
Q: Can I make the batter in advance?
A: Yes! You can prep the batter and put it in the ramekins up to 6 hours in advance. Keep them in the fridge and take them out 30 minutes before baking to reach room temperature.
Q: Can I use milk chocolate instead?
A: It is not recommended. Milk chocolate has a higher sugar-to-fat ratio and may not set correctly, resulting in a greasy or overly sweet cake.
Q: My cake collapsed when I flipped it. What happened?
A: This usually means the cake was underbaked. The “walls” weren’t thick enough to hold the weight of the molten center. Aim for an extra 60 seconds of bake time next time.
Q: Do I have to use ramekins?
A: You can use a muffin tin, but since they are smaller, reduce the bake time to 8–10 minutes. Note that they are much harder to flip out of a muffin tin without breaking!
