1. Introduction
When the calendar turns to March, the world begins to shimmer in shades of emerald, moss, and mint. St. Patrick’s Day is more than just a tribute to the patron saint of Ireland; it has evolved into a global celebration of heritage, folklore, and, most importantly, incredible food. While savory classics like corned beef and soda bread often take center stage, there is a whimsical, sweet side to the holiday that centers around the cookie jar.
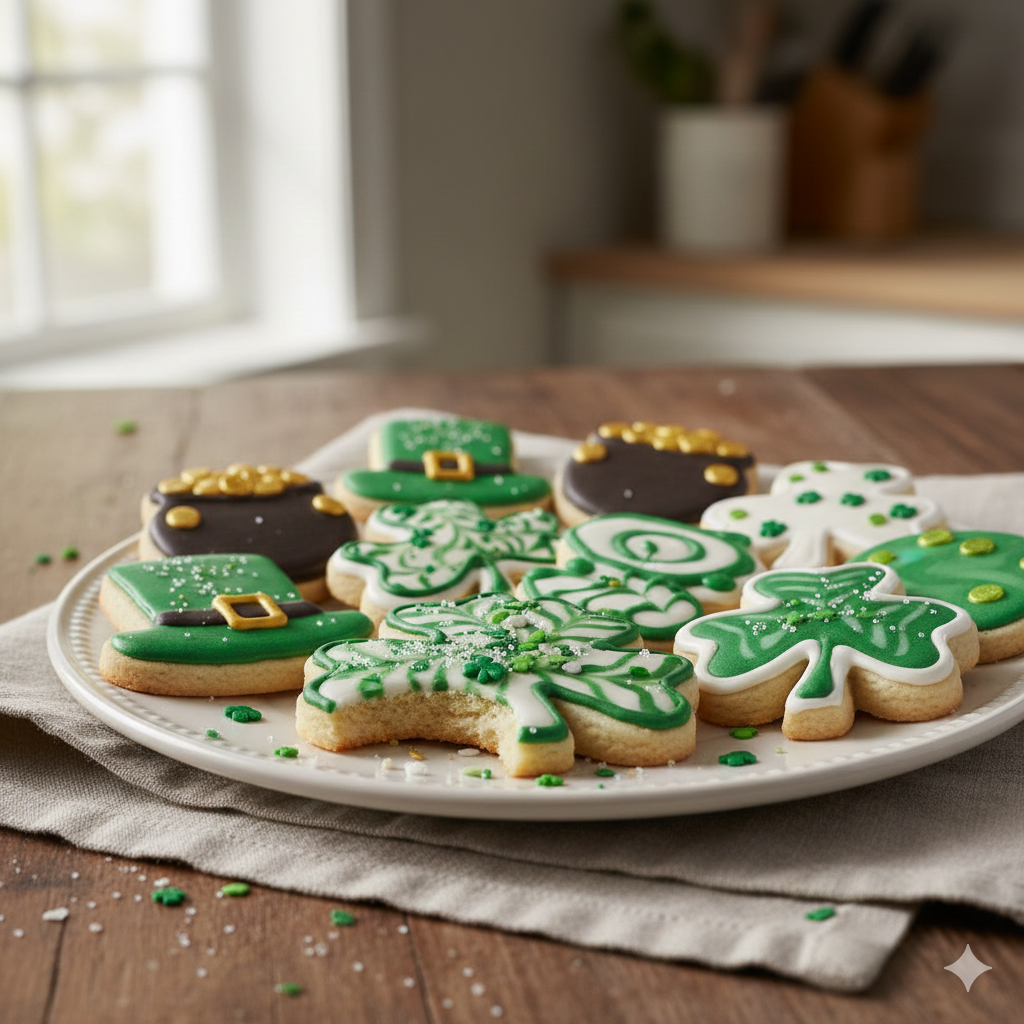
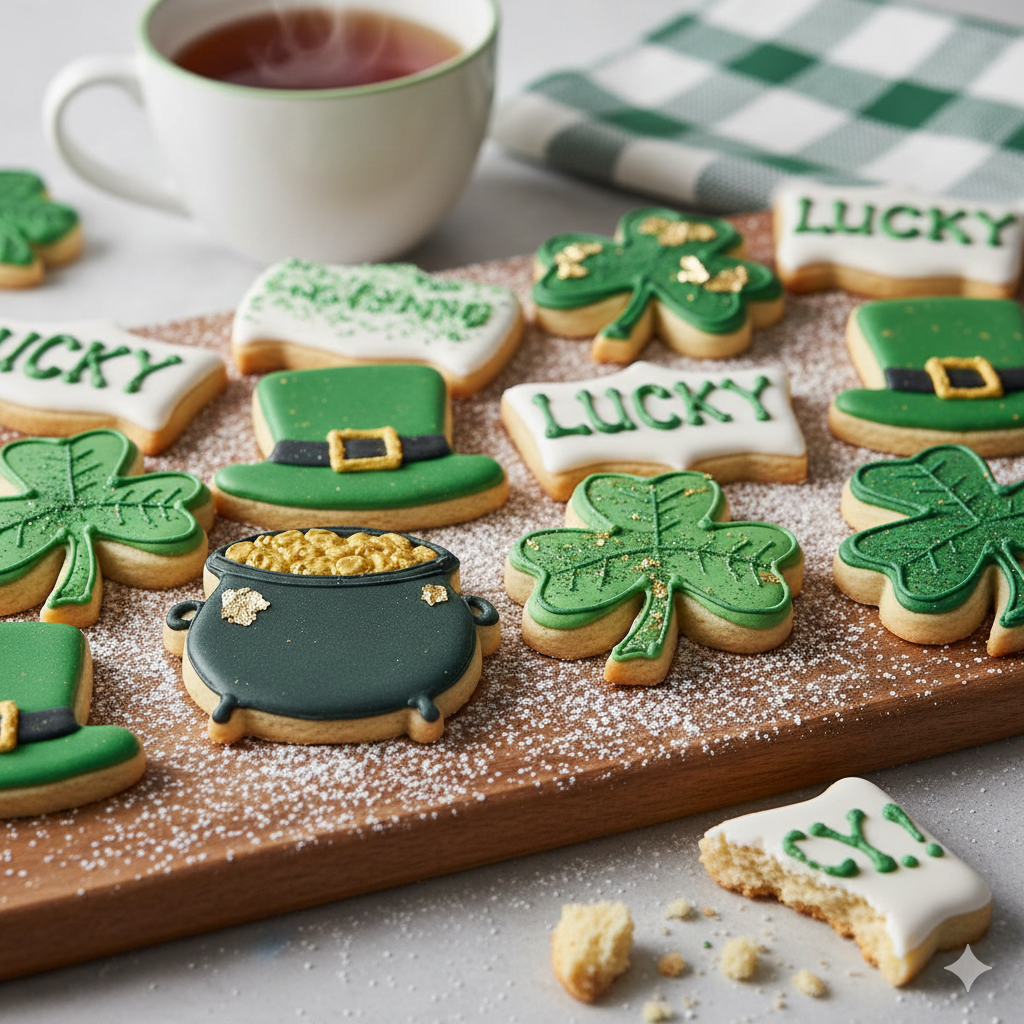
St. Patrick’s Day cookies are a canvas for imagination. From deep green crinkle cookies that mimic the rolling hills of County Kerry to buttery shortbreads stamped with delicate shamrocks, these treats bridge the gap between tradition and modern celebration. My personal journey with these cookies began in a flour-dusted kitchen with my grandmother, who insisted that “a bit of green in the dough brings a year of luck to the soul.” Whether you are hosting a festive party, preparing a school treat, or simply looking to brighten a rainy March afternoon, these cookies offer a bite-sized piece of Irish magic.
2. Recipe Overview
This guide focuses on our signature Emerald Isle Butter Cookies—a melt-in-your-mouth sugar cookie base enhanced with almond notes and festive decorations.
- Cuisine Type: Irish-American Fusion
- Difficulty Level: Intermediate (requires some piping skills)
- Prep Time: 45 minutes
- Chilling Time: 2 hours
- Cook Time: 10–12 minutes
- Total Time: Approx. 3 hours
- Dietary Classifications: Vegetarian (contains dairy and eggs). Can be modified for Gluten-Free.
3. Equipment and Tools
To achieve professional-grade results, ensure you have the following gear ready:
- Stand Mixer or Hand Mixer: Essential for creaming butter to the perfect aeration.
- Baking Sheets: Large, heavy-gauge aluminum rimmed baking sheets (approx. 13″ x 18″).
- Parchment Paper or Silicone Mats: To prevent sticking and ensure even browning.
- Rolling Pin: With thickness rings (set to 1/4 inch) for uniform cookie height.
- Cookie Cutters: Shamrock shapes, coins, and rainbow arches (varied sizes).
- Cooling Rack: Wire mesh for optimal airflow.
- Piping Bags & Tips: Small round tips (Size 1 or 2) for detail work.
- Digital Scale: For precision in flour and sugar measurements.
4. Serving Suggestions
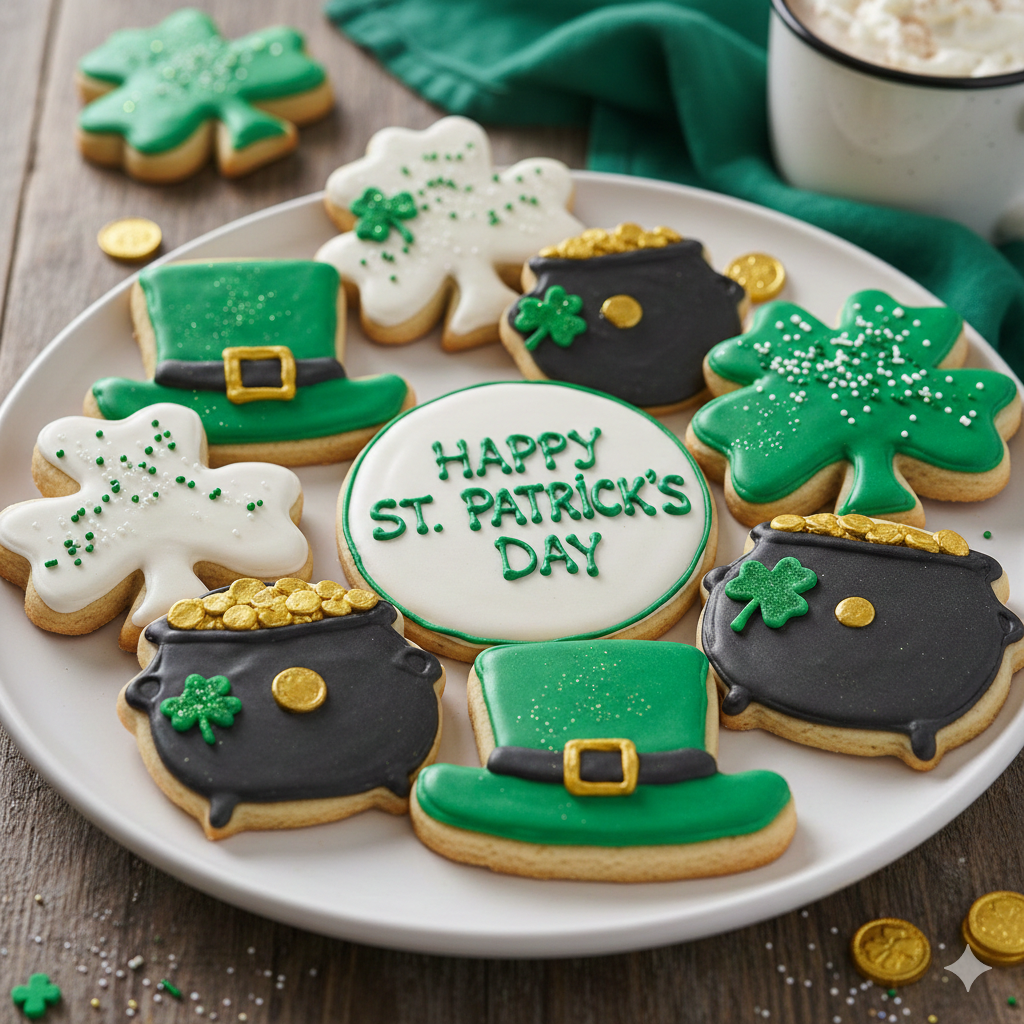
Presentation is half the fun on St. Patrick’s Day!
- Plating: Serve on a slate board to mimic the rugged Irish coastline, or a bright white platter to make the green colors pop.
- Garnish: Dust the platter with edible gold luster dust or “gold” chocolate coins.
- Beverage Pairings:
- Adults: A creamy Irish Coffee or a stout-infused milkshake.
- Children: A “Shamrock Shake” or cold milk with a drop of green food coloring.
- Tea: Traditional Irish Breakfast tea with a splash of cream.
5. Nutritional Information
(Estimated per cookie based on a yield of 24)
| Nutrient | Amount |
| Calories | 185 kcal |
| Total Fat | 9g |
| Saturated Fat | 5g |
| Cholesterol | 35mg |
| Sodium | 110mg |
| Total Carbohydrates | 24g |
| Sugars | 14g |
| Protein | 2g |
Health Note: While these are an indulgent treat, using high-quality grass-fed butter (like Kerrygold) provides a higher concentration of Omega-3 fatty acids compared to standard butter.
6. Storage and Reheating
- Room Temperature: Store in an airtight container for up to 5 days. Place parchment paper between layers to protect the icing.
- Refrigeration: Not recommended for decorated cookies, as the humidity can cause the icing to “bleed.”
- Freezing: Undecorated cookies freeze beautifully for up to 3 months. Wrap tightly in plastic wrap and place in a freezer bag.
- Thawing: Thaw at room temperature for 2 hours before icing or serving.
7. Expert Tips and Variations
Professional Chef Tips
- The Temperature Rule: Ensure your butter is “cool room temperature” (approx. 18°C). If it’s too soft, the cookies will spread; if too cold, they won’t cream properly.
- Don’t Overwork: Once you add the flour, mix only until just combined to keep the texture tender rather than tough.
Creative Variations
- The “Lucky Charms” Twist: Fold dehydrated marshmallows into the dough for a nostalgic crunch.
- Pistachio Perfection: Replace almond extract with pistachio paste for a natural green hue and nutty flavor.
- Boozy Frosting: Add a teaspoon of Irish Cream liqueur to your royal icing.
8. Ingredients Section
The Cookie Base
- Unsalted Butter: 225g (1 cup) – preferably Irish grass-fed.
- Granulated Sugar: 200g (1 cup).
- Large Egg: 1 (room temperature).
- Vanilla Extract: 1 tsp.
- Almond Extract: 1/2 tsp (the secret to that “bakery” smell).
- All-Purpose Flour: 375g (3 cups).
- Baking Powder: 1 tsp.
- Salt: 1/2 tsp.
Royal Icing
- Confectioners’ Sugar: 500g (4 cups).
- Meringue Powder: 3 tbsp.
- Warm Water: 5–7 tbsp (adjust for consistency).
- Gel Food Coloring: Leaf Green, Forest Green, and Lemon Yellow.
9. Step-by-Step Instructions
Phase 1: Dough Preparation
- Creaming: In your mixer, beat the butter and sugar for 3–5 minutes until the mixture is pale and fluffy.
- Emulsifying: Add the egg and extracts. Scrape down the sides of the bowl to ensure a homogenous mixture.
- Dry Integration: Sift the flour, baking powder, and salt. Gradually add to the wet ingredients on low speed.
- The Chill: Divide dough into two discs, wrap in plastic, and refrigerate for at least 2 hours. This prevents the “spreading” of shapes in the oven.
Phase 2: Cutting and Baking
- Preheat: Set your oven to 175°C (350°F).
- Roll: On a floured surface, roll the dough to 6mm (1/4 inch) thickness.
- Cut: Use your shamrock cutters. Pro Tip: Dip the cutter in flour between each use to prevent sticking.
- Bake: Arrange on sheets and bake for 10–12 minutes. The edges should be matte but not browned.
- Cool: Allow to rest on the sheet for 5 minutes before transferring to a wire rack.
Phase 3: Decoration
- Icing Consistency: Mix your icing. You want “15-second consistency” (if you run a knife through it, the line disappears in 15 seconds).
- Outline and Flood: Outline the shamrock edges, then immediately fill the center.
- Detailing: Once the base layer is dry (after 4–6 hours), pipe veins on the leaves or add gold sparkles.
10. Frequently Asked Questions (FAQ)
Q: Why did my cookies lose their shape?
A: Usually, this is due to warm dough. Ensure you chill the dough before rolling AND chill the cut-out shapes for 10 minutes in the freezer before they go into the oven.
Q: Can I use liquid food coloring?
A: It is not recommended for royal icing as it thins the consistency too much. Gel colors provide vibrant shades without affecting the chemistry of the icing.
Q: How do I get that perfect “Irish Green”?
A: Start with a “Leaf Green” gel. If it’s too bright, add a tiny dot of black or “Forest Green” to deepen the tone into a more sophisticated emerald.
Q: Can I make the dough in advance?
A: Absolutely. The dough keeps in the fridge for 3 days or in the freezer for a month.
Q: How do I prevent the icing from air bubbles?
A: After mixing your icing, let it sit for 30 minutes covered with a damp cloth. Tap the bowl on the counter to force bubbles to the surface before bagging.
