1. Introduction: The Alchemy of the Perfect Morning
There is a specific, nostalgic magic in the sound of a waffle iron clicking shut. It’s the promise of a weekend morning—a slow pivot from the rush of the workweek into a world of maple syrup rivers and melting butter. But not all waffles are created equal. We’ve all encountered the “bread-y” waffle, the one that’s dense and chewy, or worse, the limp waffle that sags under the weight of a single strawberry.
The quest for the Crispy Fluffy Homemade Waffle is, in many ways, a culinary balancing act. It requires a marriage of chemistry and technique. To get that shattered-glass crispness on the outside while maintaining a cloud-like interior, we have to look toward the science of leavening and moisture.
Historically, waffles date back to the Middle Ages, where they were cooked between two metal plates over an open fire. While the technology has evolved into non-stick electric irons, the heart of the dish remains the same: it is a vessel for comfort. This recipe isn’t just about feeding a family; it’s about mastering a texture that feels like a professional brunch spot right in your own kitchen.
2. Recipe Overview
- Cuisine Type: American / Breakfast
- Difficulty Level: Intermediate (requires basic egg-white folding technique)
- Prep Time: 15 minutes
- Cook Time: 20 minutes (depending on iron size)
- Total Time: 35 minutes
- Dietary Classifications: Vegetarian
3. Equipment and Tools
To achieve professional results, your tools must be up to the task.
- Waffle Maker: A Belgian-style iron with deep pockets is preferred for maximum fluffiness, but a standard thin iron works for extra crunch.
- Mixing Bowls: Two large bowls (one for dry, one for wet) and one medium glass or metal bowl for whipping egg whites.
- Whisk: A balloon whisk for aerating the flour.
- Electric Hand Mixer: Essential for achieving stiff peaks with the egg whites.
- Rubber Spatula: For gentle folding to preserve air bubbles.
- Wire Cooling Rack: Crucial for preventing sogginess after cooking.
- Measuring Tools: A digital scale is recommended for accuracy, alongside standard measuring spoons.
4. Serving Suggestions
A waffle is a canvas. Here is how to paint it:
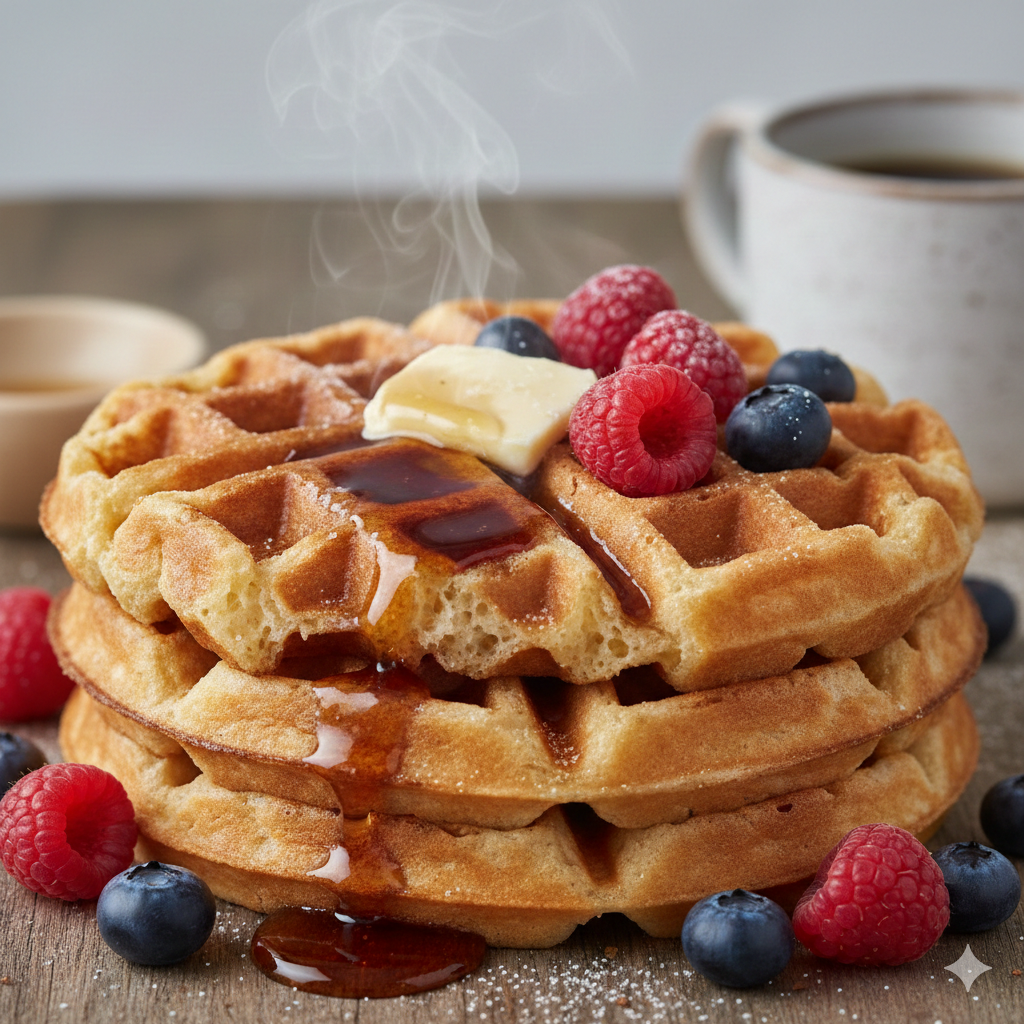
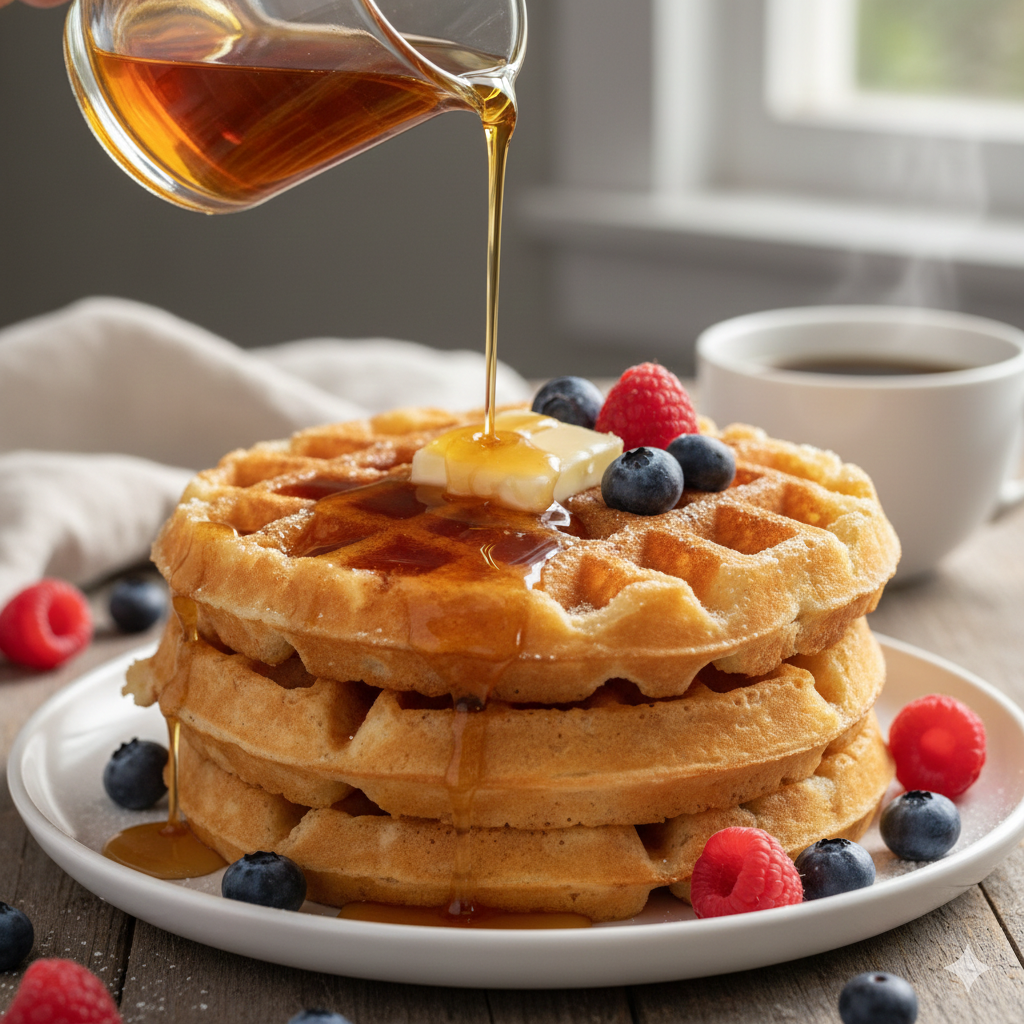
- The Classic: Grade A Amber Maple Syrup, a pat of salted European-style butter, and a side of thick-cut smoked bacon.
- The Berried Treasure: Fresh raspberries and blueberries, a dollop of chantilly cream (whipped cream with vanilla and sugar), and a dusting of powdered sugar.
- Savory Twist: Top with buttermilk fried chicken and a drizzle of spicy hot honey.
- Beverage Pairings:
- Coffee: A medium-roast Colombian coffee balances the sweetness.
- Cocktail: A classic Mimosa or a crisp Peach Bellini.
- Non-Alcoholic: Freshly squeezed orange juice or a cold brew with oat milk.
5. Nutritional Information
Per serving (1 large Belgian waffle):
| Nutrient | Amount |
| Calories | 310 kcal |
| Total Fat | 14g |
| Saturated Fat | 8g |
| Cholesterol | 85mg |
| Sodium | 420mg |
| Total Carbohydrates | 38g |
| Dietary Fiber | 1g |
| Sugars | 6g |
| Protein | 8g |
Note: Nutritional values are estimates and vary based on specific ingredient brands.
6. Storage and Reheating
Waffles are best fresh, but they are the kings of meal prep.
- Refrigeration: Store in an airtight container for up to 3 days.
- Freezing: This is the preferred method. Flash-freeze waffles on a baking sheet for 1 hour, then transfer to a freezer-safe bag. They stay fresh for 2 months.
- Reheating: Do not use a microwave, as it will make them rubbery. Use a toaster or a toaster oven at 350°F (175°C) until the exterior regains its crunch.
7. Expert Tips and Variations
Professional Tips
- The Egg Secret: Separating the eggs and whipping the whites to stiff peaks is the difference between a good waffle and a legendary one.
- Cornstarch is Key: Replacing a small portion of flour with cornstarch guarantees a crispier shell.
- Don’t Overmix: Once the wet and dry ingredients meet, stop as soon as the flour streaks disappear. Lumps are your friends.
Creative Variations
- Lemon Poppy Seed: Add 1 tablespoon of poppy seeds and the zest of two lemons to the batter.
- Chocolate Chip: Fold in mini semi-sweet chocolate chips just before cooking.
- Churro Waffles: After cooking, brush with melted butter and dredge in a cinnamon-sugar mixture.

8. Ingredients Section
Yields: 6–8 Large Belgian Waffles
Dry Ingredients
- All-Purpose Flour: 2 cups (250g)
- Cornstarch: ¼ cup (30g)
- Granulated Sugar: 2 tbsp (25g)
- Baking Powder: 1 tbsp
- Baking Soda: ½ tsp
- Kosher Salt: ½ tsp
Wet Ingredients
- Whole Milk: 1 ¾ cups (415ml) – room temperature
- Unsalted Butter: ½ cup (113g) – melted and slightly cooled
- Vanilla Extract: 1 tsp
- Large Eggs: 2 – separated
9. Step-by-Step Instructions
- Preheat and Prep: Turn on your waffle iron to its medium-high setting. Place a wire cooling rack on a baking sheet and set it inside a 200°F (95°C) oven to keep finished waffles warm.
- Mix Dry Goods: In a large bowl, whisk together the flour, cornstarch, sugar, baking powder, baking soda, and salt. Sifting is optional but recommended for maximum fluff.
- The Wet Mix: In a separate bowl, whisk together the milk, melted butter, vanilla, and the egg yolks.
- Whip the Whites: In a clean, oil-free bowl, beat the egg whites using an electric mixer until stiff peaks form. When you lift the beaters, the peaks should stand straight up without drooping.
- Combine: Pour the wet ingredients into the dry ingredients. Stir gently with a spatula until just combined.
- The Fold: Gently fold the whipped egg whites into the batter. Do not overmix; you want to see small “clouds” of white in the batter. This air is what creates the “fluff.”
- Cook: Lightly grease the iron. Pour about ½ to ¾ cup of batter (depending on your iron size) into the center.
- The Steam Cue: Watch the steam. When the steam stops escaping the sides of the iron, the waffle is likely done. It should be deep golden brown.
- The Crisp-Up: Place the finished waffle directly onto the wire rack in the warm oven for 2–3 minutes. This allows air to circulate and prevents the bottom from getting soggy.
10. Frequently Asked Questions (FAQ)
Q: Can I use buttermilk instead of regular milk?
A: Absolutely. Buttermilk adds a lovely tang. If you do, ensure you use the baking soda mentioned in the recipe to neutralize the acidity and help with browning.
Q: My waffles are sticking to the iron. Why?
A: This is usually due to the iron not being hot enough or not having enough fat in the batter. Ensure your butter is fully incorporated and the iron has preheated for at least 5-10 minutes.
Q: Can I make the batter the night before?
A: You can mix the dry and wet ingredients separately, but do not combine them or whip the egg whites until you are ready to cook. The leavening agents (baking powder/soda) lose their “lift” if they sit too long.
Q: Why cornstarch?
A: Cornstarch prevents the development of too much gluten and helps the exterior dehydrate faster in the heat, leading to a “shatter-crisp” texture.
Q: Is it okay to use oil instead of butter?
A: Yes. Vegetable oil will actually make the waffles slightly crispier, but you will lose the rich, nutty flavor that melted butter provides.
