1. Introduction: A Love Letter to the Belgian Waffle
There is a specific kind of magic that happens when yeast, butter, and heat collide in a heavy cast-iron grid. While many people associate “Belgian waffles” with the oversized, syrup-drenched discs found at American diners, the true Belgian experience is a far more nuanced affair.
To understand the Belgian waffle is to understand the soul of Brussels and Liège. Historically, these weren’t just breakfast items; they were street-side celebrations. The Brussels Waffle is the elegant, rectangular aristocrat—leavened with yeast or egg whites to achieve a texture so light it practically defies gravity. Then there is the Liège Waffle, the rugged, brioche-based cousin studded with pearl sugar that caramelizes into a crunchy, golden coating.
In this guide, we are focusing on the “Best of Both Worlds” technique: a yeast-leavened batter that provides that signature fermented depth of flavor, paired with the structural integrity needed to hold up to a mountain of fresh berries or a simple dusting of snow-white powdered sugar. This isn’t just a recipe; it’s a sensory journey through the cobblestone streets of Europe, right in your own kitchen.
2. Recipe Overview
- Cuisine Type: Belgian / European
- Difficulty Level: Intermediate (requires patience for yeast proofing)
- Prep Time: 20 minutes (plus 1 hour rising time)
- Cook Time: 20 minutes
- Total Time: 1 hour 40 minutes
- Dietary Classifications: Vegetarian
3. Equipment and Tools
To achieve professional-grade results, the right gear is non-negotiable.
- Belgian Waffle Maker: Must have deep grids (at least 1 inch / 2.5 cm depth) to allow for maximum steam expansion and fluffiness.
- Large Mixing Bowls: Two glass or stainless steel bowls (one for dry, one for wet/rising).
- Fine-Mesh Sieve: For aerating the flour.
- Whisk and Silicone Spatula: For gentle folding.
- Digital Kitchen Scale: Highly recommended for precision (grams vs. cups).
- Wire Cooling Rack: Essential for preventing sogginess after cooking.
- Small Saucepan: For melting butter over low heat.
4. Serving Suggestions
The Belgian waffle is a versatile canvas. Here is how to elevate the presentation:
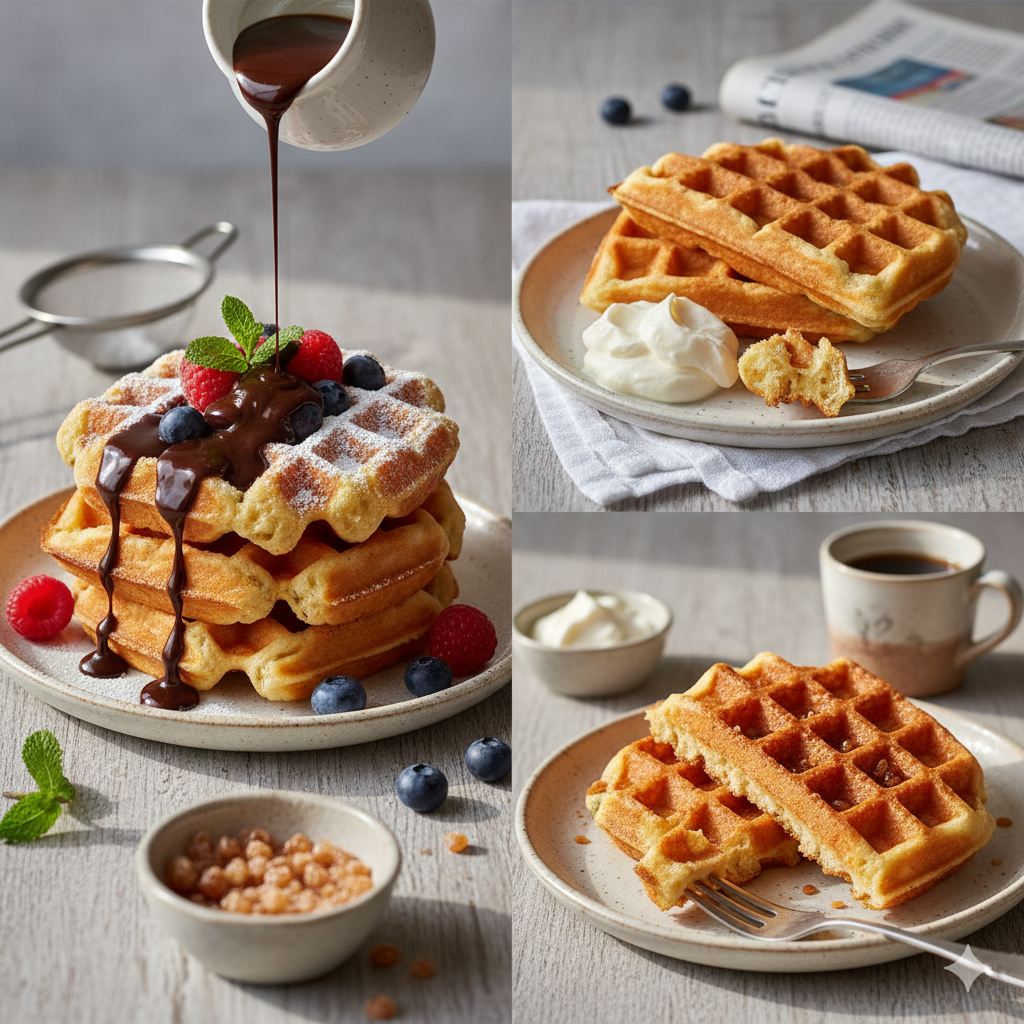
- The Classic Brussels: A light dusting of powdered sugar and a dollop of unsweetened whipped cream.
- The Fruit Harvest: Macerated strawberries, fresh blueberries, and a sprig of mint.
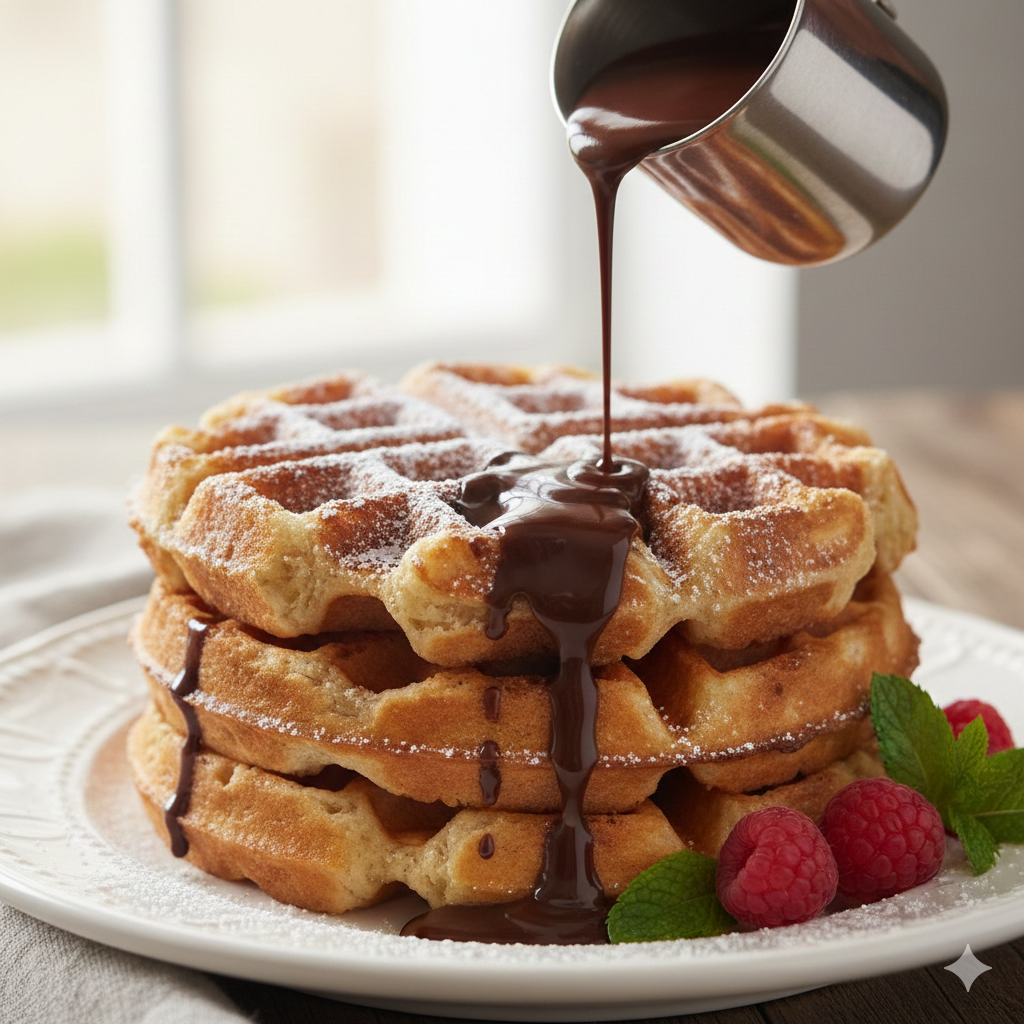
- The Decadent Morning: Drizzled warm Belgian dark chocolate and toasted hazelnuts.
- The Savory Twist: Topped with a poached egg and chive-infused crème fraîche.
- Beverage Pairings:
- Coffee: A dark roast or a creamy Latte Macchiato.
- Tea: Earl Grey with a hint of bergamot to cut through the richness.
- Brunch: A crisp Mimosa or a Belgian Dubbel ale for a truly authentic pairing.

5. Nutritional Information (Per Serving)
- Calories: 310 kcal
- Total Fat: 14g
- Saturated Fat: 8g
- Cholesterol: 65mg
- Sodium: 210mg
- Total Carbohydrates: 38g
- Dietary Fiber: 1g
- Sugars: 6g
- Protein: 7g
Note: Waffles provide a significant source of energy from complex carbohydrates and healthy fats. To boost nutritional value, consider topping with Greek yogurt or flax seeds.
6. Storage and Reheating
Never throw away a leftover waffle; they age remarkably well when handled with care.
- Refrigeration: Store in an airtight container for up to 3 days.
- Freezing: This is the preferred method. Flash-freeze on a baking sheet for 1 hour, then transfer to a freezer-safe bag. They stay fresh for 2 months.
- Reheating: Avoid the microwave, as it makes them rubbery. Use a toaster or a preheated oven at 180°C (350°F) for 5 minutes until the exterior regains its crunch.
7. Expert Tips and Variations
Professional Secrets
- The Temperature Factor: Ensure your milk is “baby bath warm” ($38^\circ\text{C}$ to $43^\circ\text{C}$). Too hot and you’ll kill the yeast; too cold and it won’t wake up.
- Don’t Peek: Opening the waffle iron too early will tear the waffle. Wait for the steam to stop billowing—that is the most reliable “doneness” indicator.
- The “Crisp” Rack: Never stack hot waffles. The steam from the bottom waffle will soften the one on top. Place them in a single layer on a wire rack.
Variations
- The Liège Style: Fold in 1/2 cup of Belgian pearl sugar into the batter just before cooking.
- The Zesty Waffle: Add the zest of one lemon and 1/2 teaspoon of ginger powder to the dry ingredients.
- The Chocolate Grid: Replace 1/4 cup of flour with high-quality Dutch-processed cocoa powder.
8. Ingredients Section
The Dry Base
- All-Purpose Flour: 2 cups (250g) – Look for a protein content around 10-11%.
- Sugar: 2 tablespoons (25g) – Caster sugar dissolves best.
- Instant Yeast: 2 ¼ teaspoons (1 standard packet/7g).
- Salt: ½ teaspoon – Fine sea salt is preferred.
The Liquid Gold
- Whole Milk: 1 ½ cups (350ml) – Warm to $40^\circ\text{C}$.
- Unsalted Butter: ½ cup (115g) – Melted and slightly cooled.
- Eggs: 2 large – Separated into yolks and whites.
- Vanilla Bean Paste: 1 teaspoon – Extract works, but paste provides those beautiful black flecks.
9. Step-by-Step Instructions
Step 1: Activate the Yeast
In a small bowl, combine the warm milk and a pinch of the sugar. Sprinkle the yeast on top and let it sit for 5–10 minutes until it becomes foamy. If it doesn’t foam, your yeast may be expired; start over with a fresh batch.
Step 2: Sift and Mix Dry Ingredients
Sift the flour, remaining sugar, and salt into a large bowl. Creating a “well” in the center helps integrate the liquids more evenly.
Step 3: Combine Wet Ingredients
Whisk the egg yolks, melted butter, and vanilla into the yeast/milk mixture.
Step 4: The Marriage of Textures
Pour the wet ingredients into the dry well. Using a whisk, stir gently until just combined. A few small lumps are perfectly fine—over-mixing will develop too much gluten, leading to a “bread-like” rather than “cake-like” waffle.
Step 5: The Rise
Cover the bowl with a damp cloth or plastic wrap. Let it sit in a warm, draft-free spot for about 60 minutes. The batter should double in size and look bubbly and aerated.
Step 6: The Secret Weapon (Egg Whites)
While the batter rises, beat the egg whites in a clean bowl until stiff peaks form. Once the batter has risen, gently fold the whites into the batter using a spatula. This adds “lift” and ensures a light interior.
Step 7: Precision Baking
Preheat your waffle iron. Lightly brush with melted butter or oil. Pour about ½ to ¾ cup of batter (depending on your iron size) onto the center. Close the lid and cook for 3–5 minutes.
Step 8: The Finishing Touch
Carefully remove the waffle with a silicone fork. Transfer to the wire rack for 30 seconds to let the steam escape before serving.
10. Frequently Asked Questions (FAQ)
Q: Can I use Baking Powder instead of Yeast?
A: You can, but it won’t be a true Belgian waffle. Yeast provides the characteristic “tang” and the specific crisp-yet-chewy texture that chemical leaveners cannot replicate.
Q: My waffles are sticking to the iron! What happened?
A: This usually happens if the iron isn’t hot enough or if there isn’t enough fat in the batter. Ensure your iron is fully preheated and check that your butter was fully incorporated.
Q: Can I make the batter the night before?
A: Yes! In fact, an overnight rise in the refrigerator develops even deeper flavor. Just let the batter sit at room temperature for 20 minutes before baking the next morning.
Q: Why are my waffles soft instead of crispy?
A: This is likely due to trapped steam. Ensure you use a wire cooling rack and check that your waffle iron is set to a high enough temperature.
Q: What is the difference between Belgian and American waffles?
A: Belgian waffles use yeast and/or whipped egg whites for height and have much deeper pockets. American waffles usually rely on baking powder and are thinner.