1. Introduction: A Bite-Sized Autumn Tradition
There is something inherently nostalgic about the scent of cinnamon, nutmeg, and cloves wafting through a kitchen as the leaves begin to turn golden. While a towering, classic pumpkin pie is the traditional centerpiece of many holiday tables, there is a certain undeniable charm to the Mini Pumpkin Pie. These petite treats capture the soul of autumn in a single, palm-sized serving, offering the perfect balance of a crunchy, honey-toned crust and a velvet-smooth spiced custard.
The transition from a full-sized pie to a “mini” version isn’t just about aesthetics; it’s about the experience. Gone is the anxiety of the “perfect slice” that holds its shape; in its place is a self-contained masterpiece that requires no fork if you’re feeling casual. Historically, pumpkin custard dates back to early American settlers, who often baked spiced pumpkin mashes directly in the shell. Over centuries, this evolved into the refined tart we know today. By using a Graham Cracker Crust instead of traditional pastry, we introduce a toasted, nutty dimension that perfectly complements the earthy sweetness of the pumpkin.
Whether you are hosting a sophisticated Friendsgiving, looking for a child-friendly baking project, or simply want a treat that doesn’t require a commitment to a giant dessert, these mini pies are your answer. They represent the modern evolution of comfort food: accessible, portion-controlled, and visually stunning.
2. Recipe Overview
- Cuisine Type: American / Dessert
- Difficulty Level: Easy to Intermediate
- Prep Time: 20 minutes
- Cook Time: 25 minutes
- Chilling Time: 2 hours
- Total Time: 2 hours 45 minutes
- Dietary Classifications: Vegetarian (Can be made Gluten-Free with GF graham crackers)
3. Equipment and Tools
To ensure your mini pies have the perfect structural integrity and a smooth finish, using the right tools is essential.
Essential Hardware
- Standard 12-cup Muffin Tin: This provides the ideal depth and width.
- Mixing Bowls: One large for the filling, one medium for the crust.
- Whisk & Rubber Spatula: For achieving a lump-free custard.
- Small Glass or Measuring Cup: Used to firmly press the crust into the tin.
- Measuring Cups and Spoons: For precision.
Specifications
- Muffin Tin Dimensions: Standard cups are usually 2.5 inches (6.4 cm) in diameter and 1.5 inches (3.8 cm) deep.
- Volume: Each mini pie holds approximately 1/4 cup of filling.
- Cooling Rack: A wire rack is necessary to prevent the bottoms from becoming soggy during the cooling process.
4. Serving Suggestions
Presentation is everything when it comes to miniature desserts.
Plating and Garnish
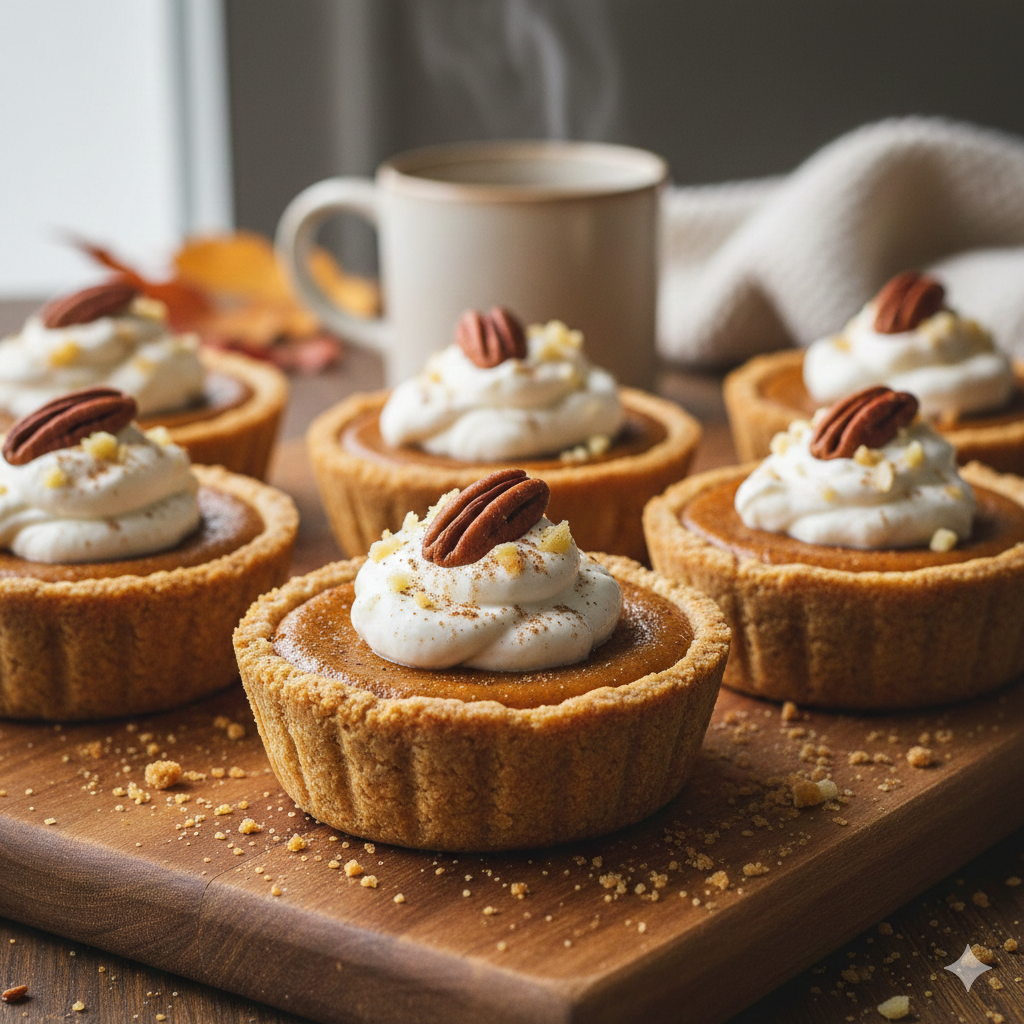
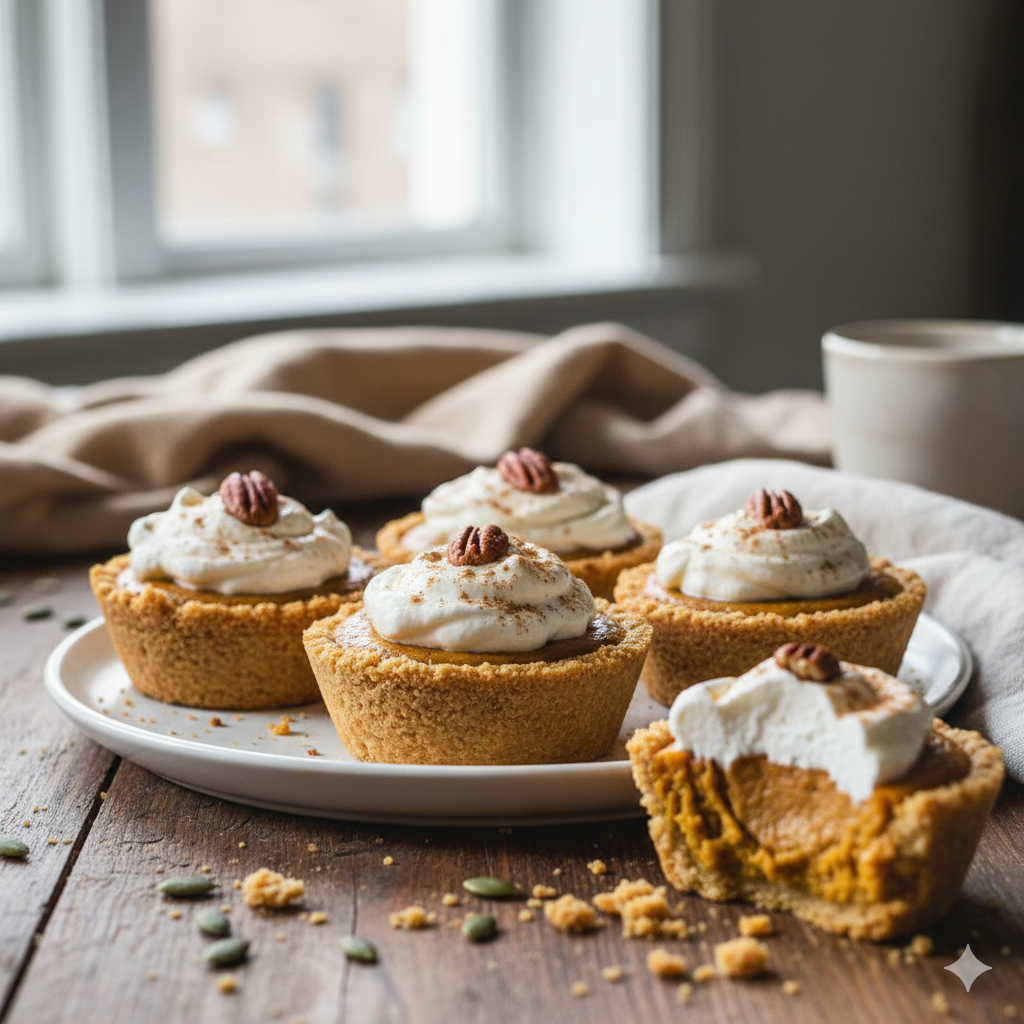
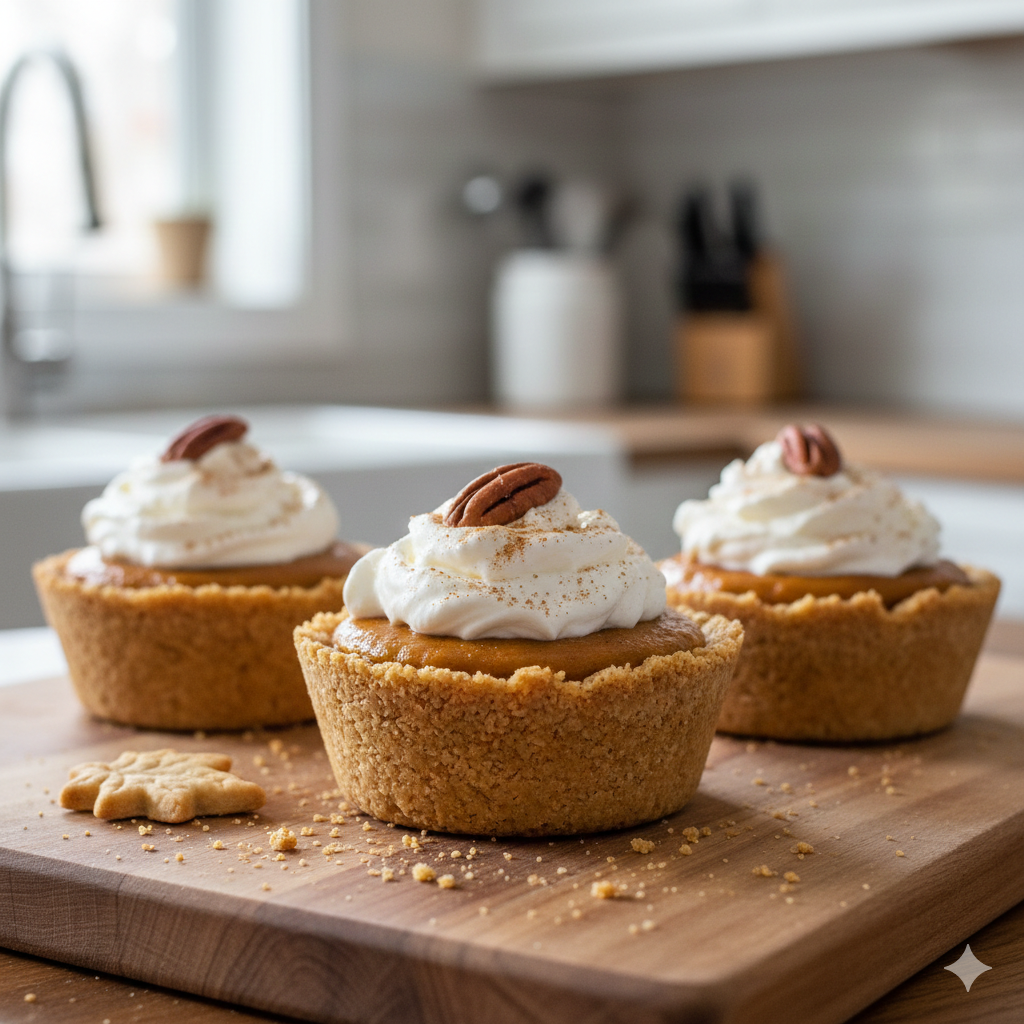
- The Classic Swirl: A dollop of homemade whipped cream is non-negotiable. For a professional look, use a piping bag with a star tip.
- Spice Dusting: A light sprinkle of pumpkin pie spice or freshly grated nutmeg adds a sensory “pop” before the first bite.
- Crunchy Toppings: Toasted pecans or a single pepita (pumpkin seed) on top adds a sophisticated textural contrast.
Beverage Pairings
- Coffee: A dark roast or a vanilla latte balances the sweetness.
- Tea: Chai tea or Earl Grey provides floral and spicy notes that mirror the pie’s ingredients.
- Wine: A late-harvest Riesling or a glass of Tawny Port pairs beautifully with the caramelized sugars of the pumpkin.
5. Nutritional Information (Per Serving)
- Calories: 185 kcal
- Total Fat: 9g
- Saturated Fat: 5g
- Cholesterol: 45mg
- Sodium: 160mg
- Total Carbohydrates: 22g
- Fiber: 1g
- Sugar: 14g
- Protein: 3g
Note: Pumpkin is an excellent source of Vitamin A (Beta-carotene), which supports eye health and immune function. Using a graham cracker crust generally offers slightly more fiber than traditional lard-based pastries.
6. Storage and Reheating
Because these pies contain eggs and dairy, they must be handled with care.
- Refrigeration: Once completely cooled, store in an airtight container for up to 4 days.
- Freezing: These freeze surprisingly well! Wrap individual pies in plastic wrap and place them in a freezer bag. They will last for 1 month. Thaw in the refrigerator overnight.
- Reheating: While usually served cold or at room temperature, you can warm them in a 300°F (150°C) oven for 5 minutes if you prefer a warm custard. Avoid the microwave, as it can make the graham cracker crust chewy.
7. Expert Tips and Variations
The “Pro” Secret
For the smoothest filling, strain your pumpkin mixture through a fine-mesh sieve before pouring it into the crusts. This removes any fibrous bits from the pumpkin puree and ensures a “melt-in-your-mouth” texture.
Creative Variations
- Chocolate Bottom: Brush a thin layer of melted semi-sweet chocolate onto the pre-baked crust before adding the filling.
- Gingersnap Crust: Swap graham crackers for crushed gingersnap cookies for a spicier, bolder base.
- Maple Swirl: Add a teaspoon of pure maple syrup to the whipped cream topping.
8. Ingredients Section
For the Graham Cracker Crust
- Graham Cracker Crumbs: 1.5 cups (approx. 10–12 full sheets) / 150g
- Unsalted Butter (Melted): 6 tbsp / 85g
- Granulated Sugar: 2 tbsp / 25g
- Salt: a pinch
For the Pumpkin Filling
- Pumpkin Puree (Not Pie Filling): 1 cup / 225g
- Evaporated Milk: 3/4 cup / 180ml
- Egg: 1 large (room temperature)
- Brown Sugar (Packed): 1/2 cup / 100g
- Pumpkin Pie Spice: 1.5 tsp (or a mix of cinnamon, ginger, cloves, and nutmeg)
- Vanilla Extract: 1 tsp
9. Step-by-Step Instructions
- Preheat and Prep: Preheat your oven to 350°F (175°C). Lightly grease a muffin tin or use paper liners (liners make removal much easier).
- Construct the Crust: In a bowl, combine crumbs, melted butter, sugar, and salt. The texture should resemble wet sand. Press about 1.5 to 2 tablespoons into each muffin cup, using a flat-bottomed glass to pack it firmly up the sides.
- Blind Bake: Bake the crusts for 5 minutes. Remove and let cool while you prepare the filling. This prevents the crust from becoming soggy.
- Whisk the Custard: In a large bowl, whisk the egg and brown sugar until smooth. Stir in the pumpkin puree, pumpkin pie spice, vanilla, and evaporated milk. Whisk until the color is uniform and the texture is fluid.
- Fill the Cups: Pour the filling into the pre-baked crusts, filling each about 3/4 of the way to the top.
- Bake: Place in the center rack of the oven. Bake for 18–22 minutes.
- Visual Cue: The edges should be set, but the centers should have a very slight “jiggle” when the pan is moved.
- Cooling (Crucial): Let the pies cool in the tin for at least 30 minutes. Then, carefully run a thin knife around the edges to pop them out and transfer to a wire rack.
- Chill: Refrigerate for at least 2 hours before serving to allow the custard to set completely.
10. Frequently Asked Questions (FAQ)
Q: Can I use fresh pumpkin instead of canned? A: Yes, but ensure it is well-drained. Fresh pumpkin puree has a higher water content, which can lead to a runny pie.
Q: My crust is crumbling when I take them out. What happened? A: You likely didn’t press the crumbs firmly enough. Use a small juice glass to really pack the butter-crumb mixture into the tin.
Q: Can I make these vegan? A: Yes! Use vegan graham crackers, coconut oil instead of butter, and a flax egg with coconut milk for the filling.
Q: How do I prevent the tops from cracking? A: Cracks usually happen from overbaking. Pull the pies out while the center is still slightly wobbly; the residual heat will finish the cooking process.
Q: Do I need to use liners? A: While not strictly necessary if you grease the pan well, liners are highly recommended for “mini” desserts to ensure they come out intact.
