1. Introduction: A New Legacy for a Southern Classic
There is an undeniable magic to a traditional pecan pie. It is the undisputed crown jewel of the Southern dessert table, a sticky, sweet, and nutty masterpiece that has anchored holiday celebrations for generations. However, for many home bakers, the “pie” part of the equation is where the stress begins. A shrinking crust, a soggy bottom, or the dreaded “soupy” center can turn a festive occasion into a kitchen crisis.
Enter the Pecan Pie Bar.
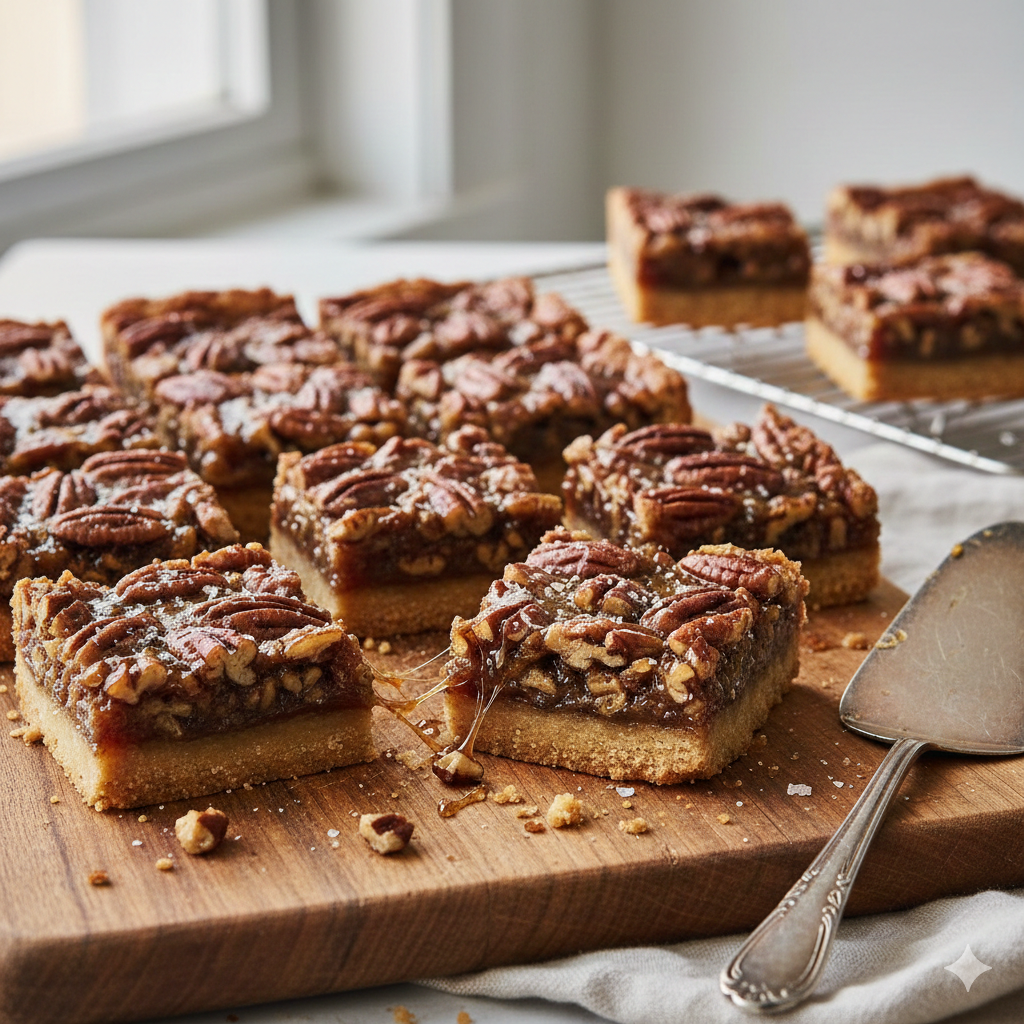
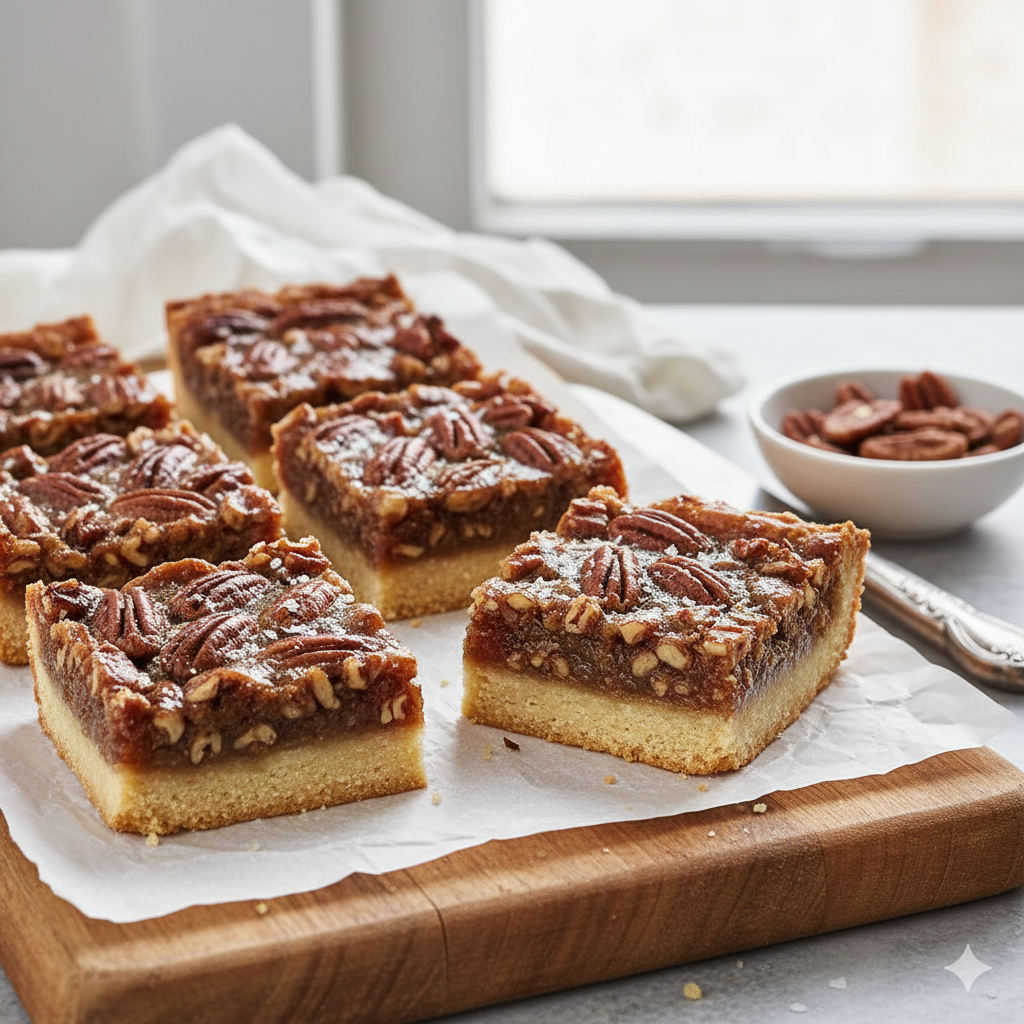
These bars represent the evolution of the classic. By swapping a temperamental flaky pie crust for a sturdy, melt-in-your-mouth shortbread base, we eliminate the need for rolling pins and chilled marble slabs. This recipe isn’t just a “shortcut”—it’s a refinement. The ratio of crust to filling is perfectly balanced in every bite, and the structural integrity of a bar makes it the ideal candidate for potlucks, bake sales, or holiday gift boxes.
Whether you are a seasoned pastry chef or a beginner looking for a “win” this Thanksgiving, these bars offer the deep, caramelized flavors of toasted pecans and dark brown sugar without the high-stakes drama of a traditional tin. It is comfort food made convenient, proving that sometimes, being “easier than pie” makes it better than pie.
2. Recipe Overview
- Cuisine Type: American (Southern)
- Difficulty Level: Easy/Intermediate
- Prep Time: 20 minutes
- Cook Time: 45 minutes (plus cooling time)
- Total Time: 1 hour 5 minutes
- Dietary Classifications: Vegetarian. (Can be modified for Gluten-Free)
3. Equipment and Tools
To achieve the perfect bake and ensure easy removal, having the right gear is essential.
- Baking Pan: A standard 9×13 inch (23×33 cm) rectangular baking pan.
- Lining: Heavy-duty aluminum foil or parchment paper (essential for the “sling” method to lift the bars out).
- Mixing Bowls: One medium bowl for the crust, one large bowl for the filling.
- Pastry Cutter or Fork: To cut the butter into the flour for the shortbread base.
- Whisk and Rubber Spatula: For a smooth, emulsified filling.
- Oven Thermometer: Highly recommended to ensure your oven is at a true 350°F (175°C).
- Cooling Rack: To allow airflow beneath the pan, preventing a soggy bottom.
4. Serving Suggestions
These bars are versatile enough for a casual snack or an elegant plated dessert.
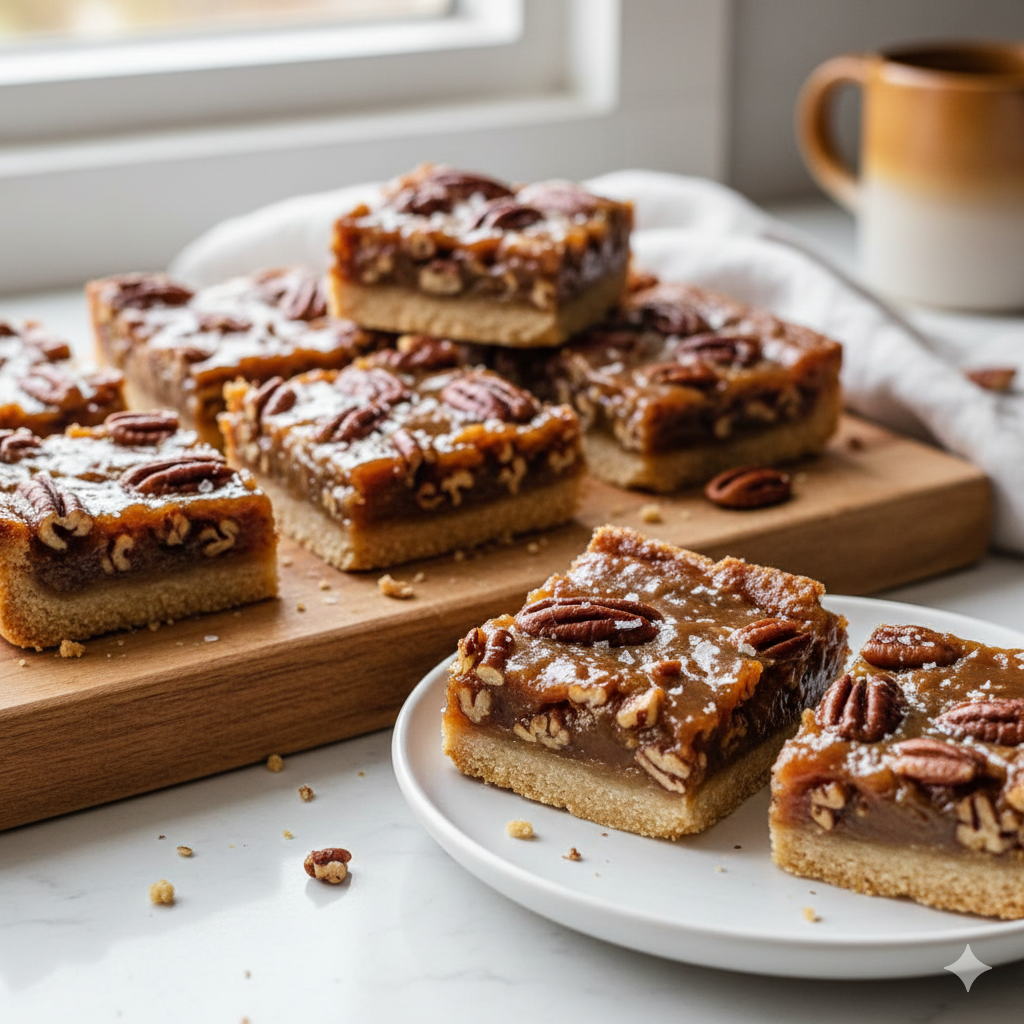
- The Classic Plate: Serve at room temperature with a generous dollop of unsweetened whipped cream to balance the sugar.
- The A La Mode: Warm a bar slightly (15 seconds in the microwave) and top with a scoop of premium vanilla bean or salted caramel ice cream.
- Garnish: A light sprinkle of Maldon sea salt over the top immediately after baking cuts through the sweetness and enhances the nuttiness.
- Pairings: These bars pair beautifully with a dark roast coffee, a spicy Chai tea, or a glass of aged Bourbon.
5. Nutritional Information (Per Serving)
Serving size: 1 bar (based on 24 bars per pan)
- Calories: 285 kcal
- Total Fat: 18g
- Saturated Fat: 8g
- Carbohydrates: 32g
- Fiber: 1g
- Sugar: 22g
- Protein: 2g
Health Note: Pecans are an excellent source of healthy monounsaturated fats and antioxidants. While this is a decadent dessert, using high-quality nuts provides essential minerals like manganese and zinc.
6. Storage and Reheating
Because of the high sugar and fat content, these bars store exceptionally well.
- Room Temperature: Store in an airtight container for up to 3 days.
- Refrigeration: For the best texture and cleanest cuts, keep them in the fridge for up to 1 week.
- Freezing: These are freezer superstars. Wrap individual bars in plastic wrap, then place them in a freezer-safe bag. They stay fresh for up to 3 months. Thaw at room temperature for 1 hour before serving.
- Reheating: If you prefer them gooey, heat in an oven at 300°F (150°C) for 5-10 minutes.
7. Expert Tips and Variations
Professional Tips
- The Foil Sling: Always leave an overhang of parchment paper on the sides of your pan. This allows you to lift the entire block of bars out once cooled, making slicing much cleaner.
- Toast Your Nuts: Before adding pecans to the filling, toast them in a dry skillet for 3-5 minutes until fragrant. This doubles the depth of flavor.
- Don’t Overbake: The filling should have a slight “jiggle” in the very center when you pull it out. It will firm up completely as it cools.
Variations
- Chocolate Chip Pecan: Fold in 1/2 cup of semi-sweet chocolate chips into the filling.
- Bourbon Pecan: Add 2 tablespoons of high-quality Bourbon to the liquid mixture for an adult, smoky kick.
- Gluten-Free: Substitute the all-purpose flour in the crust with a 1:1 gluten-free baking flour blend.
8. Ingredients Section
The Shortbread Crust
- 2 cups (250g) All-purpose flour
- 1/2 cup (100g) Granulated sugar
- 3/4 cup (170g) Unsalted butter, cold and cubed
- 1/4 tsp Salt
The Pecan Filling
- 4 large Eggs, room temperature
- 1 1/2 cups (315g) Light or dark brown sugar, packed
- 1 cup (240ml) Light corn syrup (or maple syrup for a richer flavor)
- 2 tsp Pure vanilla extract
- 1/2 tsp Salt
- 3 cups (340g) Chopped pecans
9. Step-by-Step Instructions
Step 1: Prep and Preheat
Preheat your oven to 350°F (175°C). Grease a 9×13 inch baking pan and line it with parchment paper, leaving an overhang on the long sides.
Step 2: Create the Shortbread Base
In a medium bowl, whisk together the flour, granulated sugar, and salt. Add the cold, cubed butter. Using a pastry cutter or two forks, work the butter into the flour until the mixture resembles coarse crumbs (roughly pea-sized).
Step 3: Bake the Crust
Press the mixture firmly and evenly into the bottom of the prepared pan. Bake for 15-18 minutes or until the edges are just barely golden brown. Crucial: Do not let the crust get too dark, as it will bake again with the filling.
Step 4: Prepare the Filling
While the crust is par-baking, whisk the eggs in a large bowl. Add the brown sugar, corn syrup, vanilla, and salt. Whisk vigorously until the sugar is dissolved and the mixture is smooth. Fold in the chopped pecans.
Step 5: The Final Bake
Pour the pecan filling over the hot, par-baked crust. Return the pan to the oven and bake for 30-35 minutes.
Visual Cue: The edges should be set and slightly puffed, while the center should have a very slight wobble.
Step 6: The Cooling Phase (Patience is Key!)
Place the pan on a wire rack and let it cool completely. For the best results, refrigerate for at least 2 hours before slicing. This allows the “custard” to set, ensuring those perfect, sharp-edged squares.
10. Frequently Asked Questions (FAQ)
Q: Can I use maple syrup instead of corn syrup? A: Yes! Maple syrup adds a lovely woody flavor. However, the bars will be slightly softer and less “chewy” than the traditional version.
Q: Why did my crust turn out soggy? A: This usually happens if the crust isn’t par-baked long enough or if the filling is poured onto a crust that has cooled completely. Ensure the crust is hot when the filling goes on.
Q: Can I use whole pecans instead of chopped? A: You can, but chopped pecans make the bars much easier to slice into clean squares. If you love the look of whole pecans, press a few onto the top of the filling before baking.
Q: How do I know if the bars are done? A: Use the “jiggle test.” Tap the side of the pan; the filling should move as one cohesive unit rather than looking liquid in the middle.
Q: My filling is bubbling over the edges, what happened? A: This often happens if the eggs were over-beaten, incorporating too much air. Whisk the filling until just combined and smooth.
