1. Introduction
There is a specific magic that settles over a kitchen during the holidays. It’s the scent of pine needles, the warmth of the oven, and the nostalgic snap of peppermint. Among all the elaborate cookies and multi-day fruitcakes, one treat stands as the undisputed king of festive simplicity: Peppermint Bark.
Peppermint Bark is more than just a candy; it is a cultural icon of the winter season. Legend has it that while versions of chocolate-covered mints have existed for decades, the modern “layered” bark we adore today rose to fame in the late 1990s. Its beauty lies in the contrast—the deep, earthy richness of dark chocolate meeting the creamy, velvet sweetness of white chocolate, all punctuated by the icy crunch of crushed candy canes.
What makes this specific 3-Ingredient Peppermint Bark so significant is its accessibility. You don’t need a culinary degree or a candy thermometer to master this. It’s a “gateway” recipe—one that invites children to help crush the mints and encourages even the most “kitchen-shy” individual to create something artisanal. Whether you’re layering it into tins for neighbors or keeping a secret stash in the freezer for late-night cravings, this bark represents the best of holiday hosting: maximum joy with minimum stress.
2. Recipe Overview
- Cuisine Type: American / Confectionery
- Difficulty Level: Beginner
- Prep Time: 15 minutes
- Setting Time: 1 hour
- Total Time: 1 hour 15 minutes
- Dietary Classifications: Vegetarian, Gluten-Free (check candy labels), Egg-Free, Nut-Free.
3. Equipment and Tools
To achieve that perfect, snap-worthy layer without the chocolates separating, having the right tools is essential.
- Baking Sheet: A standard half-sheet pan (18″ x 13″).
- Parchment Paper or Silicone Mat: Crucial for non-stick removal.
- Heat-Proof Bowls: Two medium-sized bowls (glass or stainless steel).
- Double Boiler or Microwave: For gentle melting.
- Offset Spatula: For creating smooth, even layers of chocolate.
- Rolling Pin and Ziploc Bag: The most efficient way to crush candy canes.
- Chef’s Knife: A heavy, sharp blade for “barking” the finished product into shards.
4. Serving Suggestions
Peppermint bark is a visual showstopper. Here is how to make it shine:
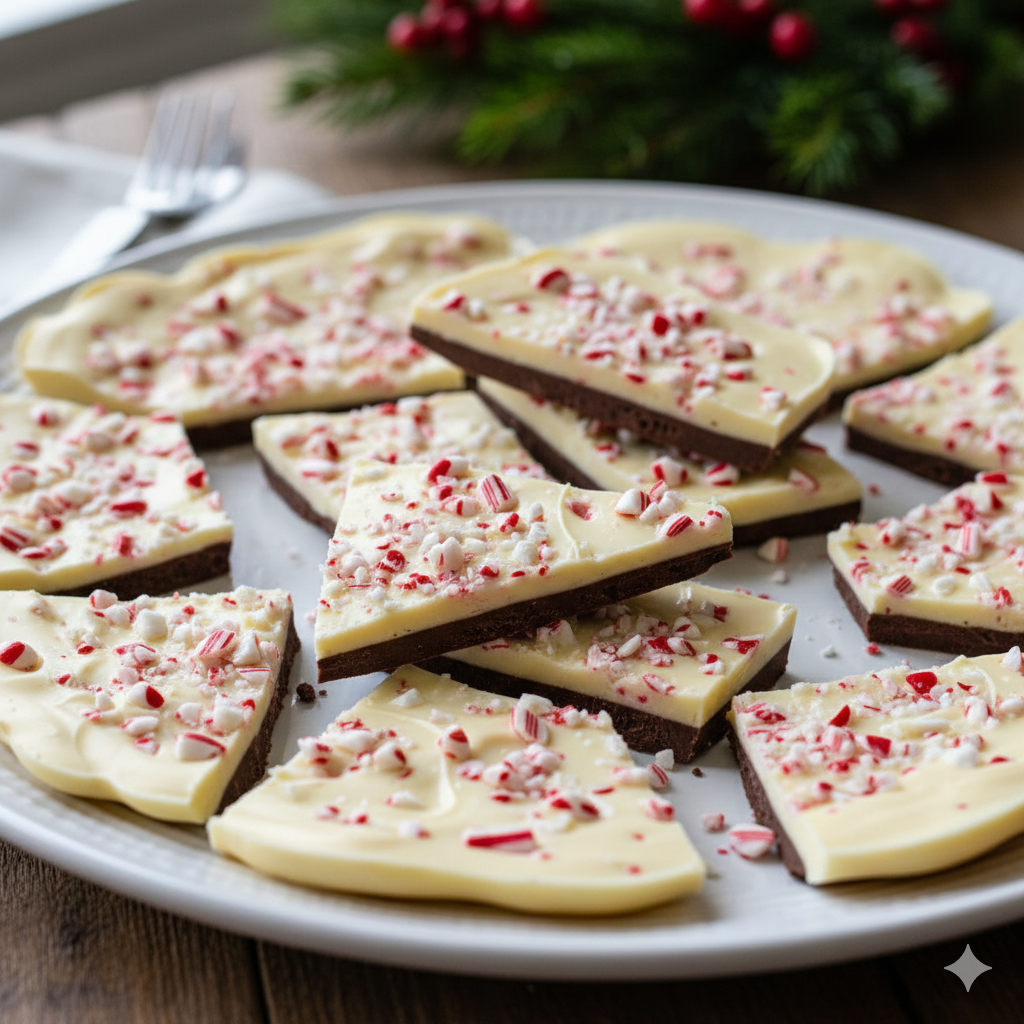
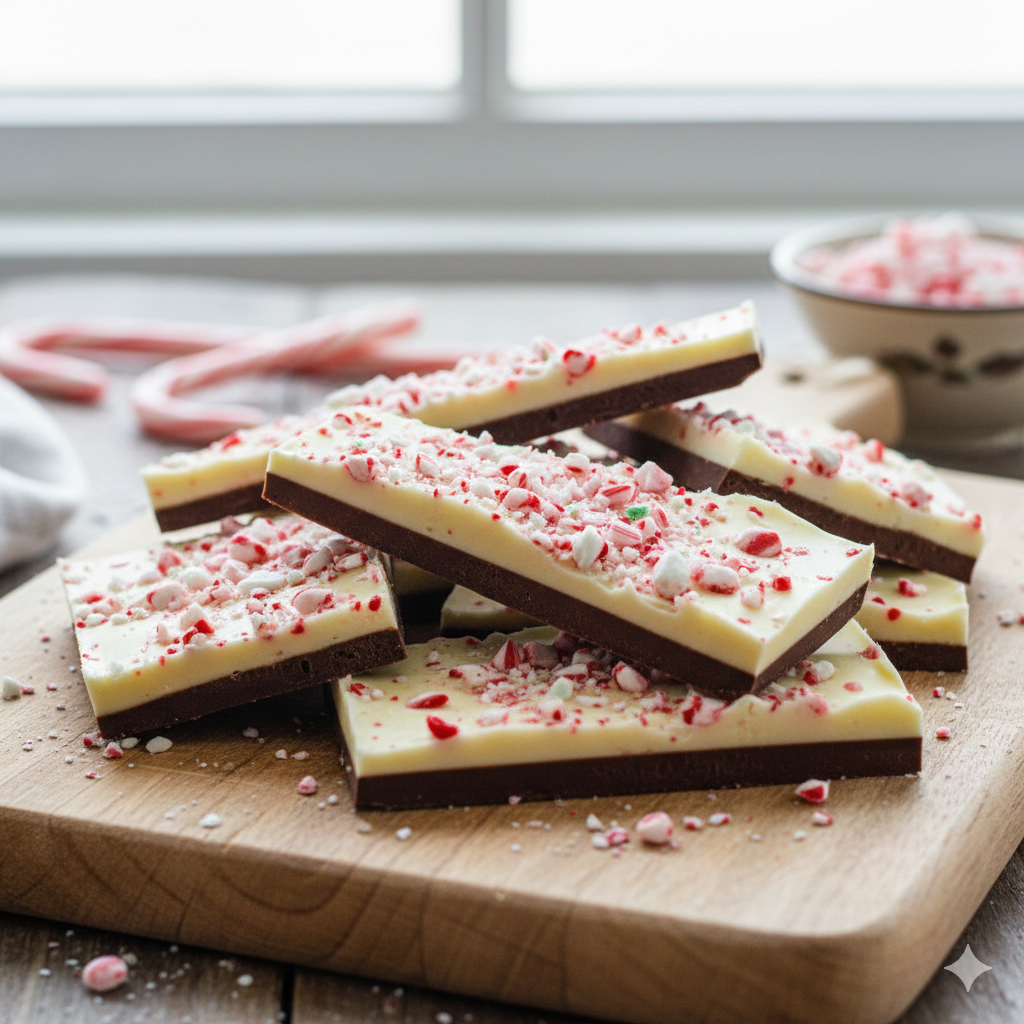
- Plating: Arrange shards vertically in a glass jar or flat on a slate board to show off the distinct layers.
- Garnish: For an extra “pop,” sprinkle a tiny pinch of flaky sea salt over the dark chocolate layer before adding the white chocolate.
- Beverage Pairings: * Hot: Classic cocoa or a dark roast coffee.
- Cold: A glass of cold whole milk or a peppermint mocha.
- Adult: A creamy White Russian or an espresso martini.
- Gift Idea: Place in a cellophane bag tied with a red velvet ribbon and a sprig of fresh rosemary.
5. Nutritional Information
(Estimated per 1 oz / 28g serving)
| Nutrient | Amount |
| Calories | 155 kcal |
| Total Fat | 9g |
| Saturated Fat | 5g |
| Carbohydrates | 18g |
| Sugars | 16g |
| Protein | 1.5g |
Health Note: While this is an indulgent treat, using high-quality dark chocolate (70% cocoa or higher) provides beneficial flavonoids and antioxidants.
6. Storage and Reheating
Chocolate is sensitive to temperature and humidity. Follow these steps to keep your bark fresh:
- Room Temperature: Store in an airtight container in a cool, dry place for up to 2 weeks.
- Refrigeration: While possible, the fridge can cause “sugar bloom” (white streaks) due to moisture. If you must refrigerate, wrap the bark tightly in parchment then plastic wrap.
- Freezing: This bark freezes beautifully. Place in a freezer-safe bag for up to 3 months. Eat directly from the freezer for an extra-cold crunch!
- Reheating: N/A – This is a cold-set confection.
7. Expert Tips and Variations
Professional Tips
- Avoid Water: Even one drop of water in your melting chocolate will cause it to “seize,” turning it into a grainy, clumped mess. Ensure all tools are bone-dry.
- The “Partial Set”: Don’t let the first layer of chocolate get rock-hard in the fridge before adding the second. If the base is too cold/hard, the layers will slide apart when you try to break them. Aim for “tacky” to the touch.
Creative Variations
- The “Grinch” Bark: Add a drop of green food coloring (oil-based only!) to the white chocolate.
- The Mocha Bark: Stir a teaspoon of instant espresso powder into the dark chocolate layer.
- The Loaded Bark: Add pretzels or crushed Oreos alongside the peppermint for a salty-sweet twist.
8. Ingredients Section
To make the best bark, source the highest quality chocolate you can find. Avoid “chocolate chips” if possible, as they contain stabilizers that prevent a smooth melt; use baking bars instead.
- 12 oz (340g) Semi-Sweet or Dark Chocolate: (60-70% cacao recommended).
- 12 oz (340g) White Chocolate: Ensure it contains “Cocoa Butter” and not just vegetable oil.
- 1/2 cup (approx. 6-8 canes) Peppermint Candy Canes: Crushed into a mix of fine dust and small chunks.
9. Step-by-Step Instructions
Step 1: Prep the Canvas
Line your baking sheet with parchment paper. Ensure the paper lays flat; you can use a tiny dot of melted chocolate in the corners to “glue” the paper to the pan.
Step 2: Crush the Mint
Place candy canes in a heavy-duty plastic bag. Use a rolling pin or the bottom of a heavy skillet to crush them. Aim for a variety of textures—some fine powder for flavor and some larger shards for the aesthetic.
Step 3: Melt the Dark Layer
Using a double boiler or a microwave (30-second intervals, stirring in between), melt the dark chocolate until smooth.
Technique Tip: To “cheat” a temper, melt 2/3 of your chocolate, then stir in the remaining 1/3 finely chopped. This helps keep the bark shiny and prevents it from melting instantly in your hands.
Step 4: The First Pour
Pour the dark chocolate onto the parchment. Use your offset spatula to spread it into a rectangle about 1/4 inch thick. Tap the pan on the counter to level it. Pop it in the fridge for 8-10 minutes.
Step 5: Melt the White Layer
While the dark chocolate is chilling, melt your white chocolate using the same gentle method. White chocolate burns more easily than dark, so be extra cautious.
Step 6: The Secondary Layer
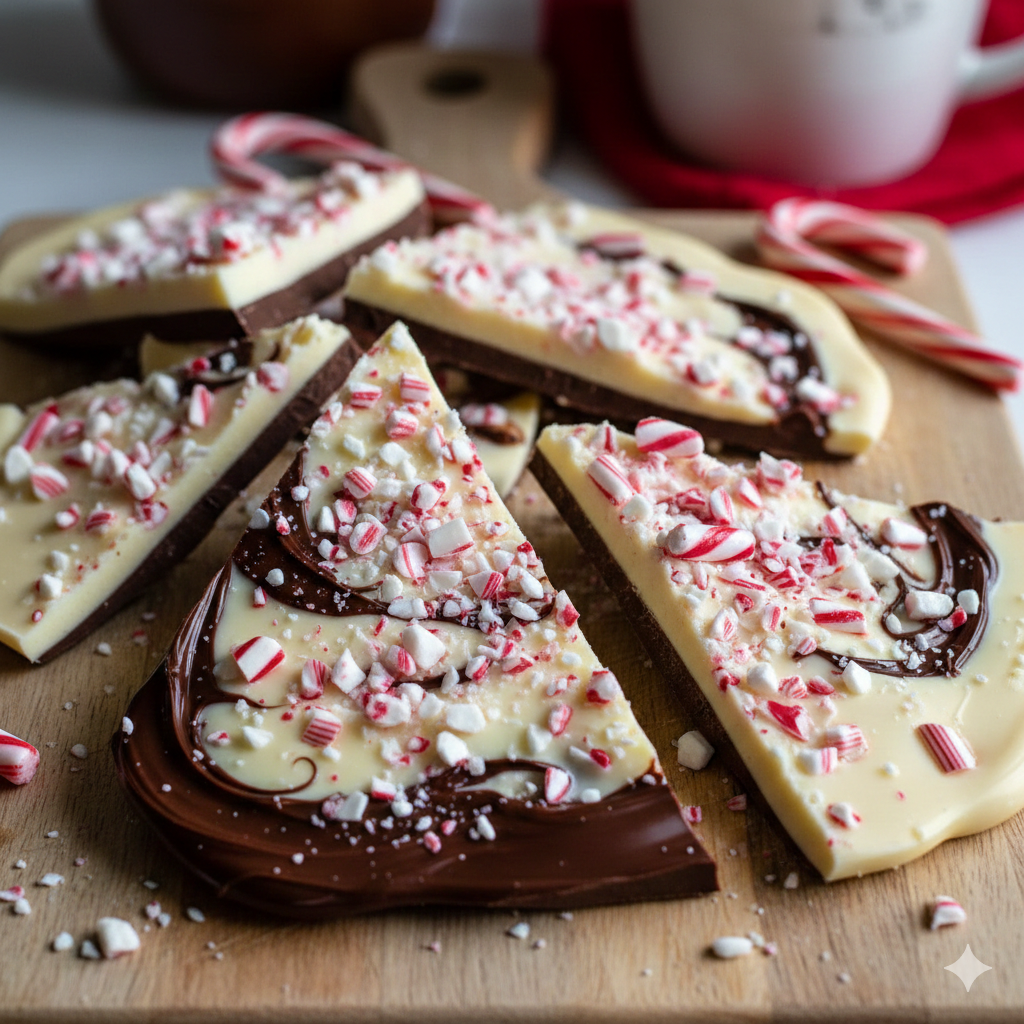
Touch the dark chocolate. It should be set but not frozen. Pour the white chocolate over the top. Spread gently so you don’t swirl the two together (unless you want a marbled look!).
Step 7: The Garnish
Immediately sprinkle the crushed peppermint over the wet white chocolate. Press down very lightly with your fingertips to ensure the candy adheres.
Step 8: The Final Set
Let the bark sit at room temperature for 2 hours, or in the fridge for 30 minutes until completely firm.
Step 9: The Break
Once hard, peel the bark off the parchment. Use a knife to slice into clean triangles, or use your hands to snap it into rustic, organic shards.
10. Frequently Asked Questions (FAQ)
Q: Why did my chocolate layers separate?
A: Usually, this happens because the first layer was too cold when the second was added. To fix this, let the bottom layer sit at room temperature for a bit before adding the top, or very briefly hit the bottom layer with a hairdryer for 5 seconds to “prime” the surface.
Q: Can I use milk chocolate instead of dark?
A: Absolutely! Milk chocolate is sweeter, so it pairs very well with the sharp bite of peppermint.
Q: My white chocolate turned thick and lumpy. What happened?
A: It likely “seized.” This happens if moisture gets in or if it gets too hot. White chocolate is very delicate. Always use low heat and stir constantly.
Q: How do I get perfectly clean edges?
A: Dip a sharp knife in hot water, wipe it dry, and then slice. The heat will glide through the chocolate without cracking it.
Q: Is this recipe vegan-friendly?
A: It can be! Simply swap the chocolate for dairy-free dark and white chocolate bars. Many candy canes are naturally vegan.
