1. Introduction
Imagine standing on a sun-drenched porch in Key West, the salt air mingling with the scent of citrus. That quintessential Florida experience is captured entirely within the humble Key Lime Pie. While a traditional slice is iconic, the modern culinary world has embraced a more charming, individualistic approach: Key Lime Pie Jars.
These portable treasures offer the perfect ratio of buttery, salty crust to silky, tart custard in every single bite. The history of the Key Lime Pie dates back to the late 19th century, credited largely to “Aunt Sally,” a cook for ship salvager William Curry. Lacking fresh milk in the remote Florida Keys, she utilized canned condensed milk—a staple that remains the soul of the dish today.
Transforming this classic into a “jar dessert” isn’t just a trend; it’s a practical evolution. Whether you are hosting a high-end garden party, a casual backyard BBQ, or looking for a portion-controlled weeknight treat, these jars eliminate the mess of slicing and the anxiety of a collapsing crust. They are a celebration of sunshine, convenience, and culinary heritage.
2. Recipe Overview
- Cuisine Type: American (Floridian)
- Difficulty Level: Easy (Beginner Friendly)
- Total Preparation Time: 30 minutes
- Chilling Time: 4 hours (minimum)
- Dietary Classifications: Vegetarian. (Can be modified for Gluten-Free or Low-Carb diets).
3. Equipment and Tools
To achieve professional-grade results, ensure you have the following gear ready:
- Glass Jars: 6 to 8 wide-mouth Mason jars (4 oz or 6 oz capacity).
- Mixing Bowls: One large glass bowl for the filling and one medium bowl for the crust.
- Hand Mixer or Stand Mixer: Essential for aerating the whipped cream topping.
- Rubber Spatula: For folding ingredients without deflating the mixture.
- Fine Mesh Zester (Microplane): Critical for extracting the aromatic oils from the lime peel without hitting the bitter white pith.
- Citrus Juicer: To maximize juice extraction.
- Rolling Pin and Ziploc Bag: For crushing graham crackers (unless using a food processor).
- Measuring Tools: Full set of dry and liquid measuring cups and spoons.
4. Serving Suggestions
The presentation of a jar dessert is half the fun.
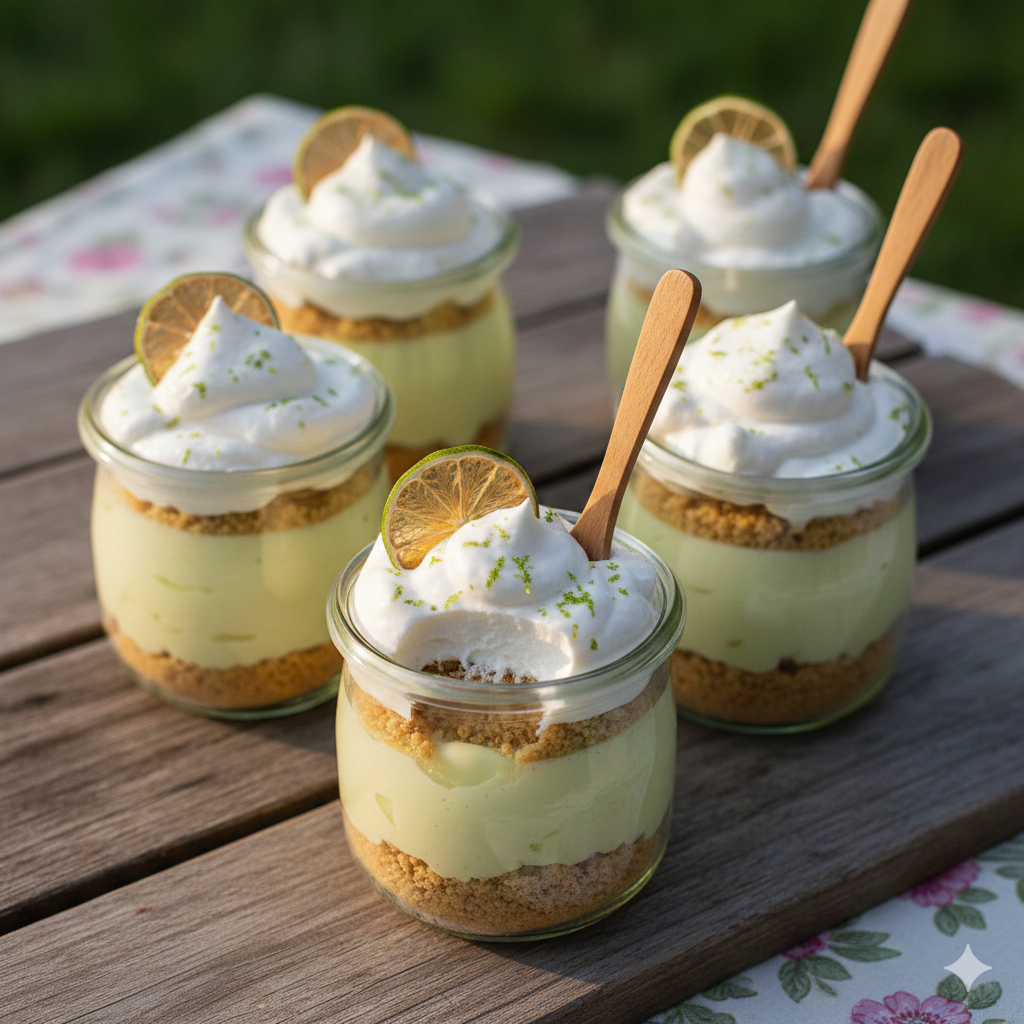
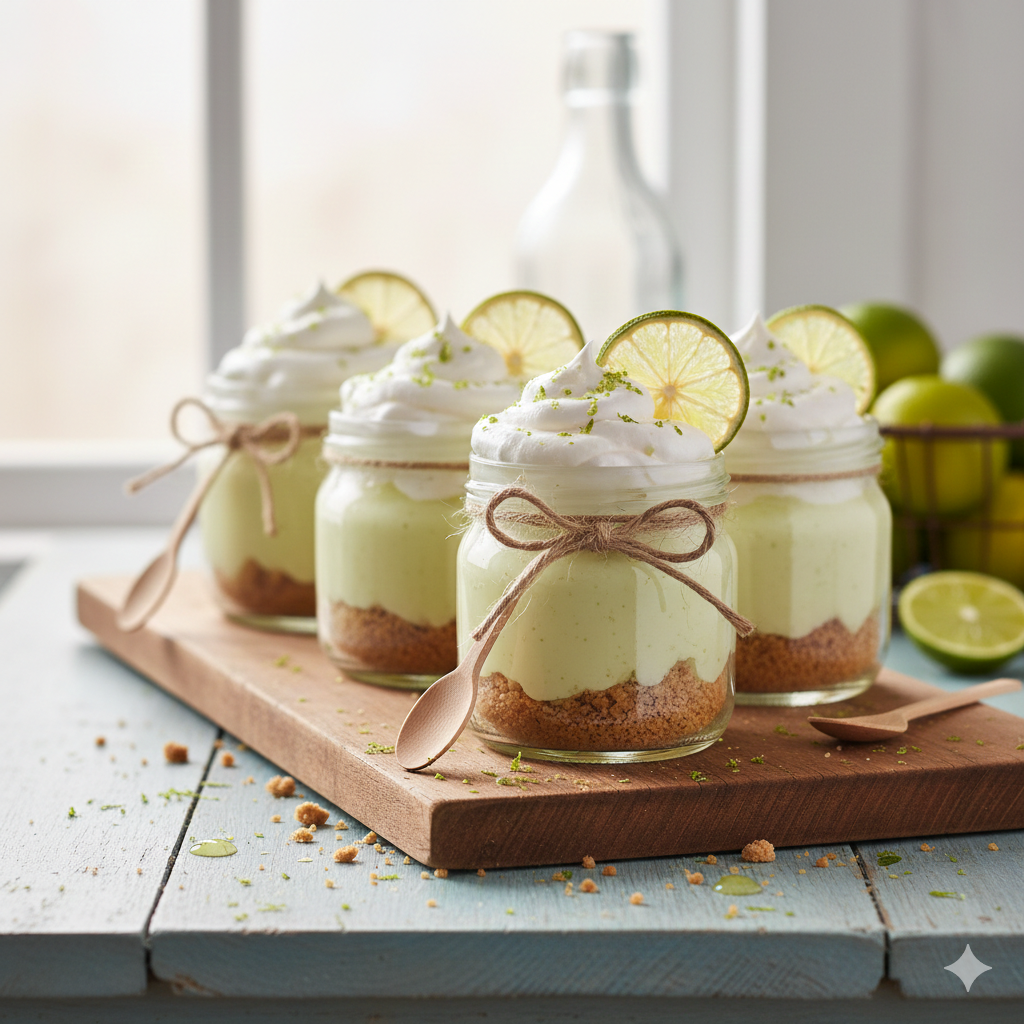
- Plating: Serve the jars on a rustic wooden board or a silver tray. If serving at a party, tie a small wooden spoon to the side of the jar with twine for a “boutique” look.
- Garnish: A thin, dehydrated lime wheel tucked into the cream adds a sophisticated touch. Alternatively, a sprinkle of extra graham cracker dust provides a nice texture contrast.
- Beverage Pairings: * Alcoholic: A chilled Sauvignon Blanc with citrus notes or a Coconut Rum Mojito.
- Non-Alcoholic: Sparkling water with a splash of cranberry or a sweetened Hibiscus iced tea.
5. Nutritional Information
Per 4 oz serving (estimated):
| Nutrient | Amount |
| Calories | 320 kcal |
| Total Fat | 18g |
| Saturated Fat | 10g |
| Cholesterol | 45mg |
| Sodium | 190mg |
| Total Carbohydrates | 36g |
| Sugars | 28g |
| Protein | 5g |
Health Insight: While a dessert, Key Limes are an excellent source of Vitamin C and antioxidants. To reduce sugar, consider using a Greek yogurt-based filling.
6. Storage and Reheating
- Refrigeration: These jars must be kept refrigerated. They will stay fresh and hold their structure for up to 4 days. Cover with the jar lid or plastic wrap to prevent the cream from absorbing “fridge odors.”
- Freezing: You can freeze the lime filling and crust (without the whipped cream topping) for up to 1 month. Thaw in the refrigerator for 2 hours before adding fresh whipped cream and serving.
- Reheating: This is a cold dessert. Do not apply heat, as the condensed milk and cream base will liquefy.
7. Expert Tips and Variations
- The “Key” Difference: If you cannot find authentic Key Limes (which are smaller, seedier, and more acidic), use a blend of 50% regular Persian lime juice and 50% fresh lemon juice to mimic the complex tartness.
- Avoid the “Pith”: When zesting, only take the green outer layer. The white part (pith) is incredibly bitter and will ruin the delicate flavor of the custard.
- The Crust Secret: Add a pinch of sea salt to your graham cracker crust. It cuts through the sweetness of the condensed milk beautifully.
- Variations:
- Tropical Twist: Use crushed ginger snaps instead of graham crackers.
- Vegan Version: Use coconut condensed milk and a vegan butter substitute.
- Protein Boost: Fold in 1/2 cup of stiffened Greek yogurt to the lime mixture.
8. Ingredients Section
For the Crust:
- Graham Cracker Crumbs: 1.5 cups (approx. 200g)
- Unsalted Butter: 6 tbsp (85g), melted
- Granulated Sugar: 2 tbsp (25g)
- Sea Salt: 1/4 tsp
For the Filling:
- Sweetened Condensed Milk: 1 can (14 oz / 396g)
- Key Lime Juice: 1/2 cup (120ml) — fresh is best!
- Key Lime Zest: 1 tbsp
- Egg Yolks: 3 large (room temperature) — Note: For a 100% no-bake, eggless version, substitute yolks with 4 oz of softened cream cheese.
For the Topping:
- Heavy Whipping Cream: 1 cup (240ml), chilled
- Powdered Sugar: 2 tbsp
- Vanilla Extract: 1 tsp

9. Step-by-Step Instructions
Step 1: Prepare the Base
In a medium bowl, combine the graham cracker crumbs, melted butter, sugar, and salt. Stir until the mixture resembles wet sand.
- Pro Tip: Use the bottom of a small shot glass to firmly press 2 tablespoons of the mixture into the bottom of each jar.
Step 2: The Emulsion
In a large bowl, whisk the egg yolks and lime zest together until the mixture lightens in color (about 2 minutes). Gradually pour in the sweetened condensed milk while continuing to whisk.
Step 3: The Chemical Reaction
Slowly whisk in the lime juice. You will notice the mixture begin to thicken naturally—this is the acid in the lime juice reacting with the proteins in the milk.
- Timing: Whisk for 3–5 minutes until the mixture is smooth and glossy.
Step 4: Assemble and Set
Spoon the lime filling into the jars, leaving about half an inch of headspace at the top.
- Visual Cue: The filling should be level and slightly jiggly but not liquid.Refrigerate for at least 4 hours. This allows the flavors to marry and the texture to firm up.
Step 5: The Finishing Touch
Just before serving, beat the heavy cream, powdered sugar, and vanilla in a chilled bowl until stiff peaks form. Pipe or spoon onto the chilled jars. Top with a fresh zest of lime.
10. Frequently Asked Questions (FAQ)
Q: Can I use bottled lime juice?
A: You can, but it lacks the floral aromatics of fresh juice. If using bottled, ensure it is “100% Juice” with no added sugar.
Q: Why is my filling too runny?
A: This usually happens if the ratio of juice to milk is off, or if the mixture hasn’t chilled long enough. Ensure you use a full 14 oz can of condensed milk.
Q: Are the raw egg yolks safe?
A: This recipe uses a “cold-set” method. If you are concerned about raw eggs, use pasteurized eggs or swap the yolks for 4 oz of whipped cream cheese for an egg-free lime mousse texture.
Q: How do I get the crumbs to stay together?
A: Pressure is key! Don’t just pour the crumbs in; pack them down firmly with a spoon or a muddler.
Q: Can I make these in advance?
A: Absolutely. These are actually better the next day! Just wait to add the whipped cream until the day of serving.
